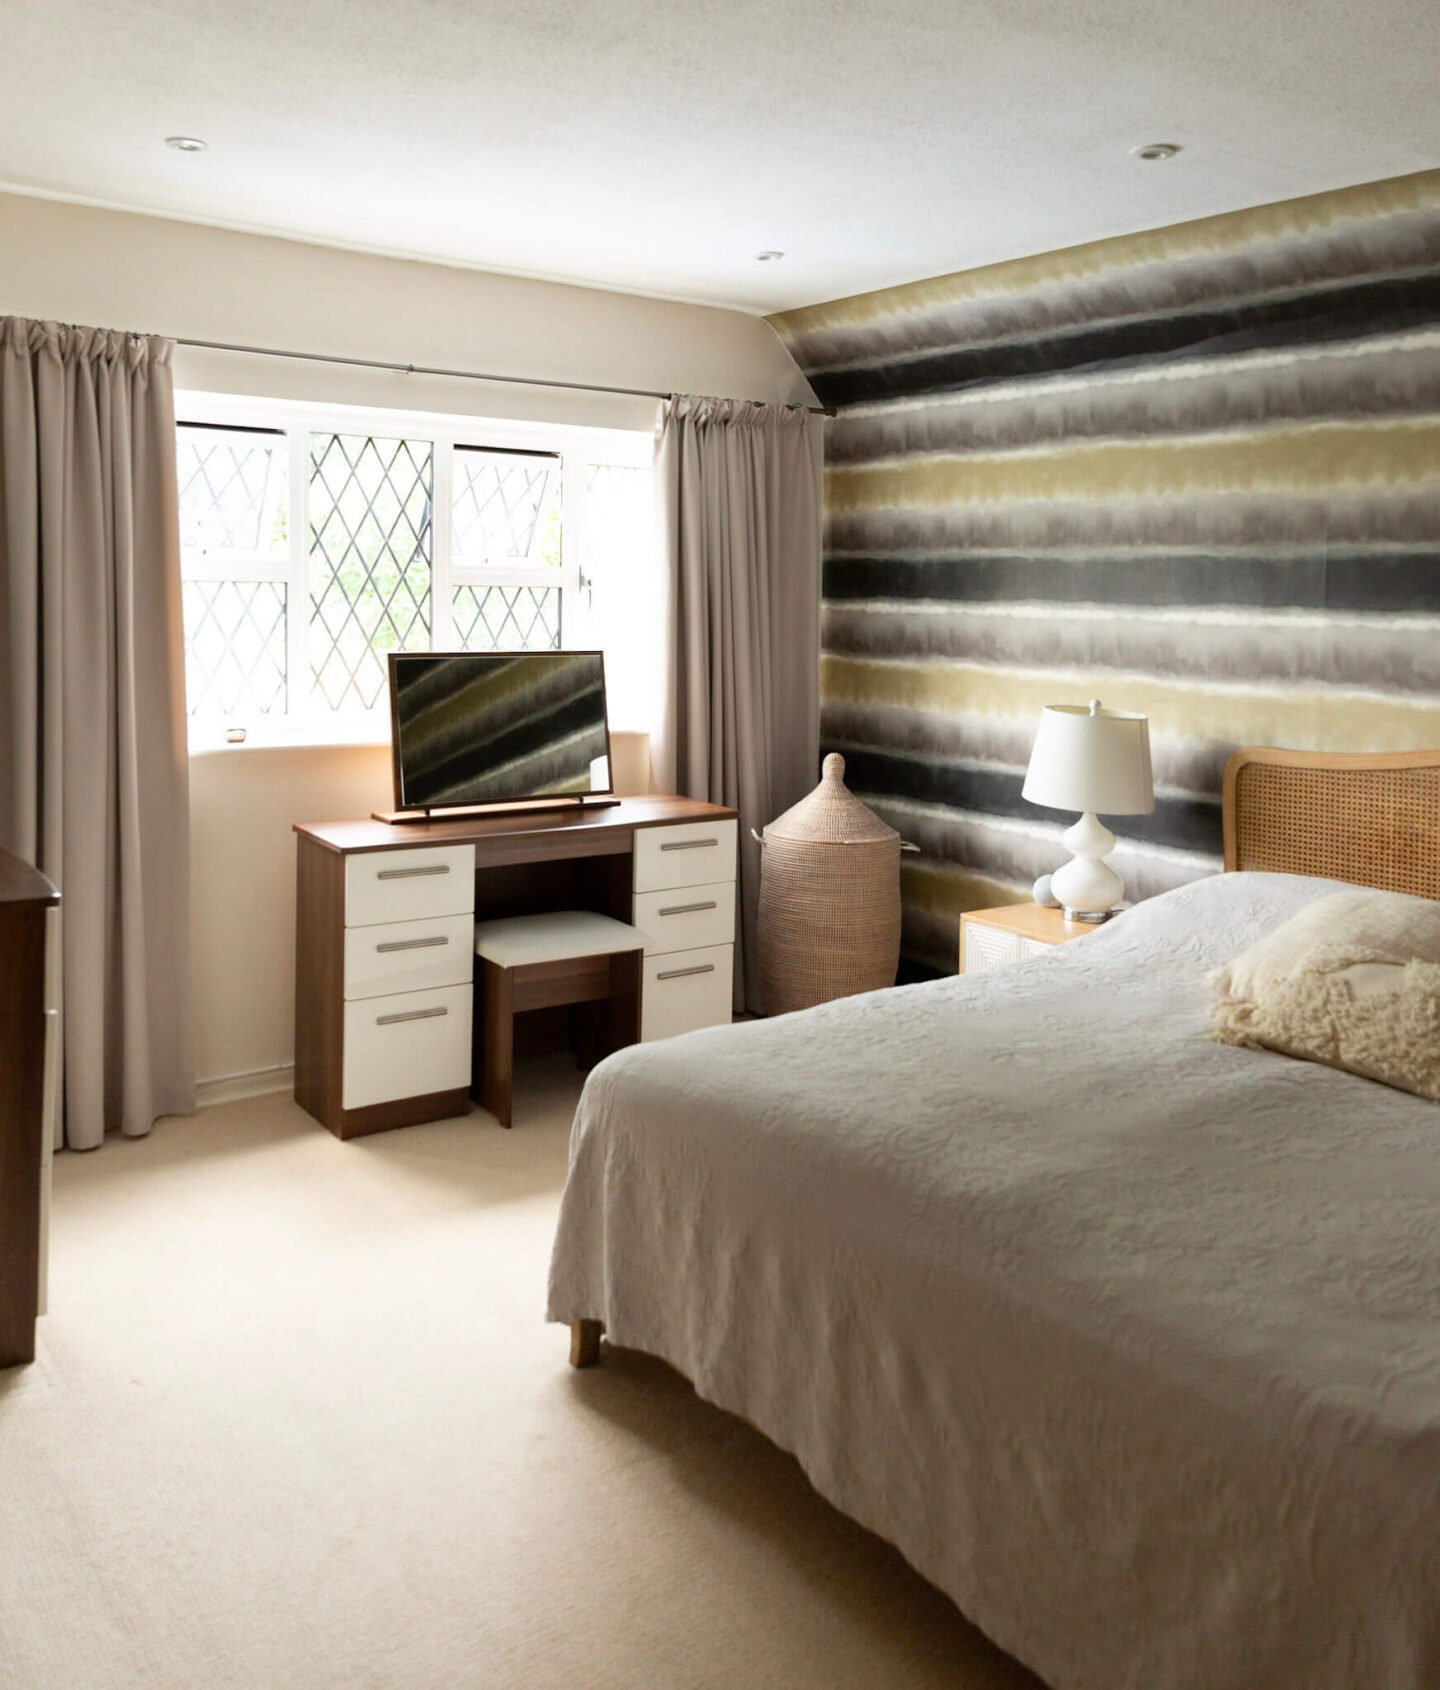
Our master bedroom makeover has been a long time coming. Remember that old post about our makeover plans? Well, believe it or not, it’s still very much in the planning stage. It probably feels like we’ve been talking about this room forever, and honestly, it feels that way to me too. That said, we are finally making progress. It might not be the exciting kind of progress that involves hanging wallpaper or buying beautiful new furniture, but we’re taking all the right steps to make sure everything else is sorted before we start decorating. Looking back, I do slightly regret leaving our bedroom until last. As with many period property renovations, we’ve uncovered a few unexpected issues along the way, but I know it’ll be worth the wait. I’d rather take our time and create a room we’ll love for years to come than rush it and end up with compromises.
Why It’s Taking So Long
I’ve been putting off this makeover because we’ve had so many more important projects to tackle first. Then there was the small matter of choosing the wallpaper (which took far longer than I’d like to admit!) and figuring out all the other logistics, like moving the radiator and replacing the flooring. Not everything is finalised yet. I tend to make a lot of the design decisions as we go along rather than planning every single detail. That said, the overall vision is now pretty much set in stone and I can finally picture how I want the room to look.
The other reason this makeover has taken so long, though, is that we need to get the foundations right before we start decorating. Some pipes need replacing, new plug sockets need to be installed and a few other practical jobs have to be done first. Most importantly, we discovered damp in the corners of the room and that needs to be treated properly before we even think about wallpaper or paint. It’s not a quick fix and I’ll explain more about that later in the post. We’ve also had to find a new handyman, which has delayed things even further. Thankfully, we’ve now been recommended someone by a friend, so I’m keeping everything crossed that he’ll be able to start work next month. Once that’s done, we can finally move on to the fun part of the makeover.
The Only Thing We’ve Bought (So Far!)
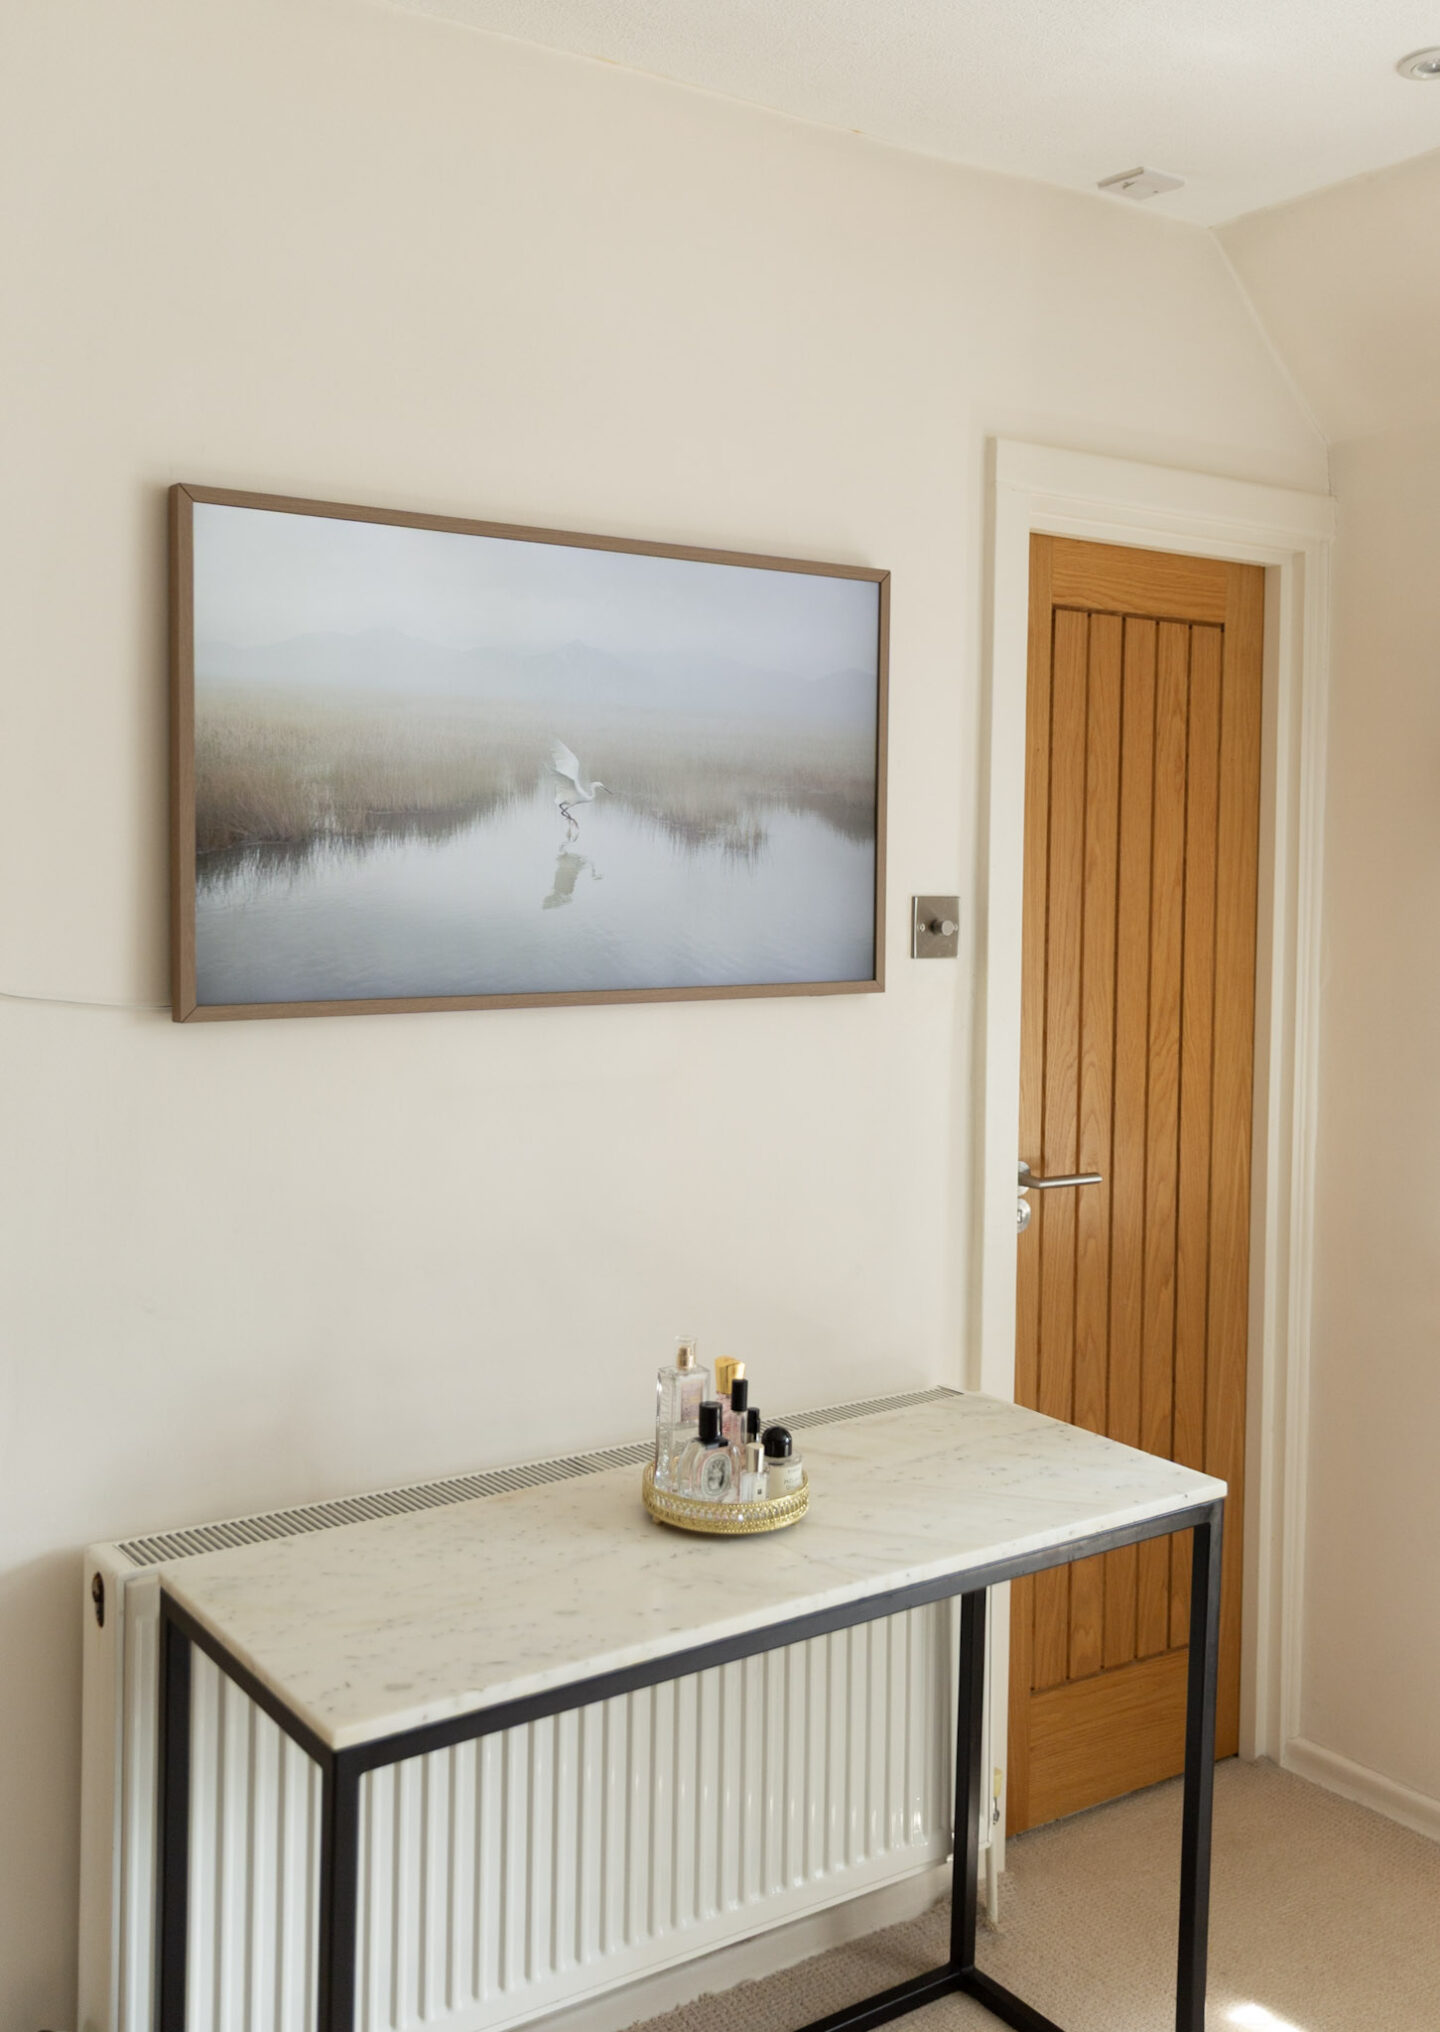
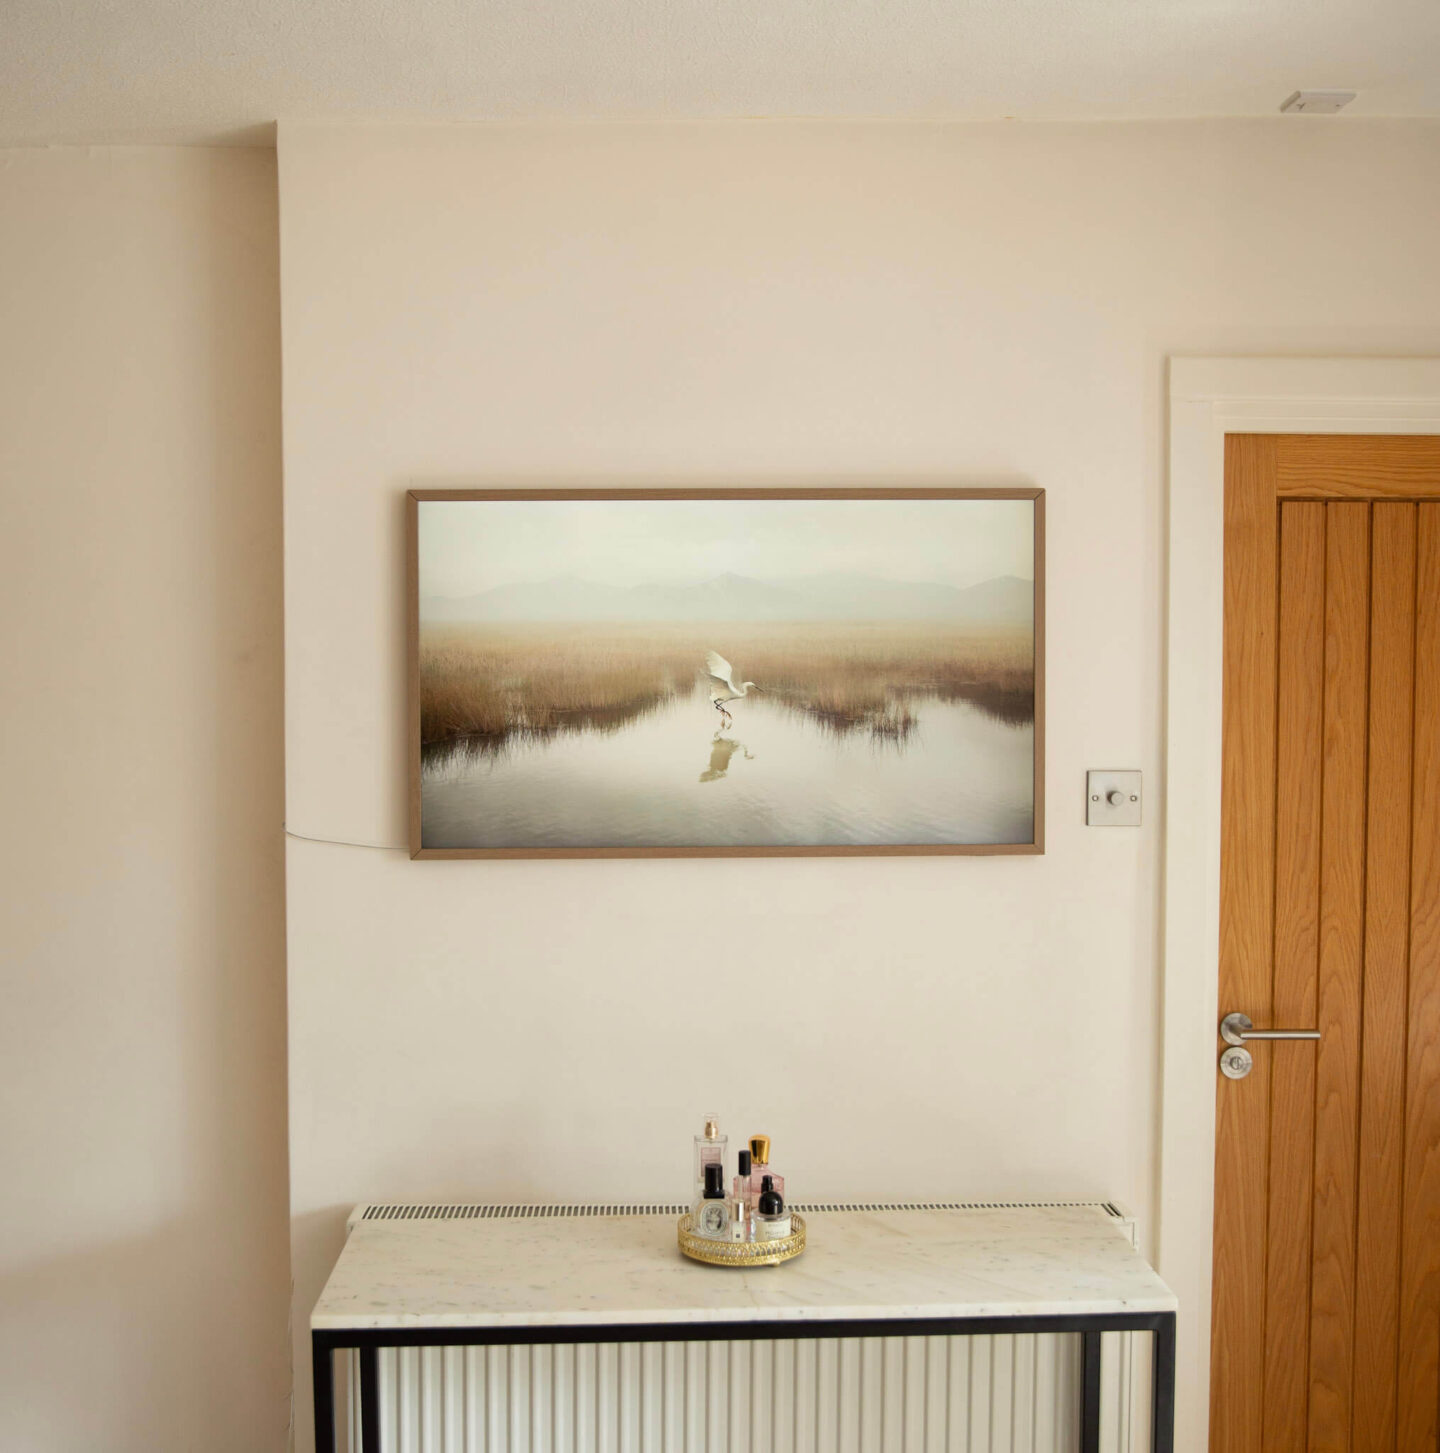
Samsung Frame TV with Teak Bezel
We couldn’t help ourselves and have already had to make one very important purchase for the room: the Samsung Frame TV, of course! I’ve always liked the idea of having a Frame TV in the bedroom, as it feels like a much more stylish alternative to a traditional television.We already have the same TV downstairs (just in a larger size) and we decided to go for the same Teak Bezel to keep the look consistent throughout the house. I have to admit, I’m not a huge fan of having a TV in the bedroom (unlike my husband!), so this is the only one I’m willing to compromise on. I really didn’t want a big black box taking over the wall and there’s something incredibly calming about being able to display beautiful artwork instead. Some of the images look surprisingly realistic and really help the TV blend into the room. One of my favourite things about the Frame TV is that, because we already have a Samsung account, both TVs can be connected to the same account. This means we don’t have to pay for the art subscription twice, which is a small but very handy bonus! The only tricky part will be figuring out how to conceal the cables and boxes to keep the finished look as seamless as possible. I’ll talk a little more about that later in the post, as it’s definitely something we need to think carefully about.
Dealing With Damp Before Decorating
The biggest challenge with this makeover is definitely dealing with the damp around the windows. It’s a fairly common issue in older houses, but it’s something that needs to be properly resolved before we even think about painting or wallpapering the room. I’m not overly worried about it, but there are quite a few steps we need to take to make sure it’s fixed for good. First, we’ll be checking the silicone seal between the window frame and the wall. If this has deteriorated over time, condensation can seep behind the paintwork and cause damp patches. We also have a few visible cracks in the brickwork outside that will need to be repaired to prevent water damage. The mould in the corners, hidden behind the long curtains, is a slightly different issue. That’s most likely been caused by poor ventilation, which has allowed the humidity levels in the room to become too high. While using a dehumidifier will certainly help, it’s only part of the solution. The mould needs to be treated properly and we need to make sure the underlying cause has been addressed so it doesn’t return.
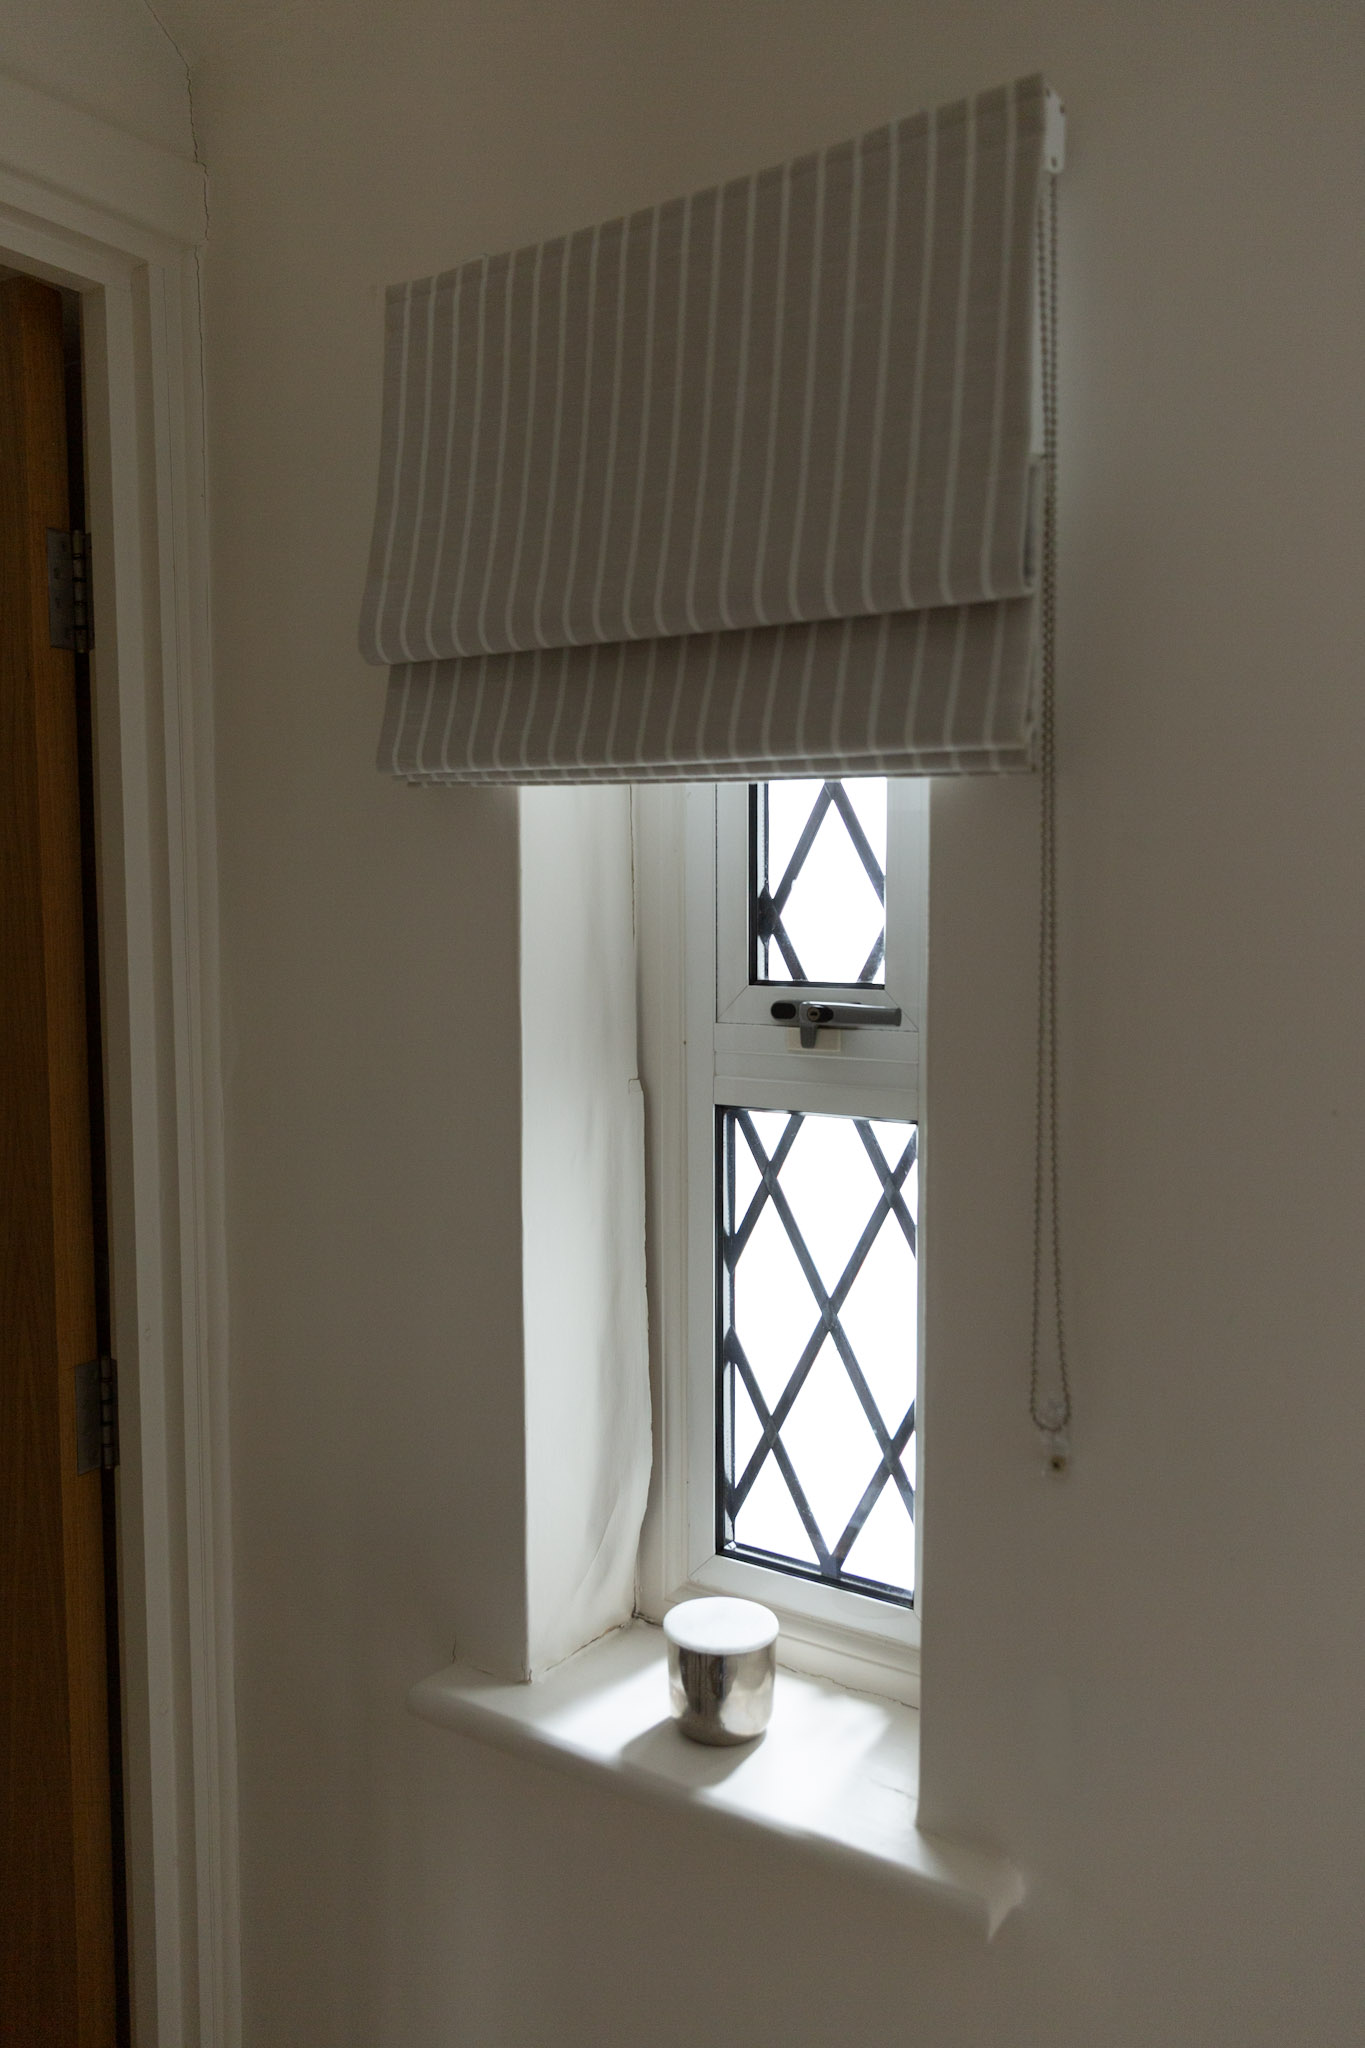
Lining paper peeling near windows due to moisture.
Our decorator is going to take care of all of this before we start painting/decorating. Once the repairs have been done, we’ll leave the room for around a month before painting or hanging wallpaper, just to make sure everything has dried out properly and the damp hasn’t returned. It’s frustrating having to delay the decorating, but I’d much rather solve the problem properly than have to redo everything in a year’s time. At the moment, the walls are covered with lining paper, so I’m slightly concerned about what we might find underneath once it comes off. If you’re interested in what it’s really like living in an older house, I’ve shared more about the pros and cons of living in a 1930s house here.
To Wallpaper the Whole Room or Not?
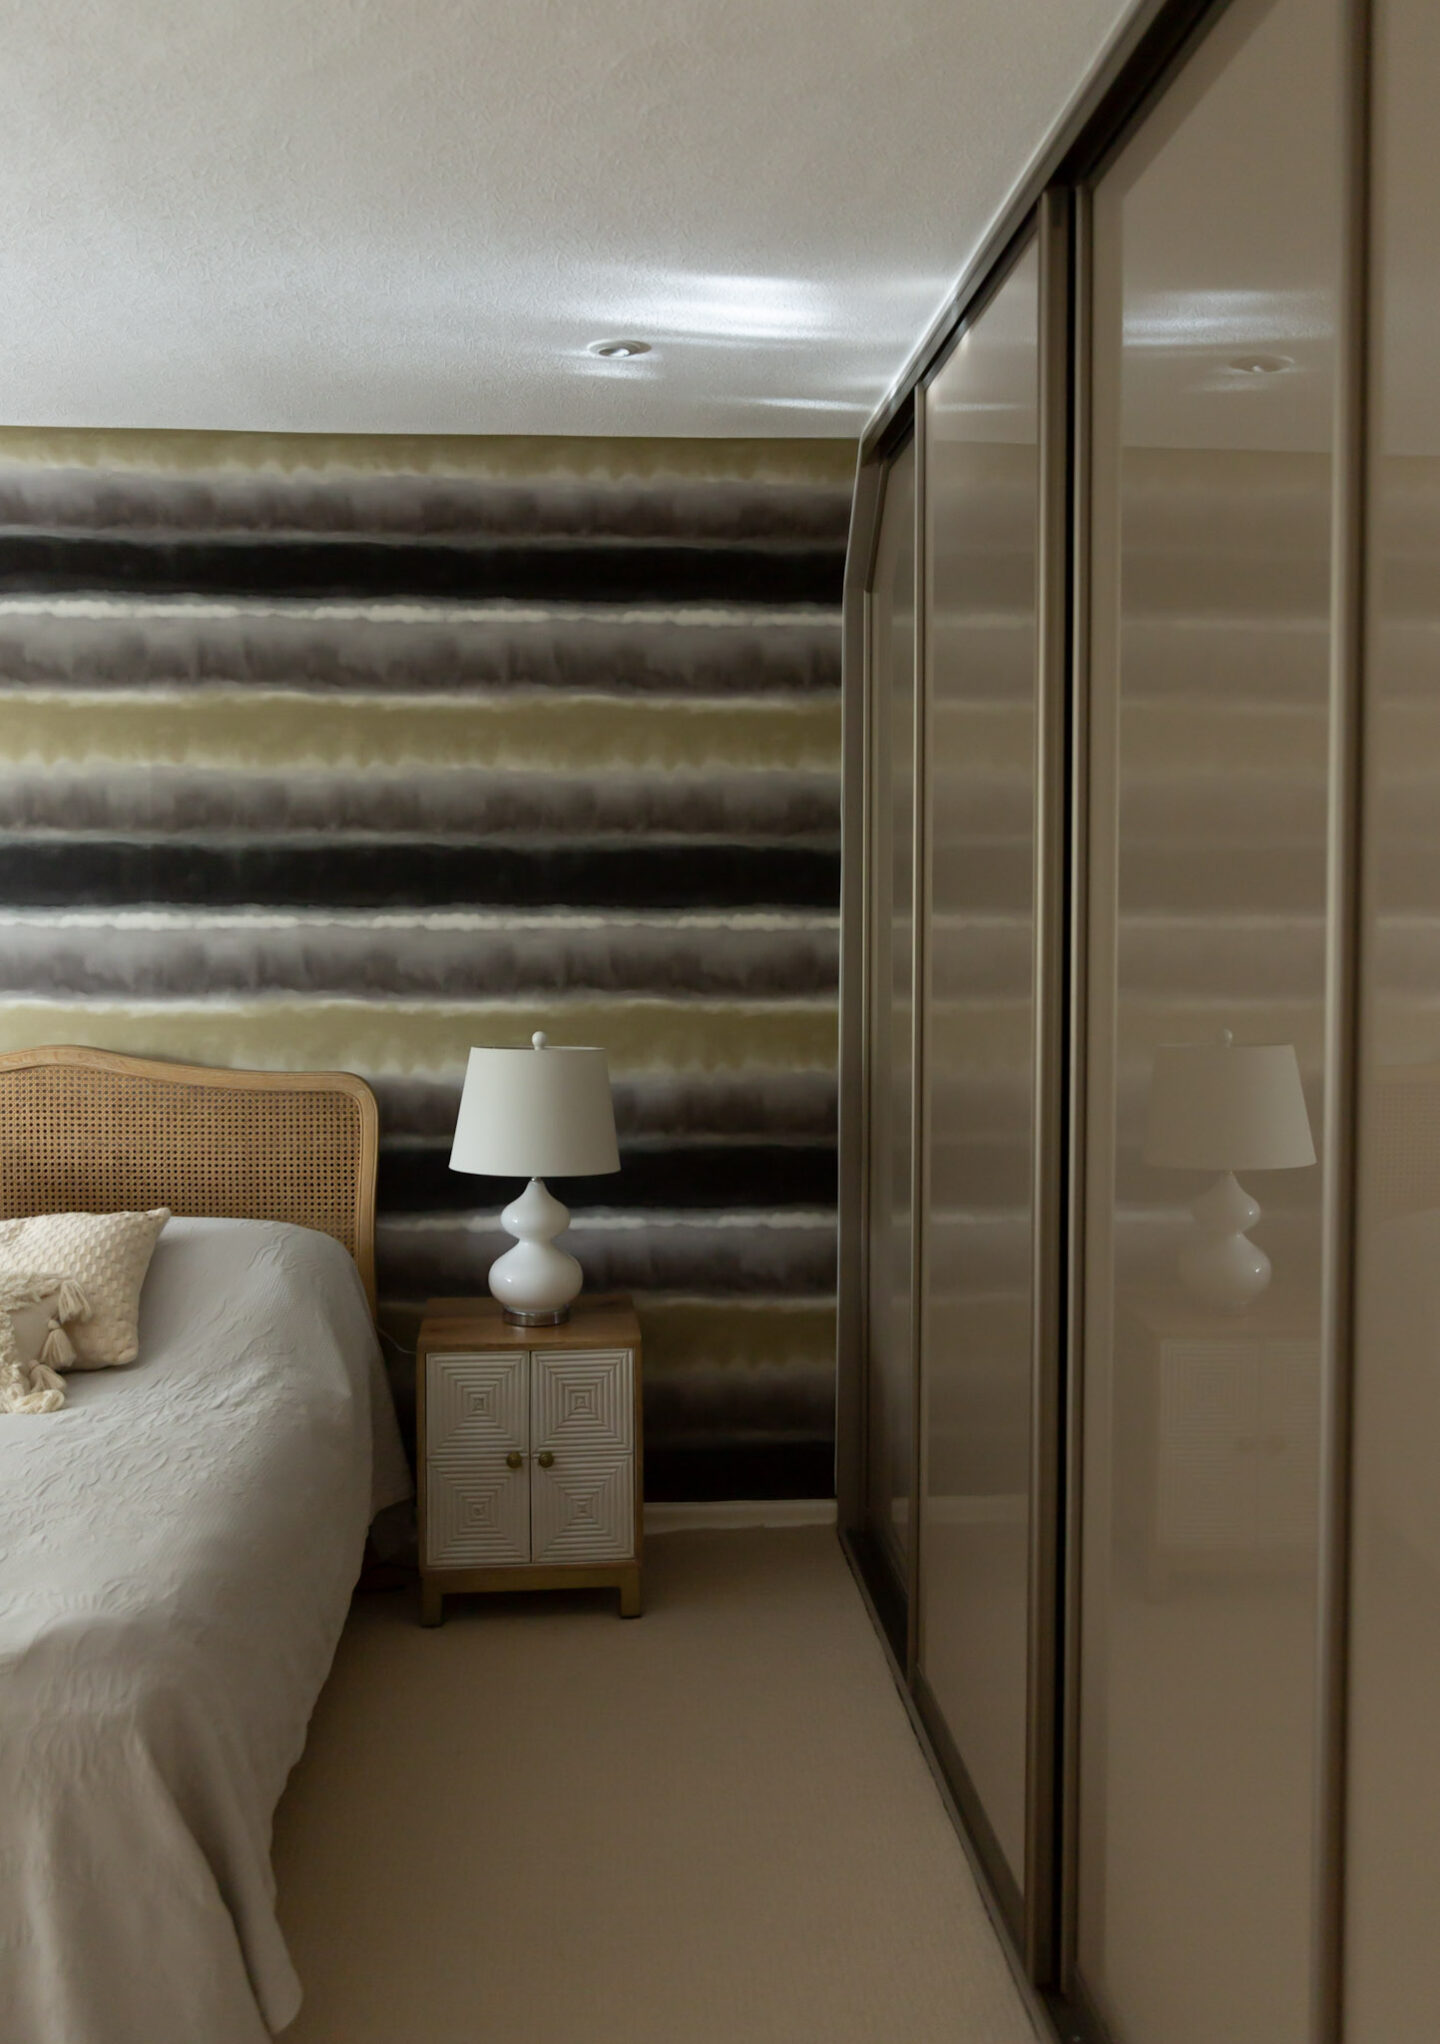
This feature wall will soon be replaced as part of our bedroom makeover plans.
The moment I came across the Bamboo wallpaper in Beige by Sian Zeng, I knew it would be perfect for this space. Wrapping all four walls in wallpaper would create the calm, cocooning atmosphere I’m after. I’m imagining an enchanted woodland with warm wood tones, soft florals and plenty of leafy details. But (and it’s quite a big but!) I’m not willing to risk ruining expensive wallpaper if we can’t be completely confident that the damp issues have been resolved. The current feature wall has never shown any signs of damp, so I’m comfortable wallpapering that again. It’s the other walls that make me nervous. Investing in high-end wallpaper only to have to remove it because of lingering moisture would be heartbreaking, not to mention an expensive mistake.
And as much as I have every confidence in our decorator, older houses are full of surprises, and living in one inevitably means making the occasional compromise. So, whether we wallpaper every wall or stick to a feature wall will ultimately depend on how successful we are at tackling the damp once and for all. I’d much rather make that decision a little later than rush into it and regret it.
Upcycling Old Furniture
Although I’m planning to invest in a few new pieces of furniture for the room, I’ll also be keeping several of the existing ones. I’m not a fan of overly matching bedroom furniture and much prefer a more collected look. Mixing different styles and wood tones can create a space that feels far more natural and lived-in, as long as all the pieces complement each other and work together cohesively. I plan to layer both lighter and darker wood finishes to add warmth and depth. That said, our current walnut furniture is a little too contemporary and sleek alongside the French rustic oak bed I’ve chosen. Rather than replacing it all, I’m hoping to give some of the existing pieces a new lease of life with a little upcycling project. I’m keeping my fingers crossed that my vision comes together and of course I’ll be sharing the upcycling process here on the blog too!
What’s Next
The first job on our list is tackling the damp around the window sills and in the corners of the room. We’ll be stripping the lining paper from the bay window wall and leaving it to dry out and breathe for around a month before we even think about painting or hanging up wallpaper. It feels like a long wait, but I’d much rather be patient now than risk running into problems later. While all of this is happening, we’ll also need to work out how to conceal the cables for the Samsung Frame TV, along with the One Connect box and the Sky box. I actually have a few clever ideas for this, including using a radiator cover and a couple of Etsy finds to help disguise everything. Hopefully it all comes together as I have it pictured in my head! Ideally, I’d like to keep everything as close to the TV as possible. Still, depending on the layout, we may end up positioning the boxes against another wall and hiding them inside a storage unit instead.
We’ll also be replacing the flooring once all the damp work has been completed, although we’re still deciding on the final finish. If you missed it, I’ve shared all my thoughts in my post about whether to choose carpet or hardwood flooring for our master bedroom.
Have you ever had to delay a decorating project because of unexpected issues? I’d love to hear how you tackled it in the comments below!
