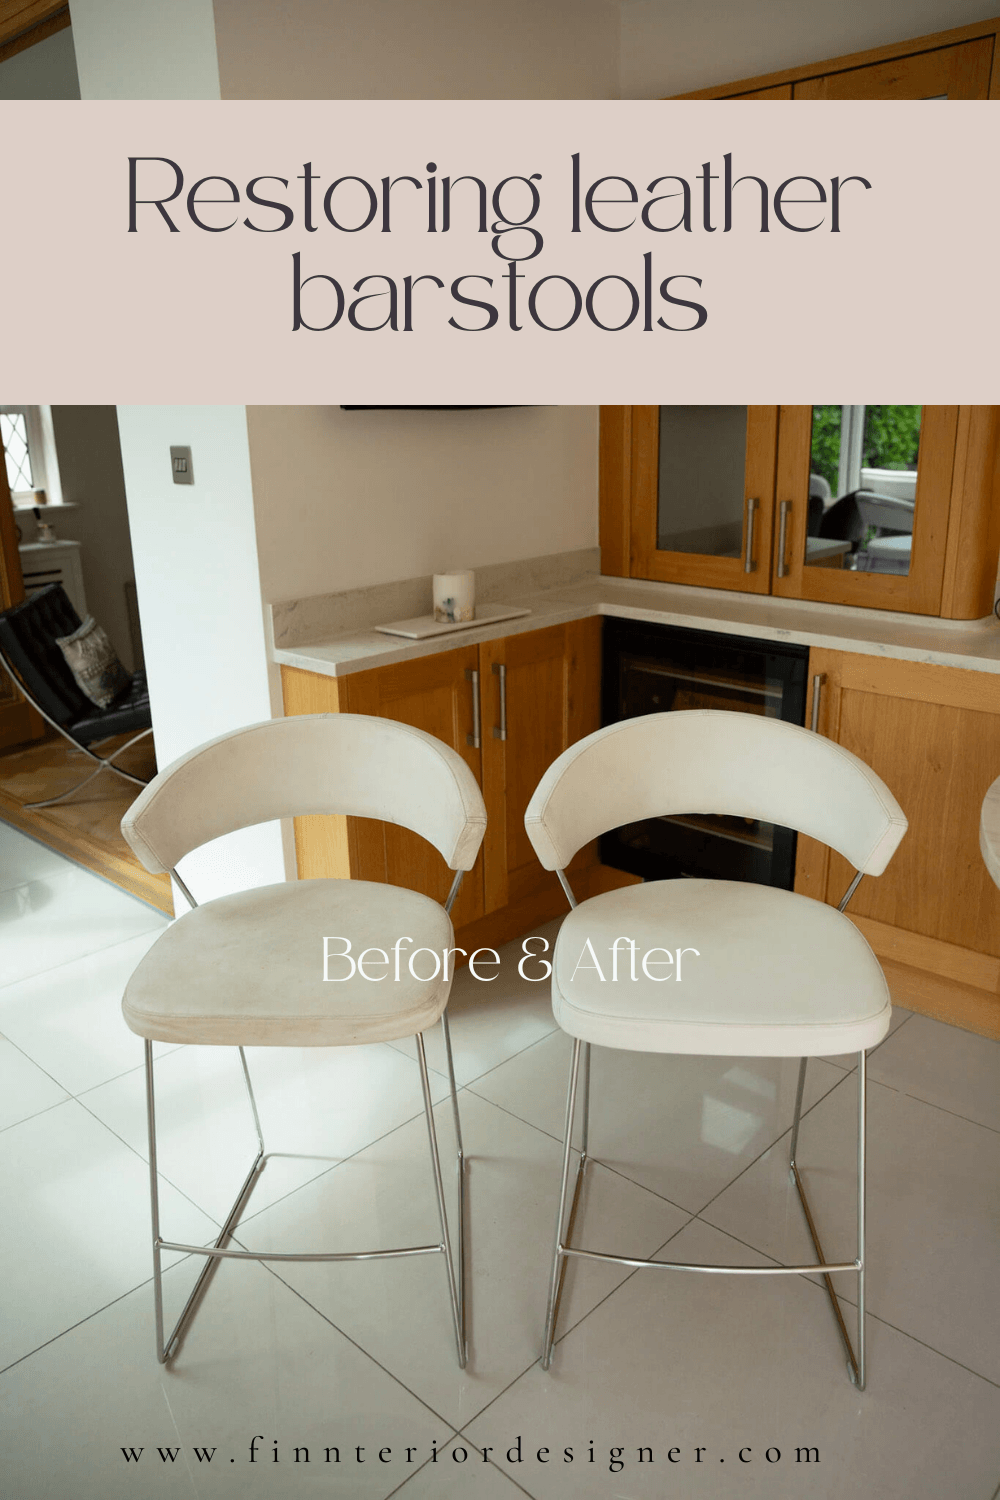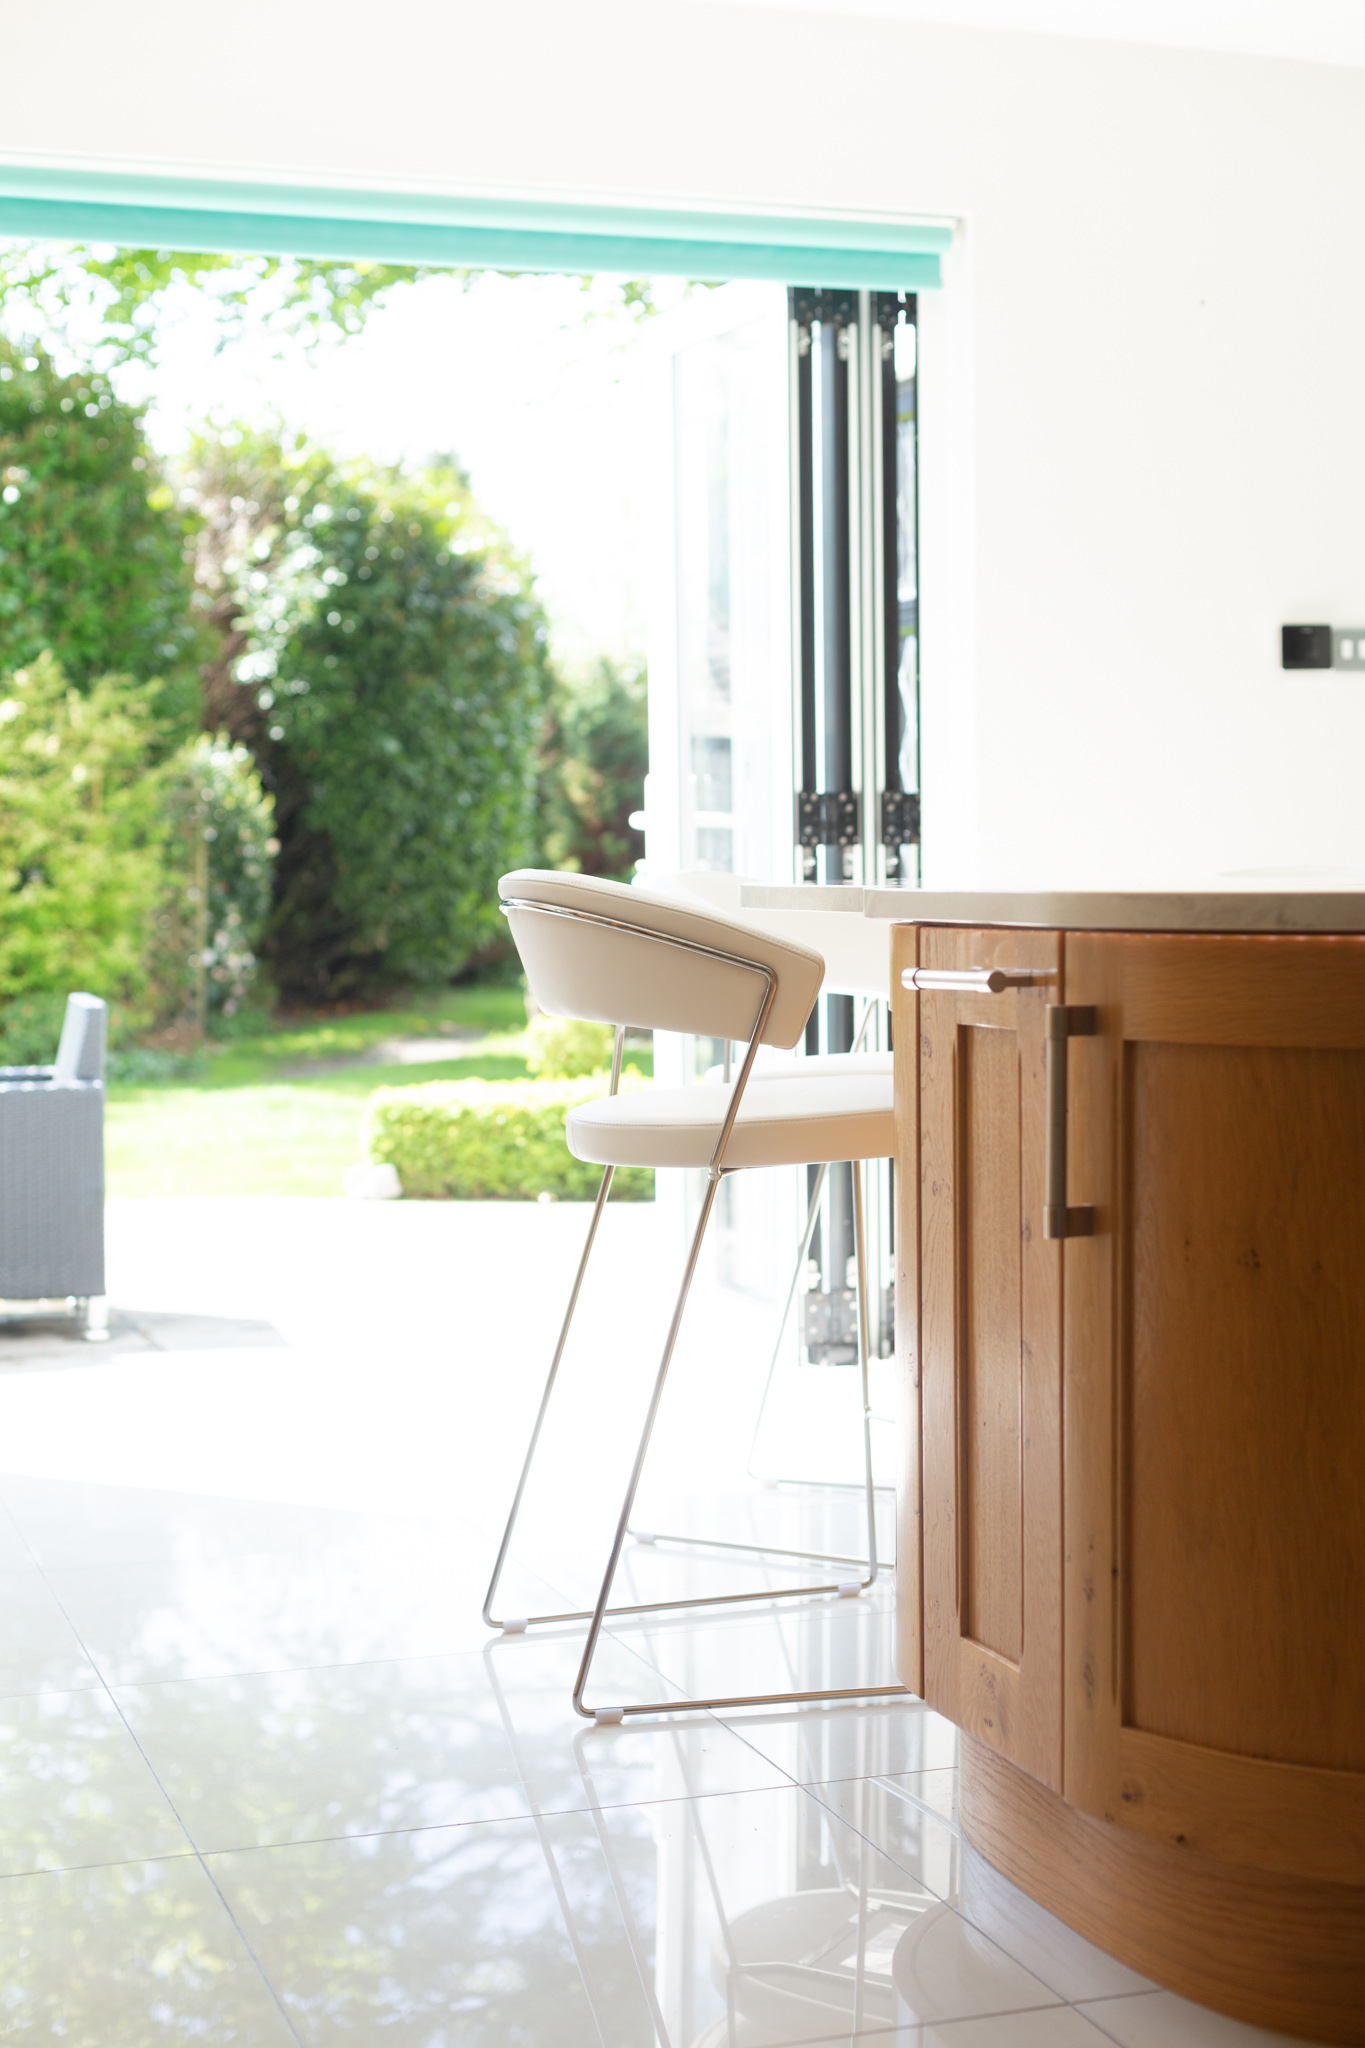
I still remember the day I got to pick our very first bar stools for our family kitchen island. We inherited a classic wooden kitchen with a semi-circular island and I wanted to keep things minimal. I was looking for bar stools that would complement the kitchen, be comfortable and reasonably easy to maintain. The Calligaris New York leather bar stools ticked every box and I ordered them a week before moving day to make sure they’d arrive in time. I didn’t think much about the maintenance of white leather at the time. It was all about aesthetics. I told myself they’d be easy to wipe down (which they are), but how they’d look five years down the road didn’t even cross my mind. Until a few weeks ago, when I took a closer look and realised that regular cleaning with water and soap wasn’t going to cut it anymore (and that it was time to look into proper leather bar stool restoration rather than just replacing them).
Now, I should add that our bar stools are real leather (Calligaris also do a faux leather version) and this method will only work on real leather. Faux leather cannot be restored in the same way in my experience, so approach with caution if that’s what you’re dealing with.
Before & After
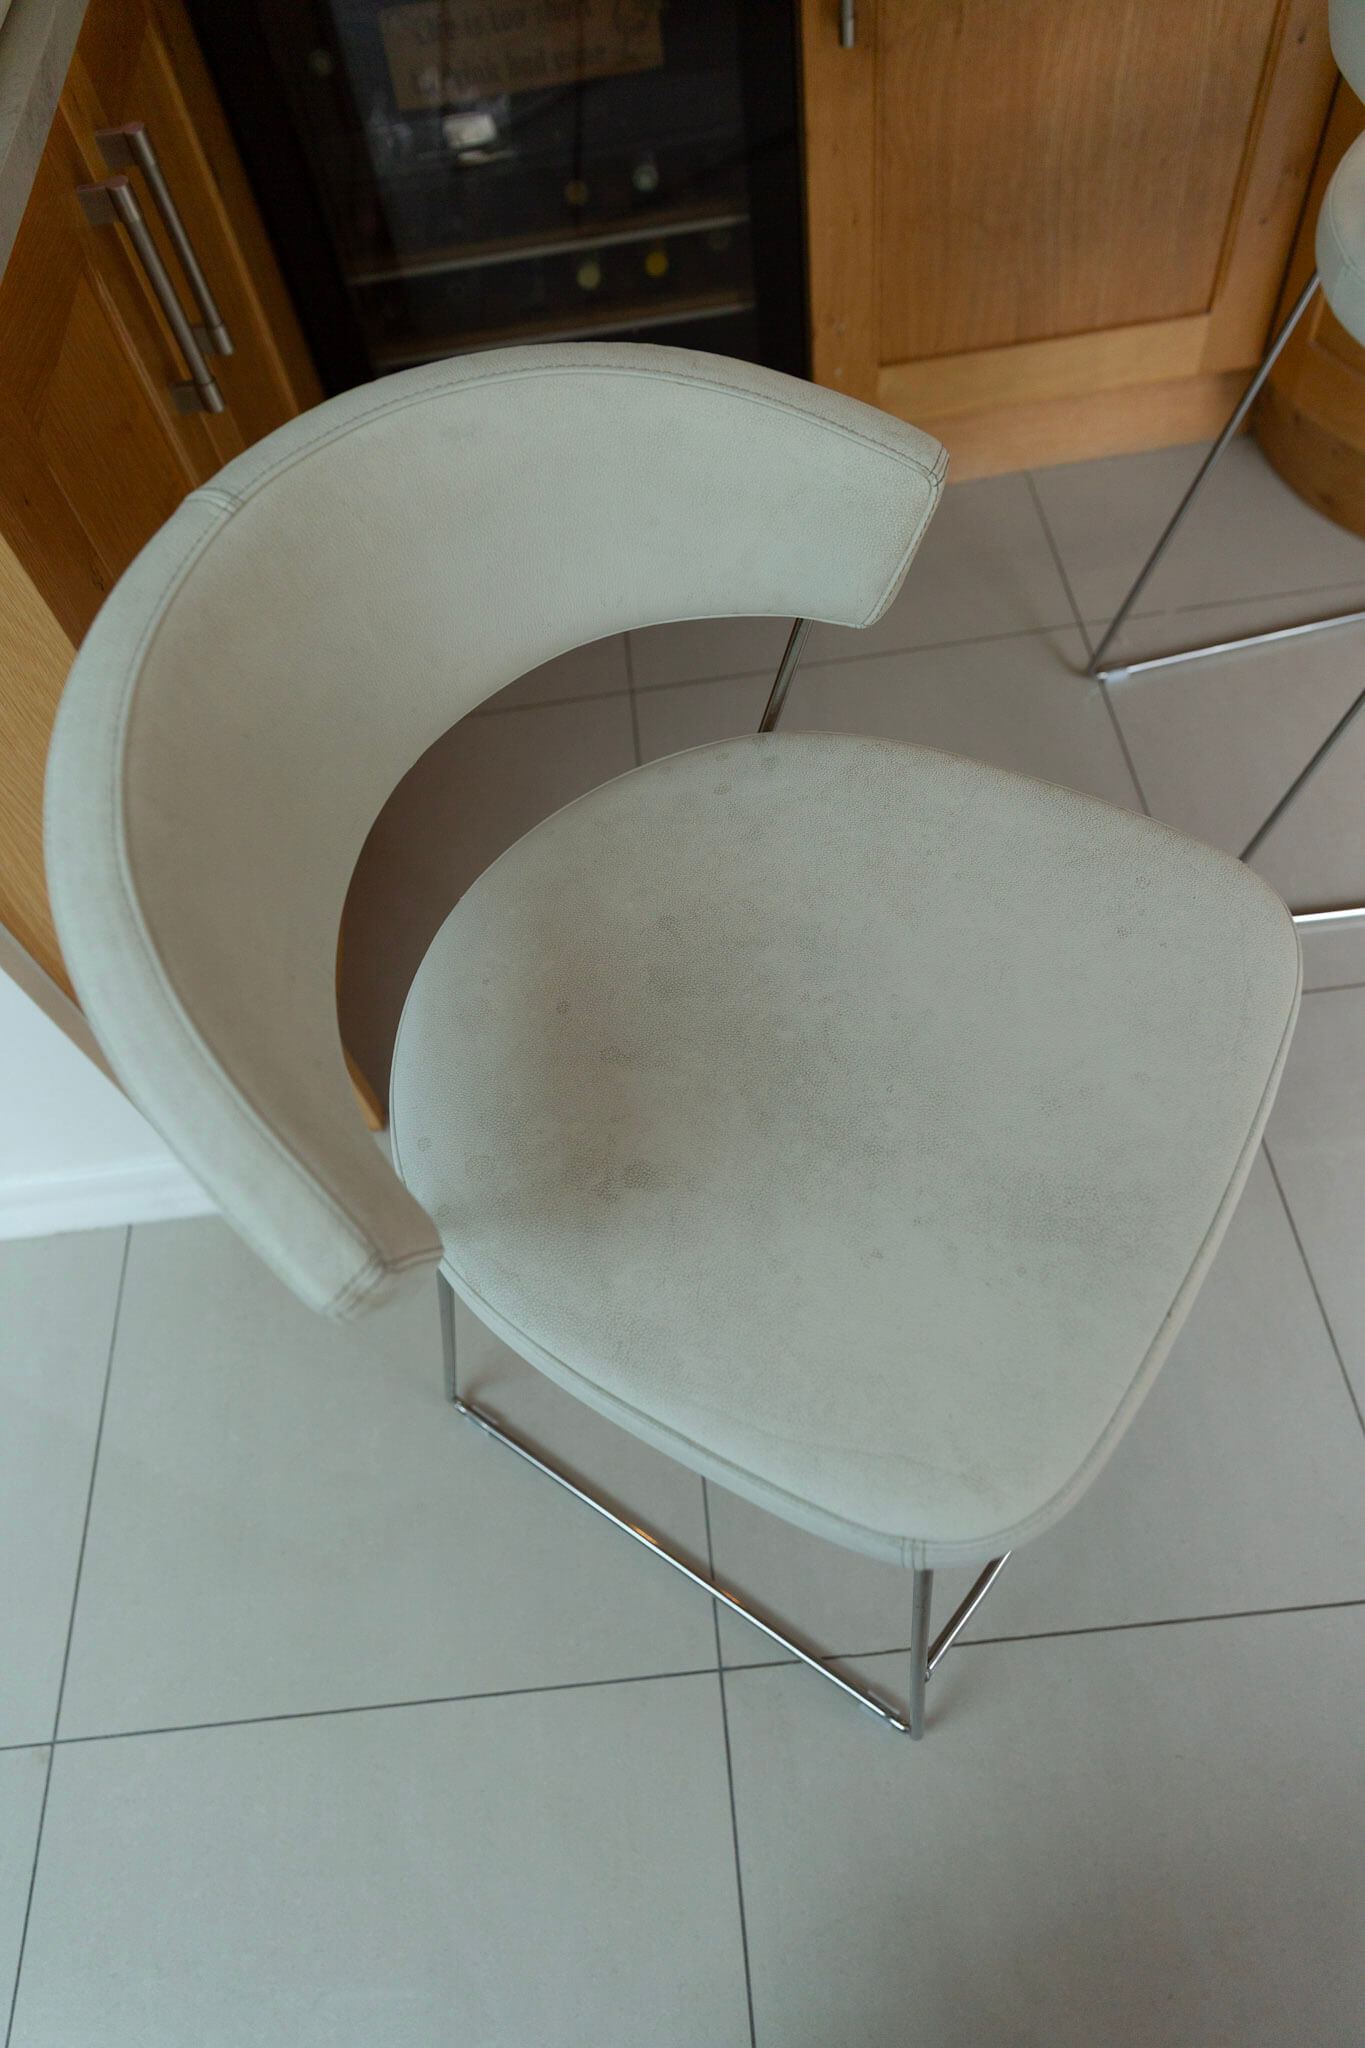
Calligaris leather bar stool before restoration.
Here’s what the stools looked like before I got started. Not in an unsalvageable state, but definitely looking a little worse for wear. I suppose I should have expected that after five years of daily use, my white leather bar stools would be looking more light grey than white. There were a few scratches here and there too, although nothing too serious. Honestly, I wasn’t expecting miracles. At that point, I felt like I had nothing to lose by giving them a try. After reading so many positive reviews online, I decided to take the plunge and see if I could bring them back to life.
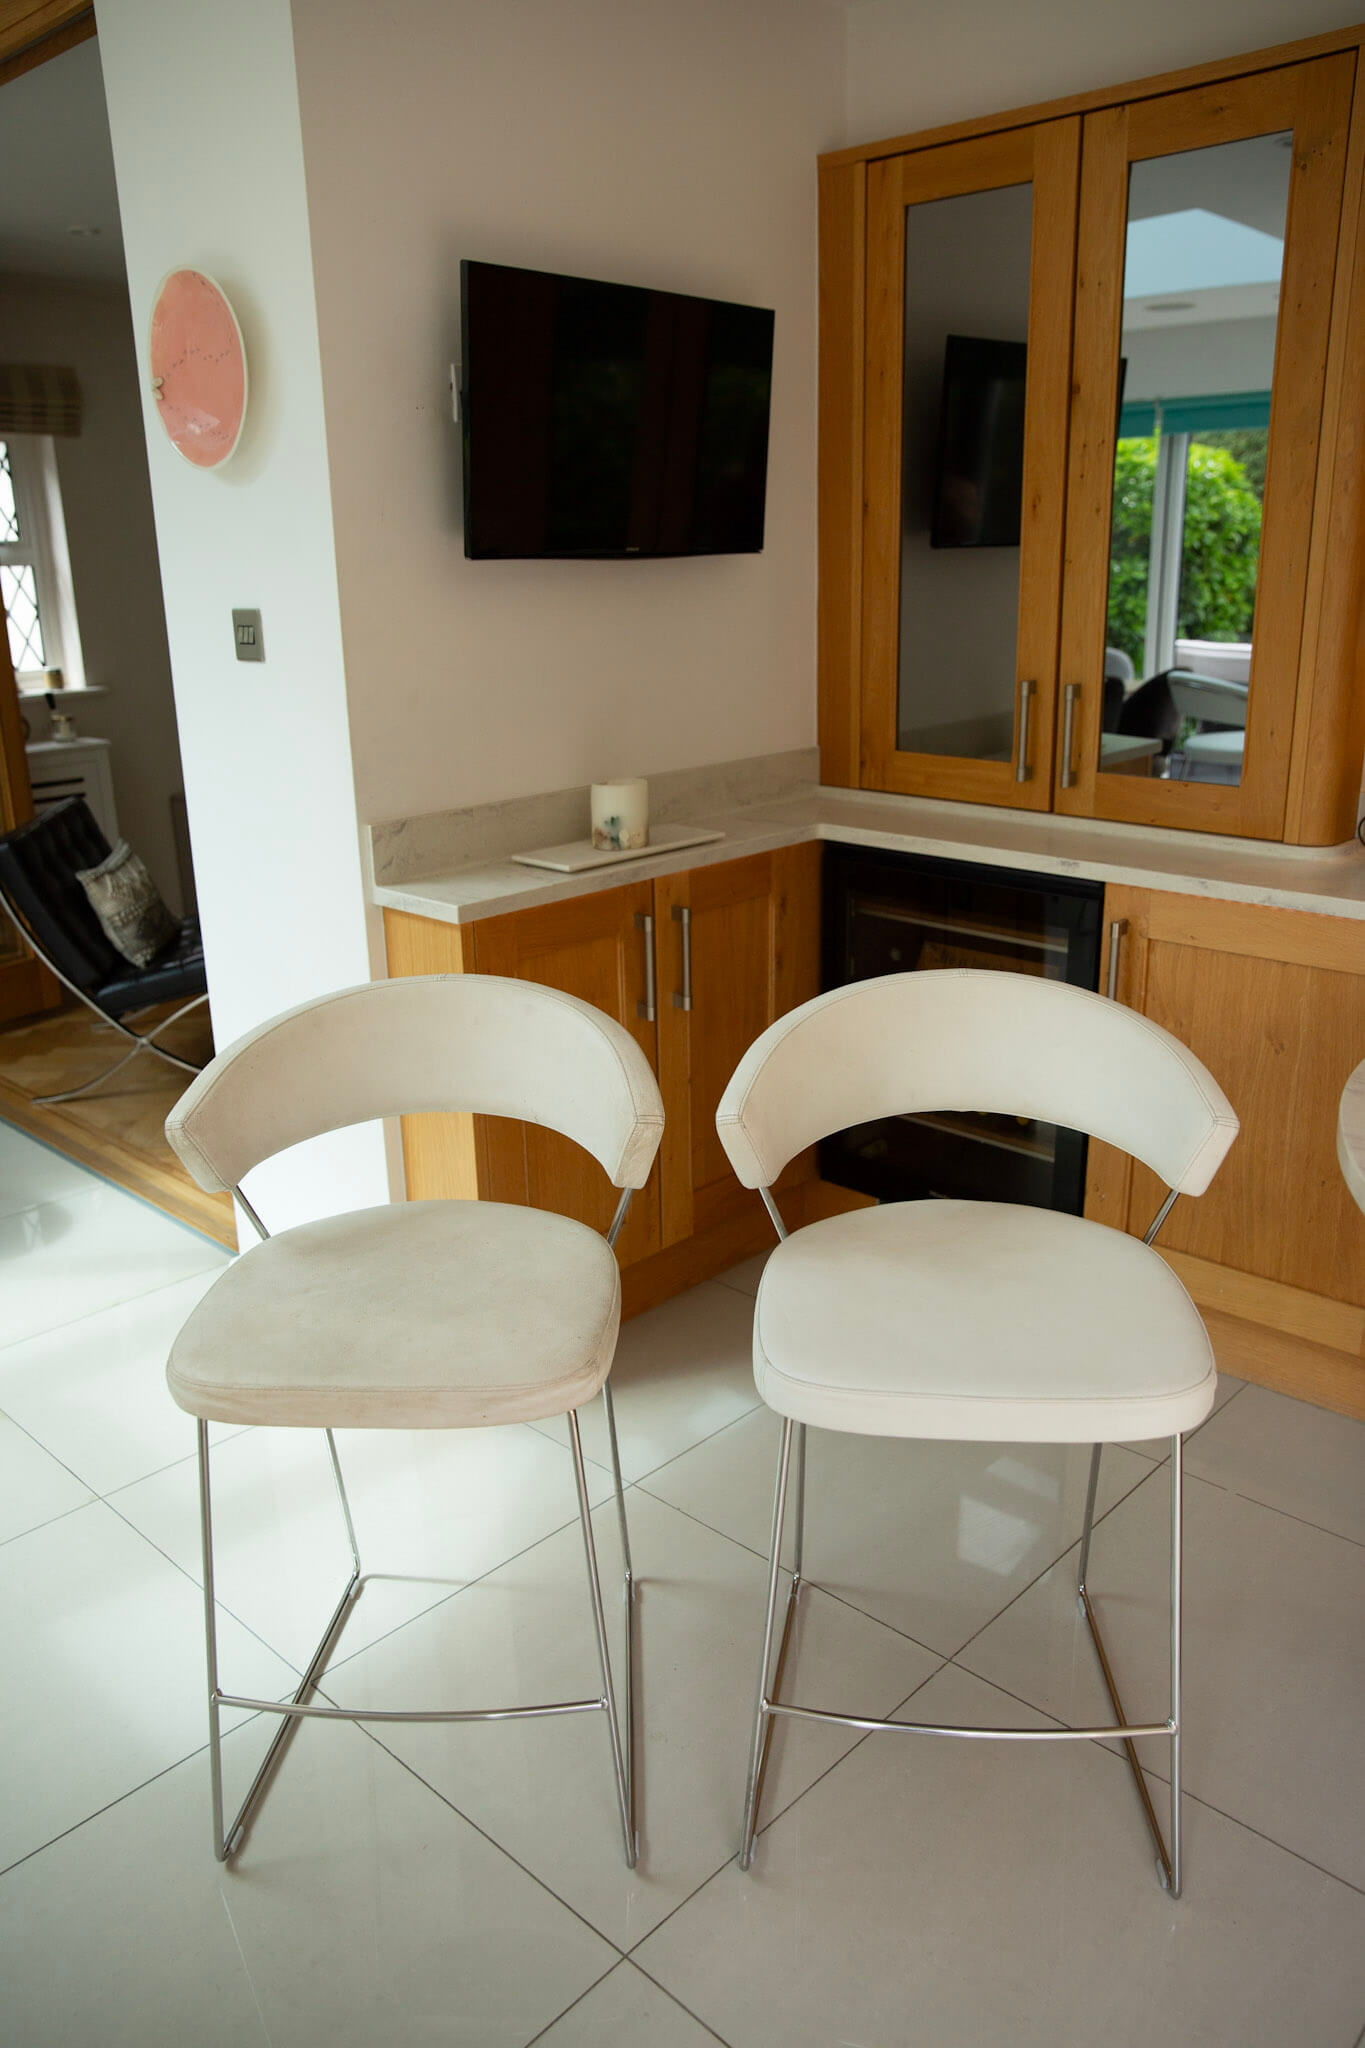
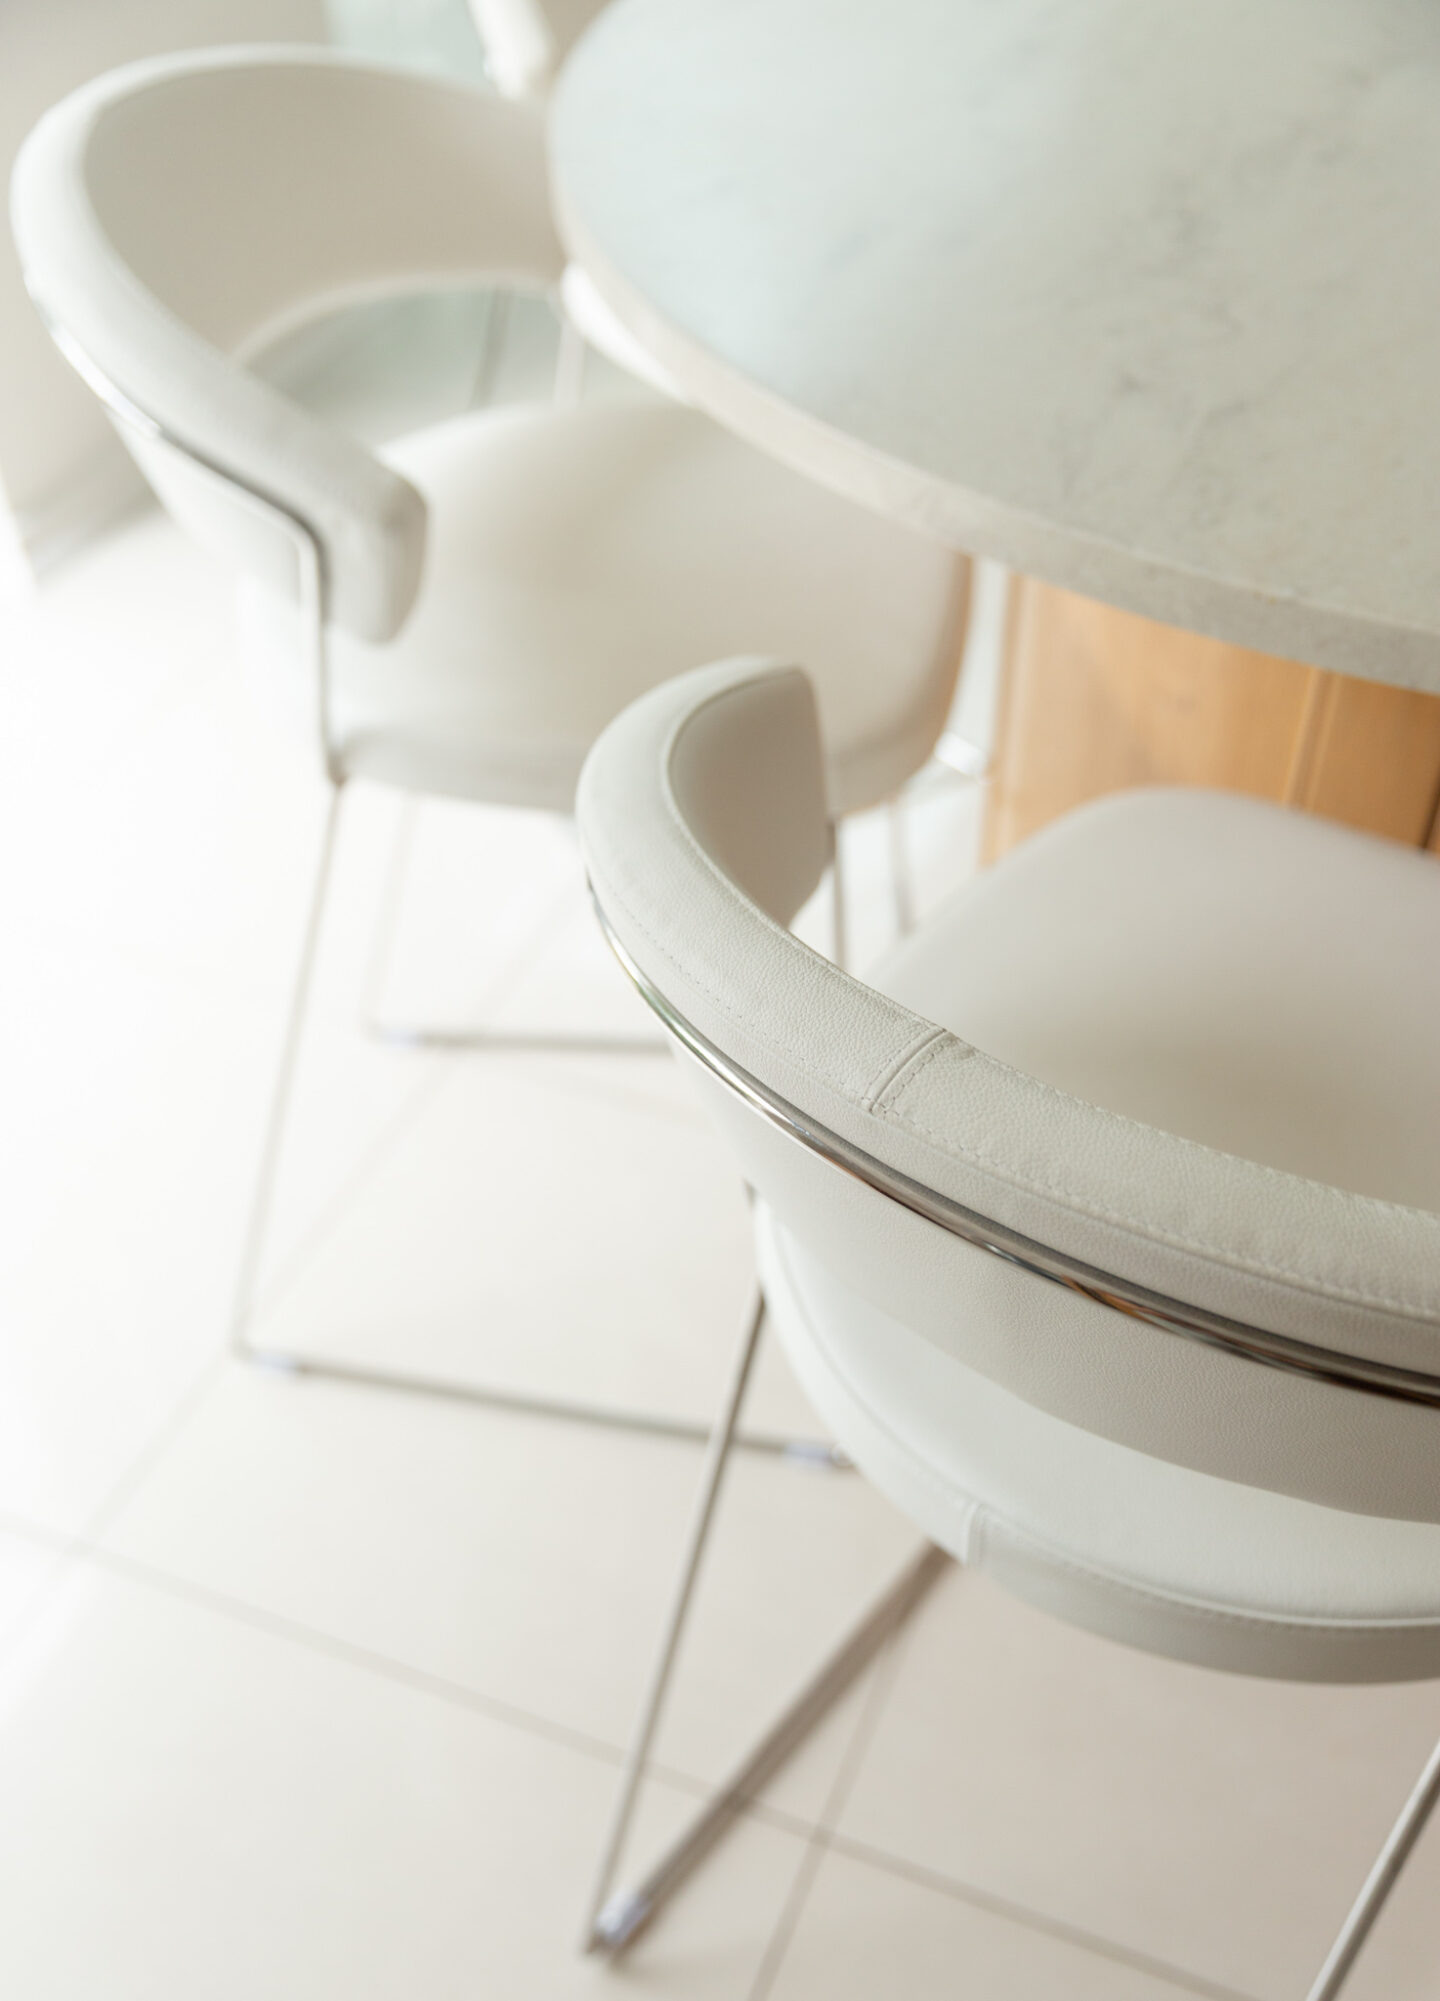
The white Calligaris leather bar stools before and after restoration.
But honestly, what a difference it made. The second bar stool here has been deep cleaned, treated with three coats of colouring balm and finished with a leather protector. Quite astonishing, right? It did take me a good few weeks to get through all four stools, but it really isn’t that difficult (or expensive) once you get the hang of it.
Step 1: Deep Cleaning
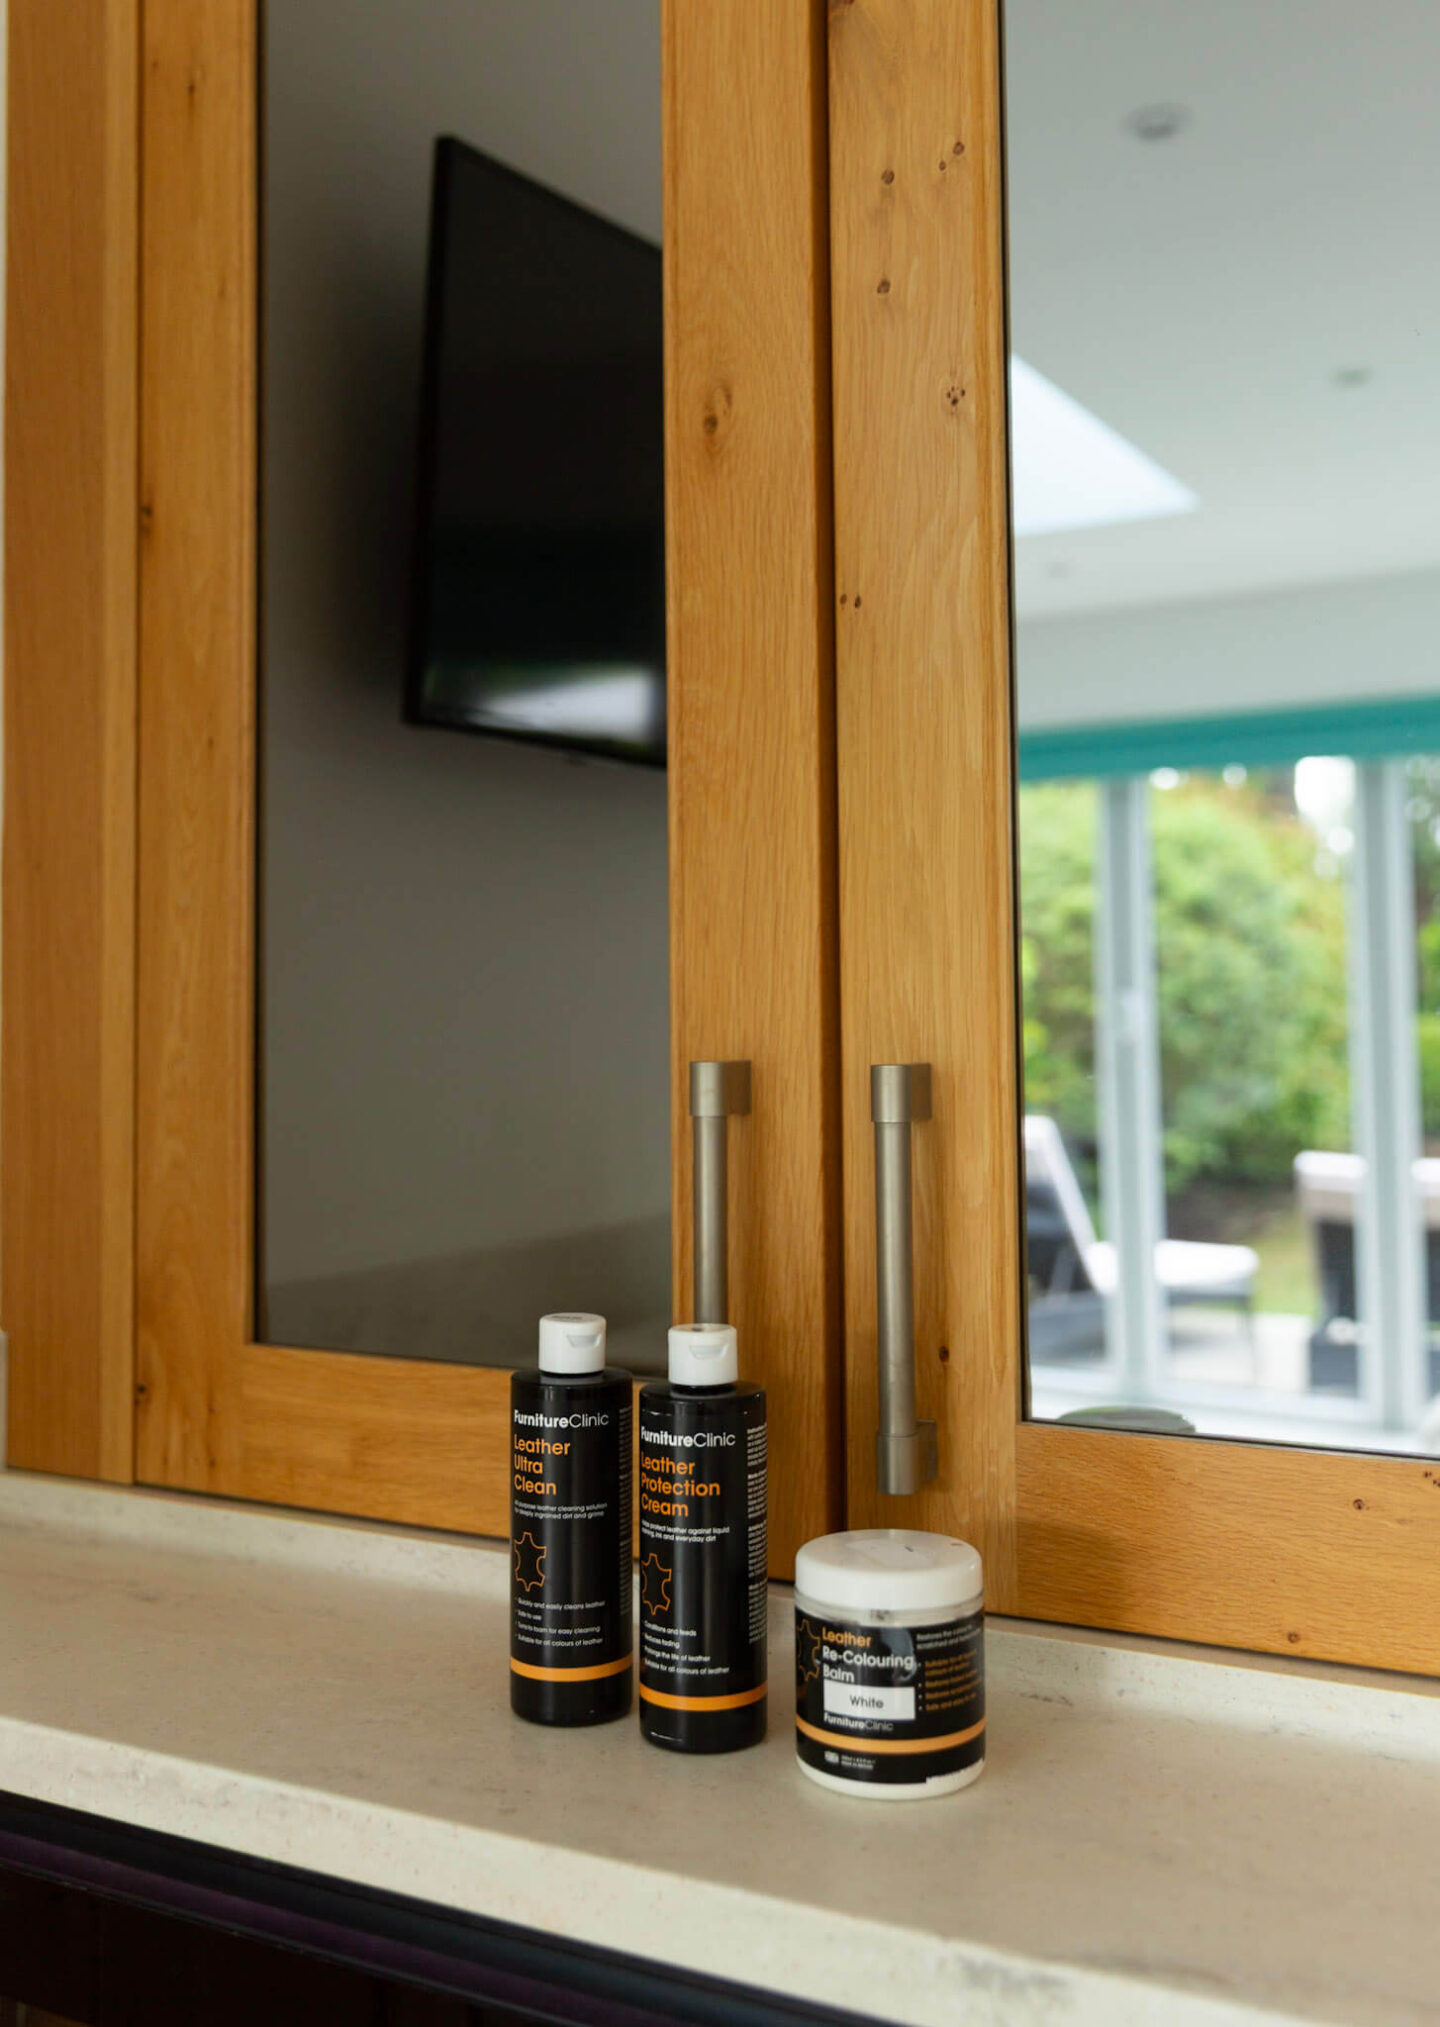
The Furniture Clinic products I used.
This is the obvious first step and is definitely worth spending some time on. Normally, I just wipe the leather down with warm water and a microfibre cloth, but clearly that hadn’t been enough. This time, I decided I needed something a bit stronger, so I used the Furniture Clinic Leather Ultra Clean with warm water and a sponge to remove all the built-up dirt. It took a few rounds before the water stopped turning grey, but it was pretty obvious from the start that cleaning alone wasn’t going to do the job. The worn areas had lost their colour, so I knew I was going to need some kind of leather paint to get them looking white again.
Once I’d finished cleaning, I left the stools to dry completely. Don’t forget to rinse out the sponge regularly as you go (it’s surprising how much dirt it picks up!). I left mine for at least 24 hours before applying the leather paint. It was probably overkill, but I really wanted to make sure the leather was completely clean and dry before moving on to the next step.
Step 2: Apply recolouring balm
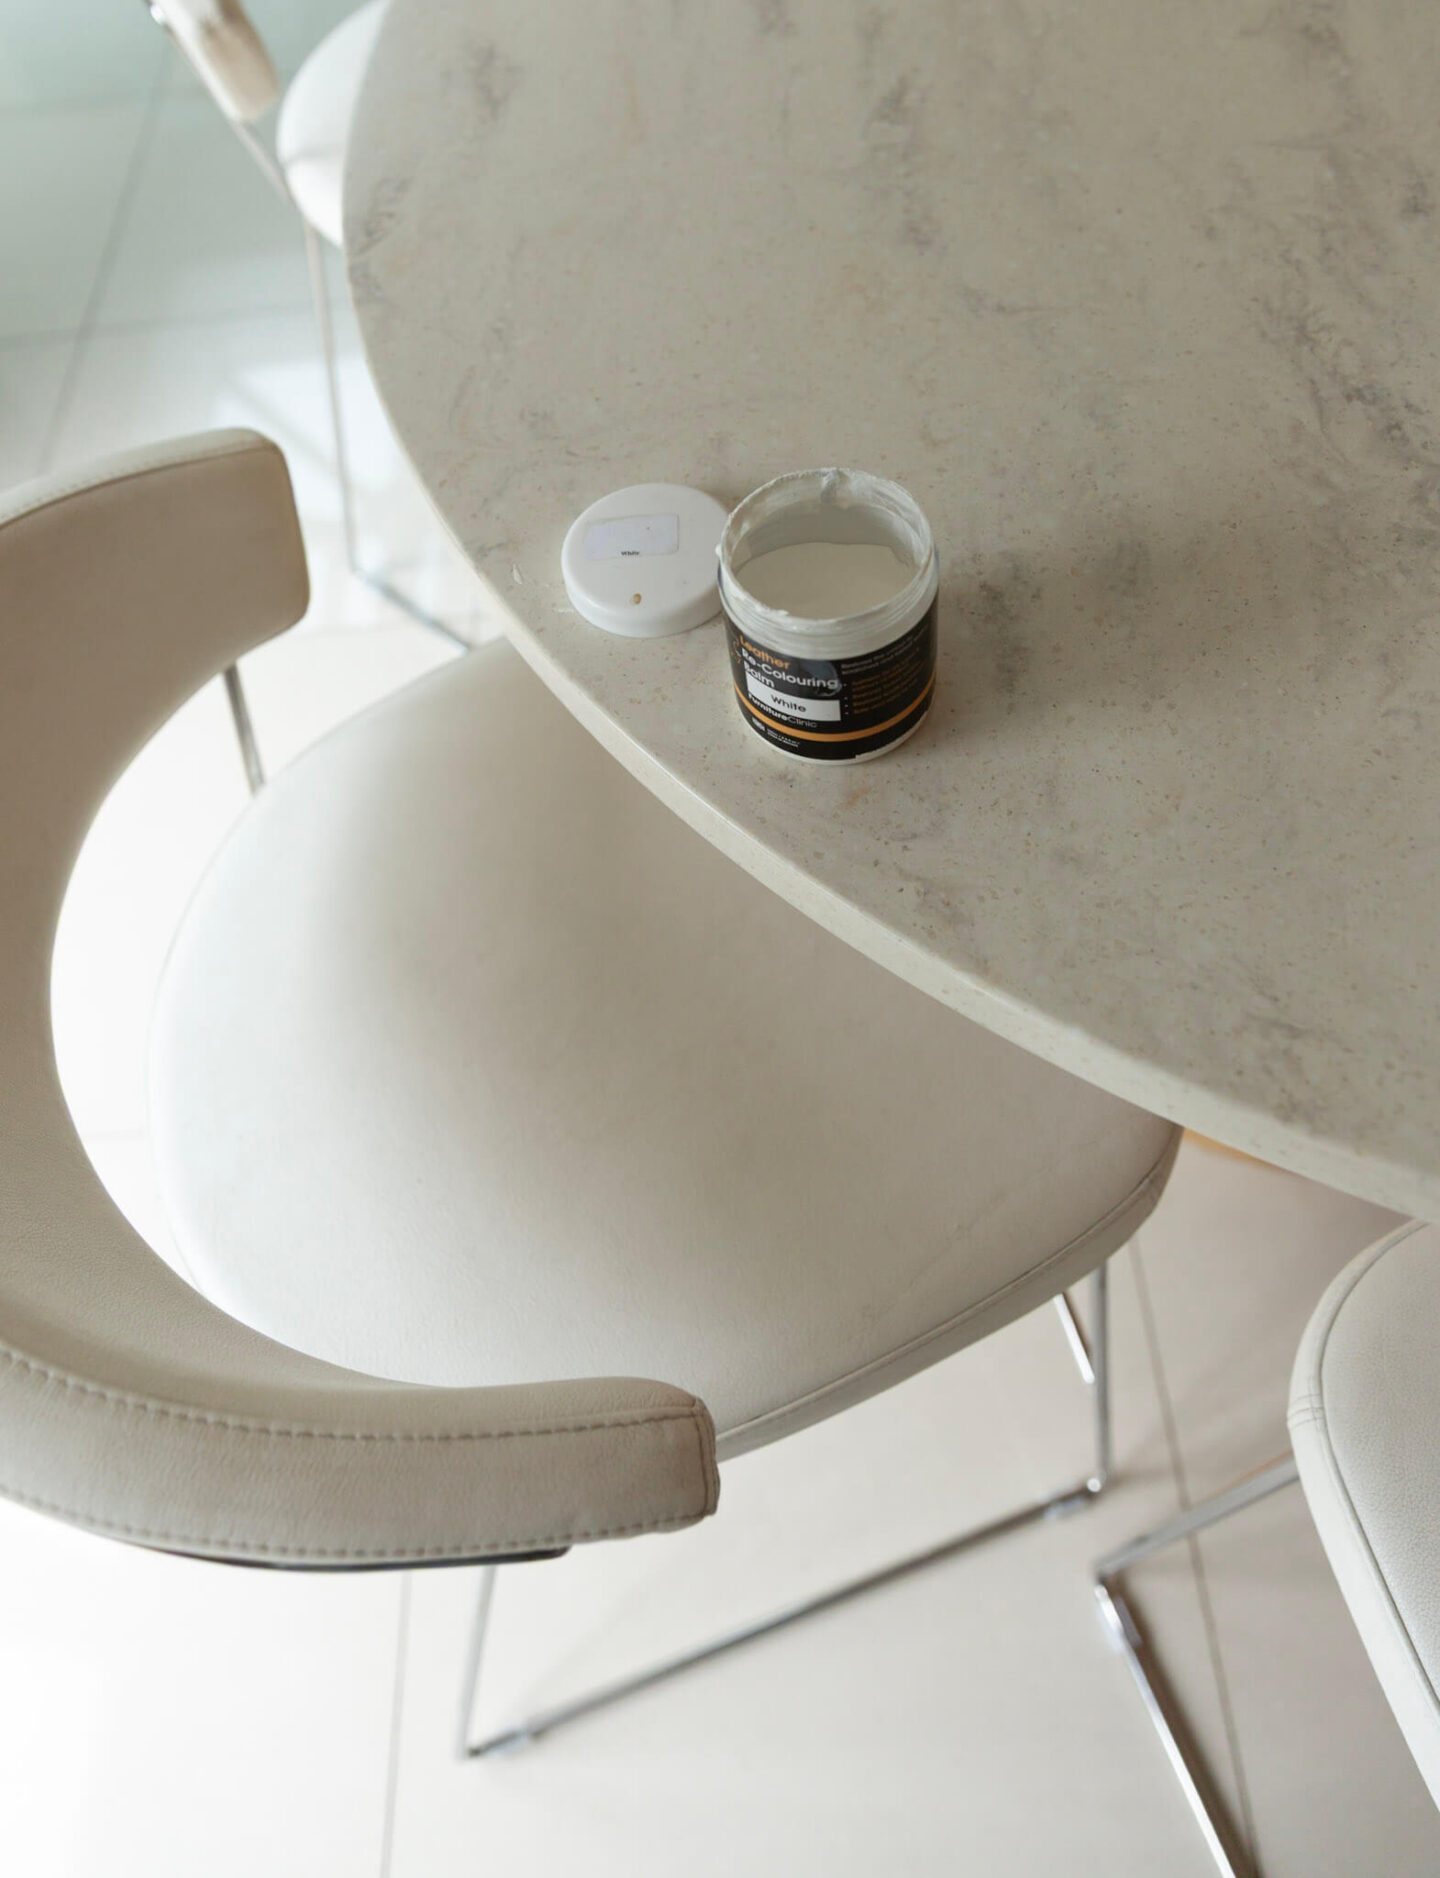
The recolouring balm used to restore the leather.
If your bar stools are fairly new, you may find that a good clean is all they need. If they’re light-coloured and five years old like mine, you’ll probably need something a bit more than that. I decided to go with the leather recolouring balm because the stools weren’t completely destroyed. The leather looked dry in places and had started to crack slightly, so choosing something that would also help condition and moisturise it seemed like the best option. I also knew from reading the reviews that it would be easier to apply than a proper leather paint and a lot more forgiving if I made a mistake.
I’m really glad I went with the balm because it was incredibly easy to use and not messy at all. Just bear in mind that you may need several coats, so allow enough time for each one to dry properly. I applied the balm with a sponge and it took around three coats to get the result I was after. I had to spend a bit more time dabbing the worn and damaged areas to help the colour take evenly. For some of the really dry patches, I even ended up using my fingers (wear gloves!) to work the balm into the leather because it wasn’t absorbing as easily. And then, I left a half a day between each coat to make sure everything was fully dry. Don’t be tempted to apply too much balm at once, as the leather won’t absorb it properly. The key is to build up the colour gradually and work it gently into the grain. Once you’ve applied the balm with the sponge, leave it for about 10 minutes and then buff away any excess using the Furniture Clinic applicator or puffer pad. This helps even everything out and removes any excess paint. If you’re still not happy with the coverage, simply repeat the process until you get the result you’re after. If you find that the leather colouring balm isn’t providing enough coverage, you may want to try a leather stain or leather colourant instead. Just remember to test it on a small, inconspicuous area first to make sure the colour is a good match for your furniture.
Step 3: Apply Leather Protector Cream
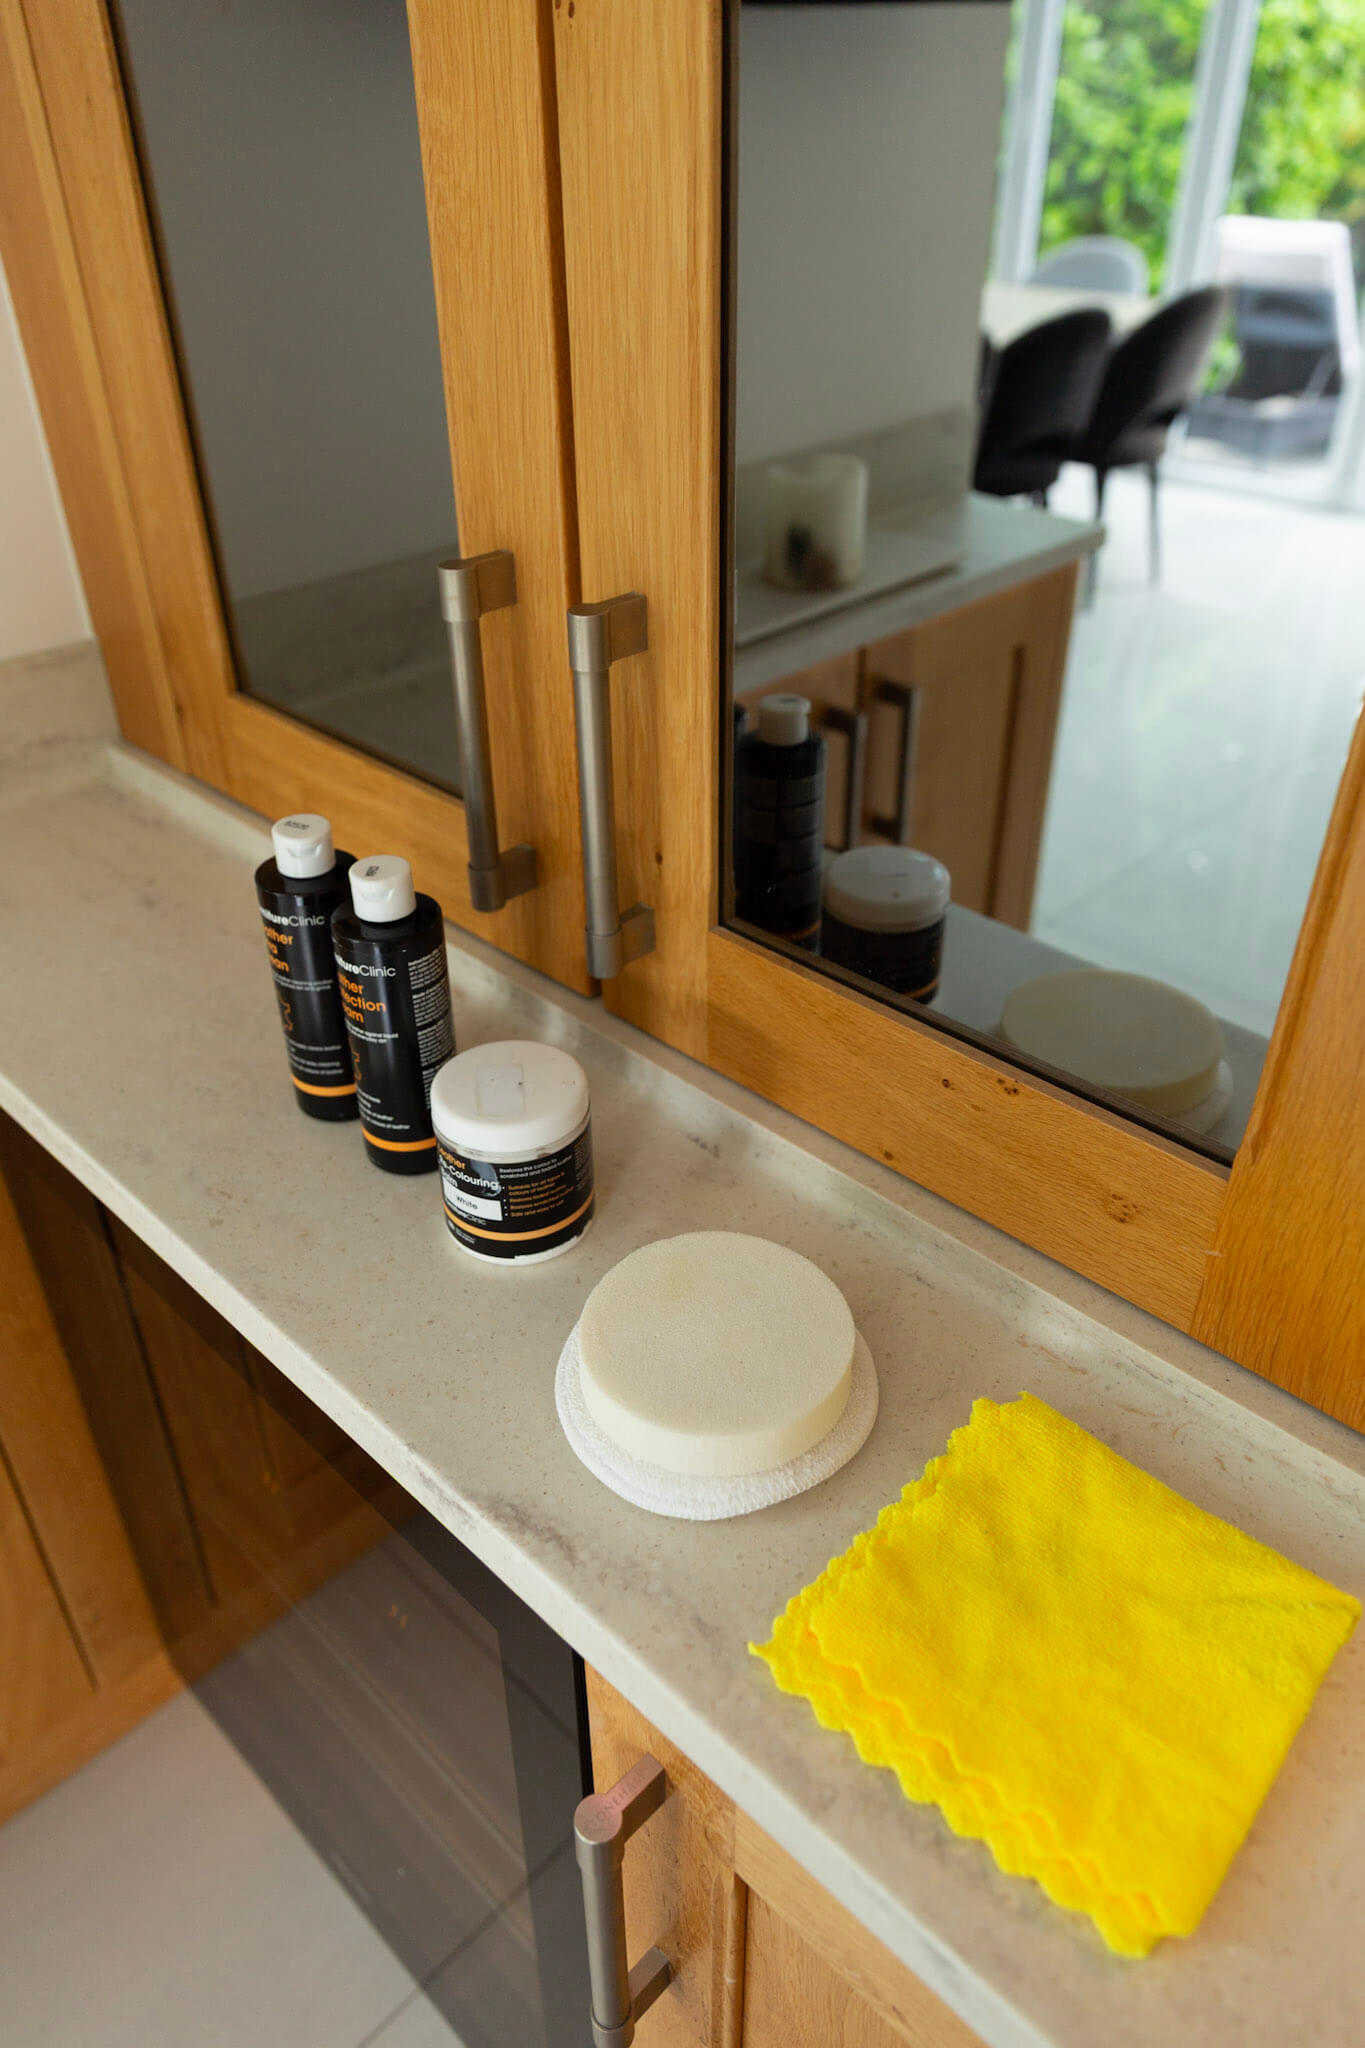
Cleaning sponges, applicator sponge and microfibre cloth.
Don’t be tempted to skip this final step, as it helps protect your newly restored stools and leaves the leather looking nicely conditioned. Looking back, I wish I’d been using a leather protection cream from day one, as I think it would have made a big difference to how well they held up over the years. The protector creates a barrier that helps repel both oil- and water-based stains, which should help prevent future marks and damage. I applied it using a microfibre cloth, although you could just as easily use an applicator sponge. I was fairly generous with the protector, and the leather still seemed to absorb quite a bit of it. Once applied, the stools looked noticeably more nourished and conditioned. I then left them for 24 hours before using them again.
I’m also pleased to report that there was no colour transfer whatsoever. I even tested it by rubbing the surface with a clean microfibre cloth to see whether any of the new colour would come off, but it didn’t. If you use the applicator sponge correctly and allow the colour to dry properly in between coats, you shouldn’t have a problem.
Step 4: Ongoing Maintenance
I’m a realist, and I know that although this restoration was a success, the bar stools won’t stay bright white forever. I plan to clean them regularly with leather cleaning wipes and give them a refresh much more often than once every four or five years. One thing I’ve learned is that every time you use a leather cleaner, it’s worth following up with a leather protector to keep the material nourished and protected. Real leather is such a beautiful material, but it does need a bit of care and attention to keep it looking its best. Personally, I think these Calligaris bar stools actually look better once they’ve been lived with for a while. They develop character without losing their elegance, which is one of the reasons I love them so much. I’m fully committed to looking after them properly so they last for many years to come.
If your leather furniture is badly damaged, it’s also worth speaking to a professional restoration specialist. Although white leather bar stool restoration is totally doable at home, some repairs are beyond a simple DIY fix and there’s no shame in calling in an expert when needed.
Just to be transparent, this is not in any way a sponsored Furniture Clinic review, although I have collaborated with them on something entirely different in the past. See my reel here for cleaning a stove.
Taking care of beautiful leather furniture is absolutely worth the effort — and I hope this post gives you the confidence to give it a go yourself!