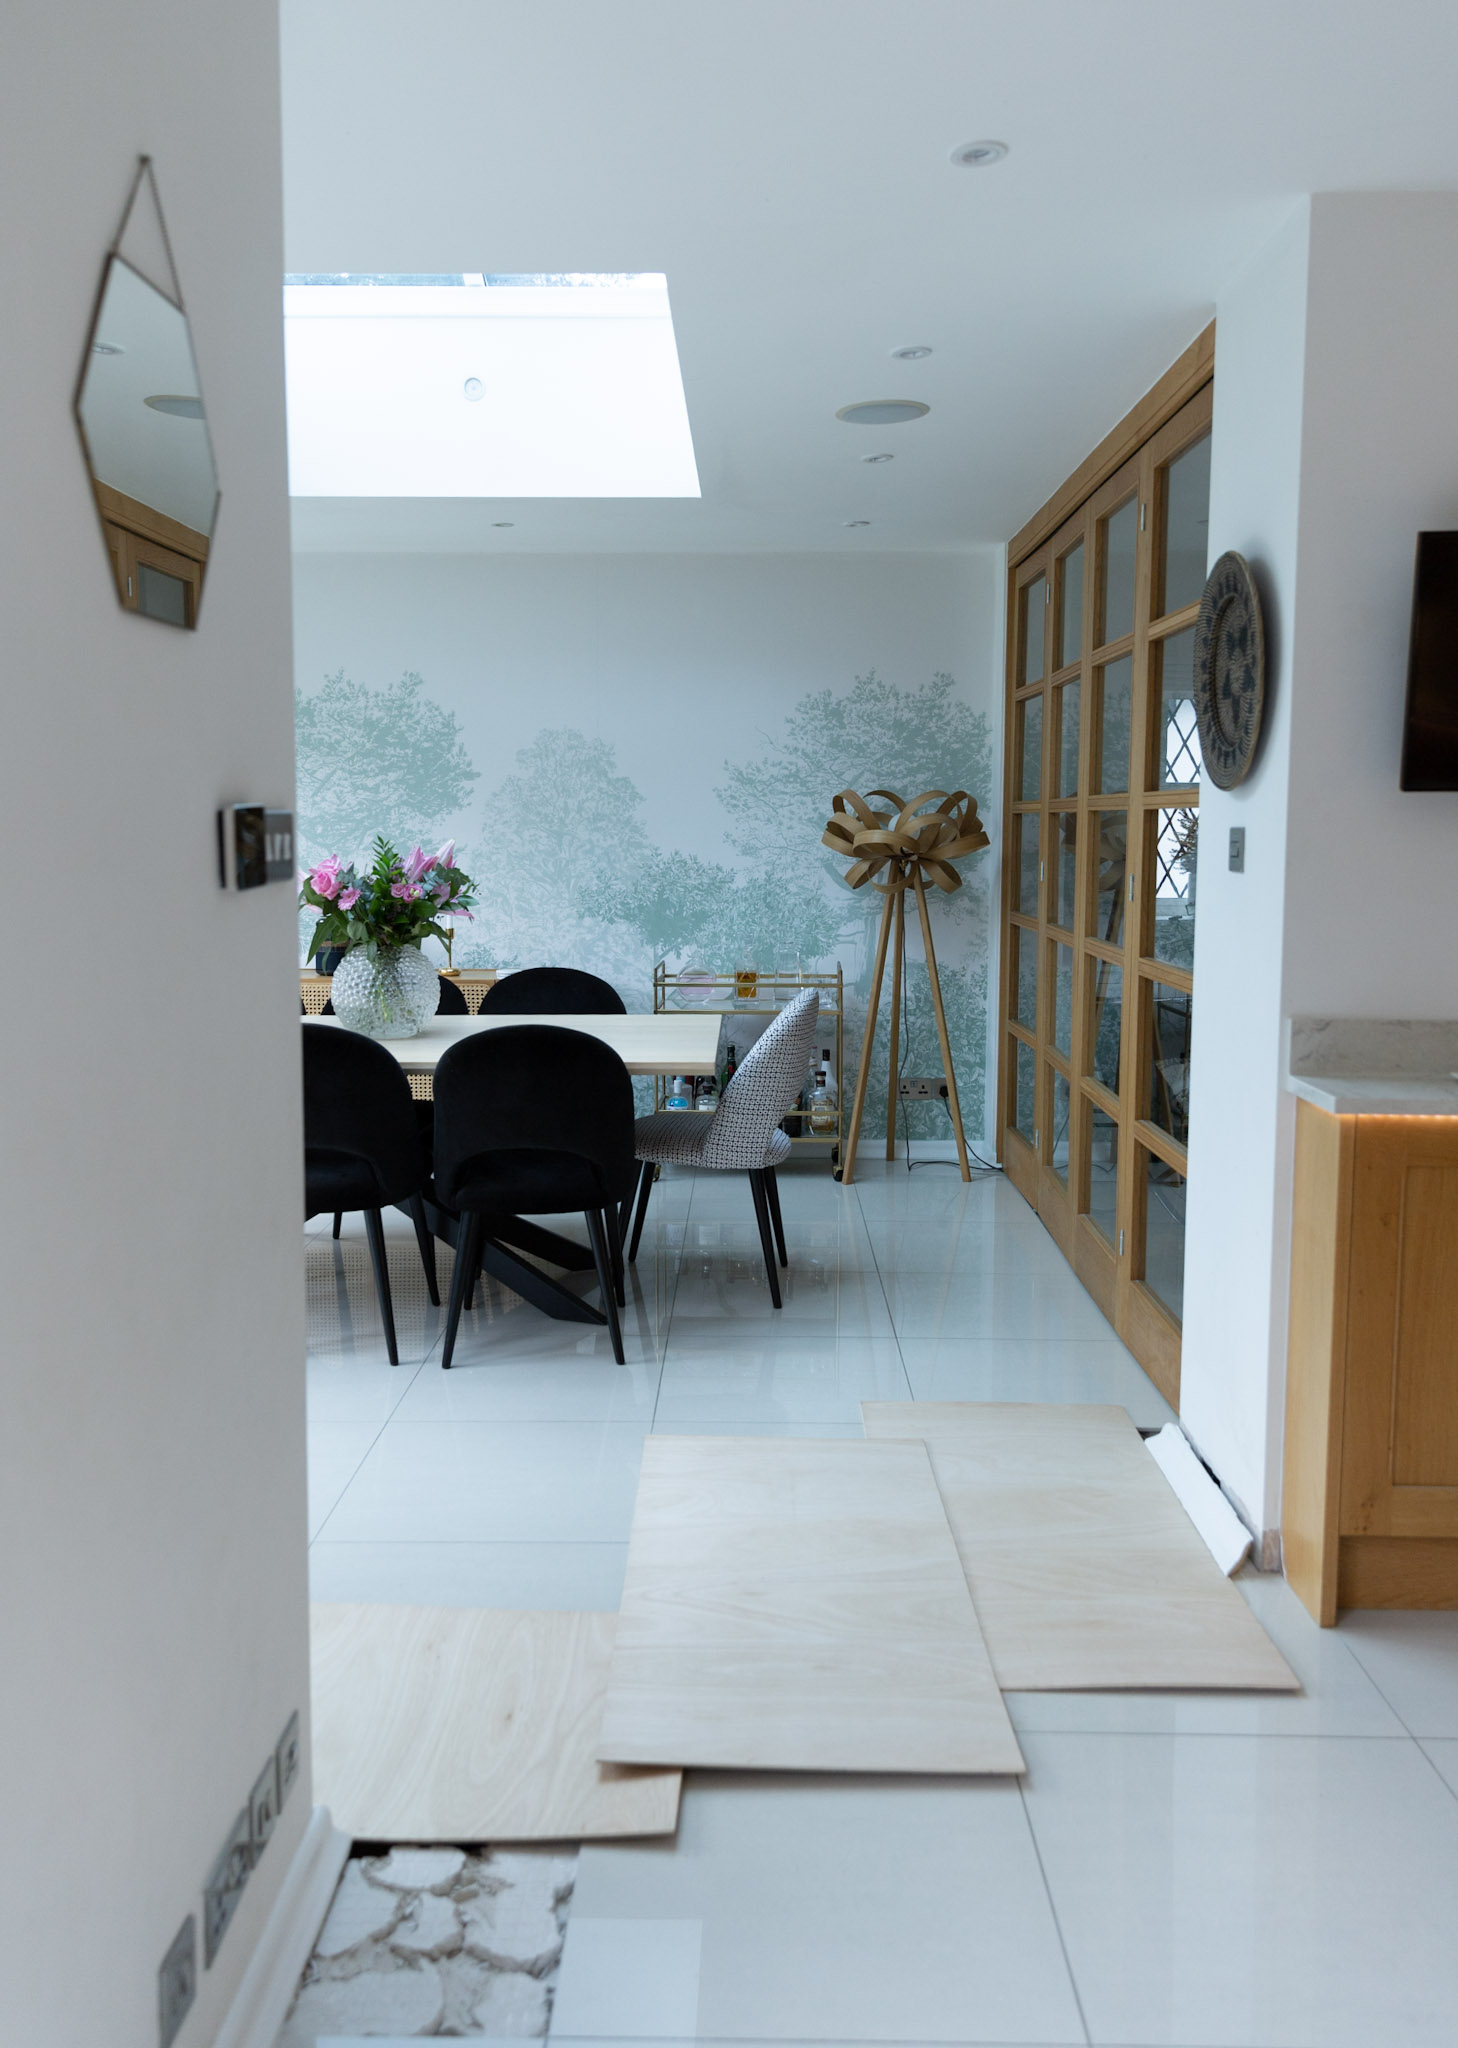
If you follow me on Instagram, you may remember the leak ordeal we had earlier this year. Technically it all started last year (just before Christmas) when our boiler pressure dropped drastically. We were left without heating, but thankfully had just installed a new wood burning fireplace earlier in the year. It took us almost 5 months to locate and fix the leak. As it turned out, it wasn’t quite as simple as we had hoped. I’ve dealt with a leak before (in our previous home) and it was a breeze compared to this. I mean where do I start.. Fixing this leak involved ripping out the beautiful porcelain tiles in our dining room. These tiles were the tiles the previous owners installed so we only had 6 spare tiles. And of course the tiles were discontinued so it was impossible to get a hold of the exact ones. Needles to say, the past few months or so have been a bit stressful (major understatement) but we did get it all fixed in the end and I am hoping that this post will help someone who is struggling to find and fix a leak in their own home.
HOW IT ALL STARTED
On a chilly December Morning one of our radiators stopped working so we called a plumber over to fix it. I think it needed a new valve or something. It was also incredibly noisy and dripping a bit which prompted us to get it sorted. As part of this ‘fix’ the plumber decided to flush all the radiators. Apparently they need flushing every 5 years or so. I didn’t think much of it and got on with my day. Only to find out (after an hour or so) that the heating wasn’t going back on. We also noticed that the boiler pressure had dropped to zero and tried topping it up. After about 20 minutes it dropped again to zero which meant that the heating wasn’t going back on and I started to properly panic (it was December after all!). I called the plumber only to be told it was nothing to do with him. He said our water pipes were old and that he had done his job. After many phone calls he came back to see if he could locate the leak (he couldn’t) but he added some leak seal to the system to see if it would help. Now I know that we live in an old house with old pipes which are prone to leaks, but if he hadn’t flushed the system on a cold winter’s day we would’t have lost our boiler pressure. Most likely we already had a small leak somewhere but whatever he did made it so much worse. The pressure from flushing the system got the calcium build-ups in the copper pipes moving and that’s all it took. We officially had a massive leak on our hands and nobody to fix it.
LOCATING THE LEAK
Since we had no visible signs of water damage anywhere, it was quite obvious that the leak would have to be downstairs. Annoyingly most of our ground floor is covered in porcelain tiles and parquet flooring. The parquet flooring is original so I was really reluctant to touch it unless we had some certainty that the leak would be underneath it. We had multiple independent plumbers over to try to locate the leak. None of them wanted the job. Finding this leak was too difficult and time-consuming for them. Thankfully we have a home insurance policy with Home Serve (which has been a hit and miss in the past but that’s a different story). We contacted Home Serve and they sent a leak detection team over to try to find the leak. We had to wait a week or so, which wasn’t ideal, but all the other leading leak detection companies had even a longer wait.
THERMAL IMAGING
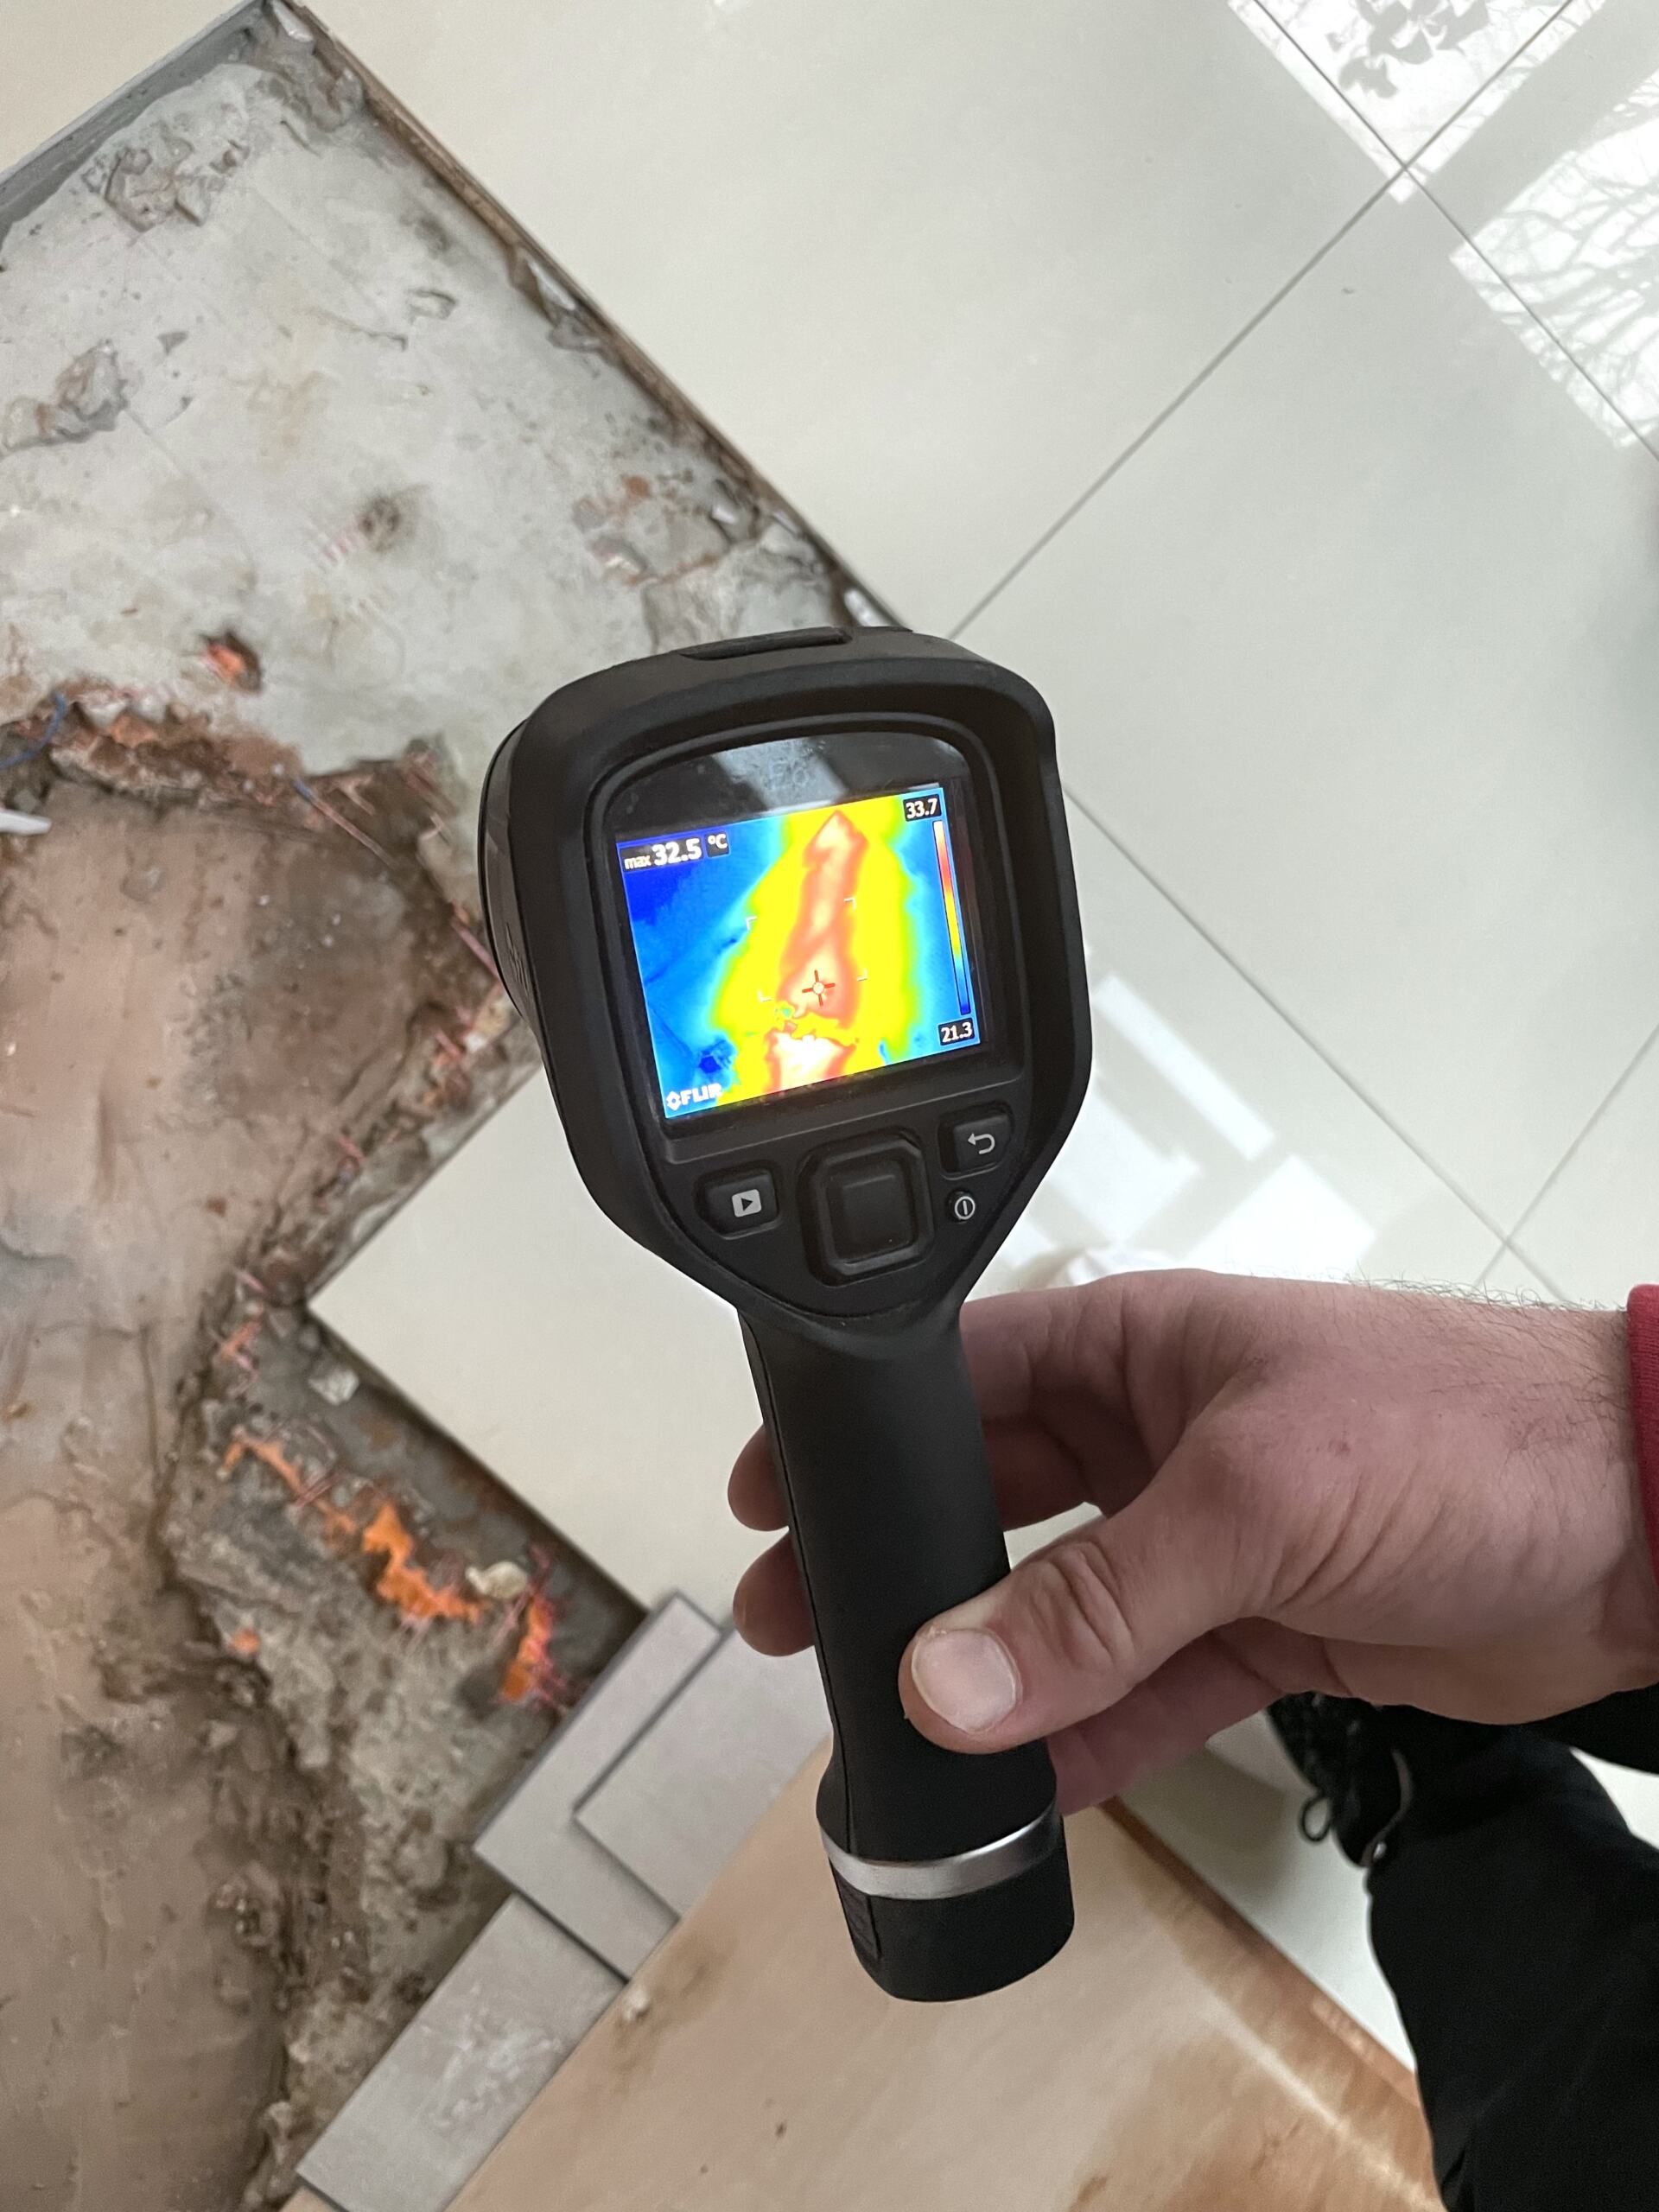
It took Home Serve’s leak detection team three attempts to find the leak. They started with thermal imaging first which is the least non-invasive and quickest way to locate a leak. The process involves using an infrared camera that detects subtle temperature differences and patterns (ie. hot and cold areas) behind walls and floors. It can take a whole day for them to do this (depending on how big your house is). Thankfully they were able to narrow it down to one room in the house which was our dining room. It wasn’t ideal as my worst nightmare was having to rip out those beautiful porcelain tiles. Since we had only 6 spare tiles we asked them to pinpoint the exact areas (ie. tiles) where the leak would be. Now this was never going to be 100% accurate, but there was clearly a river flowing under tiles leading up to our radiator on the thermal imaging, so we had some hope. I should add that the heating was off when the thermal imaging was carried out. To be honest, I think I was just glad that they found something because it meant that we had some hope that this thing could be fixed one way or another.
RIPPING OUT THE DINING ROOM TILES
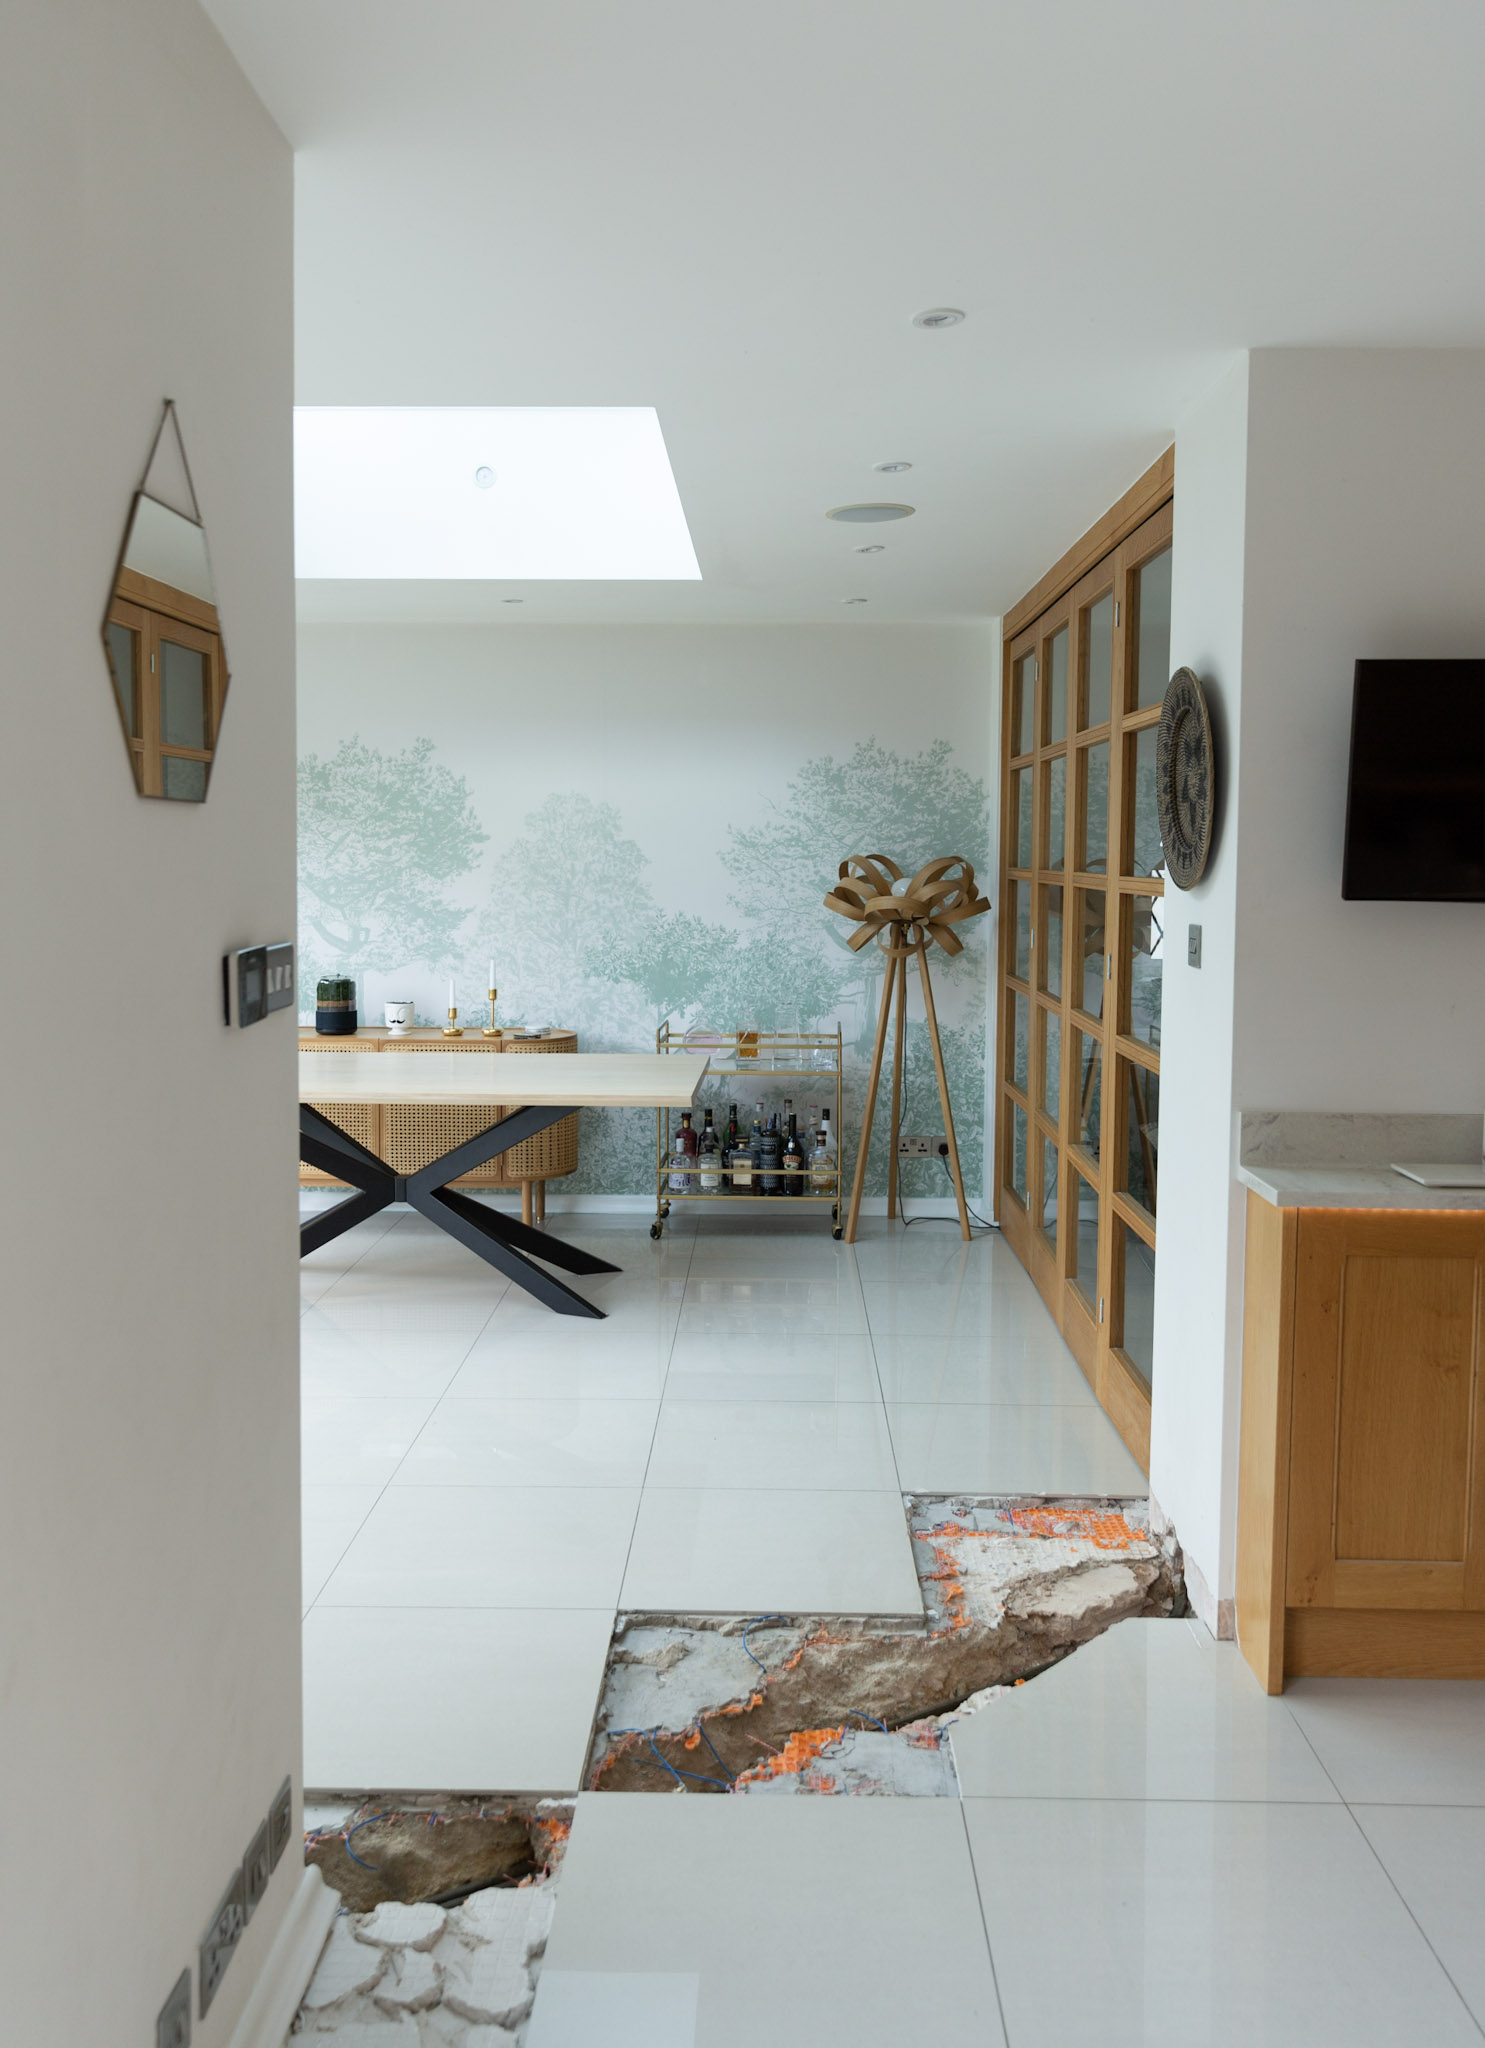
Home Serve sent a different team to carry out the work, ie. break our porcelain tiles and gain access to the water pipes. The team were great but they did damage a few additional tiles in the removal process. I was really reluctant to replace the whole floor as it’s part of our open-plan living space stretching all the way through to our kitchen. Insurance would have covered a new floor but I just didn’t want to live on a building site for months. Plus I liked the floor as it is. Once the tiles were up it was hard not to spot the leak. There was a little river underneath which explains the massive drop in boiler pressure. The old copper water pipe had corroded so badly it had multiple holes in it. I was so happy (thinking that was the end of our leak drama). The guys replaced the damaged pipe and wrapped it in an anti-corrode pipe tape and covered it in concrete. We decided to wait a few days to see if the boiler pressure would drop again just to be sure.. and it did.
GAS DETECTION
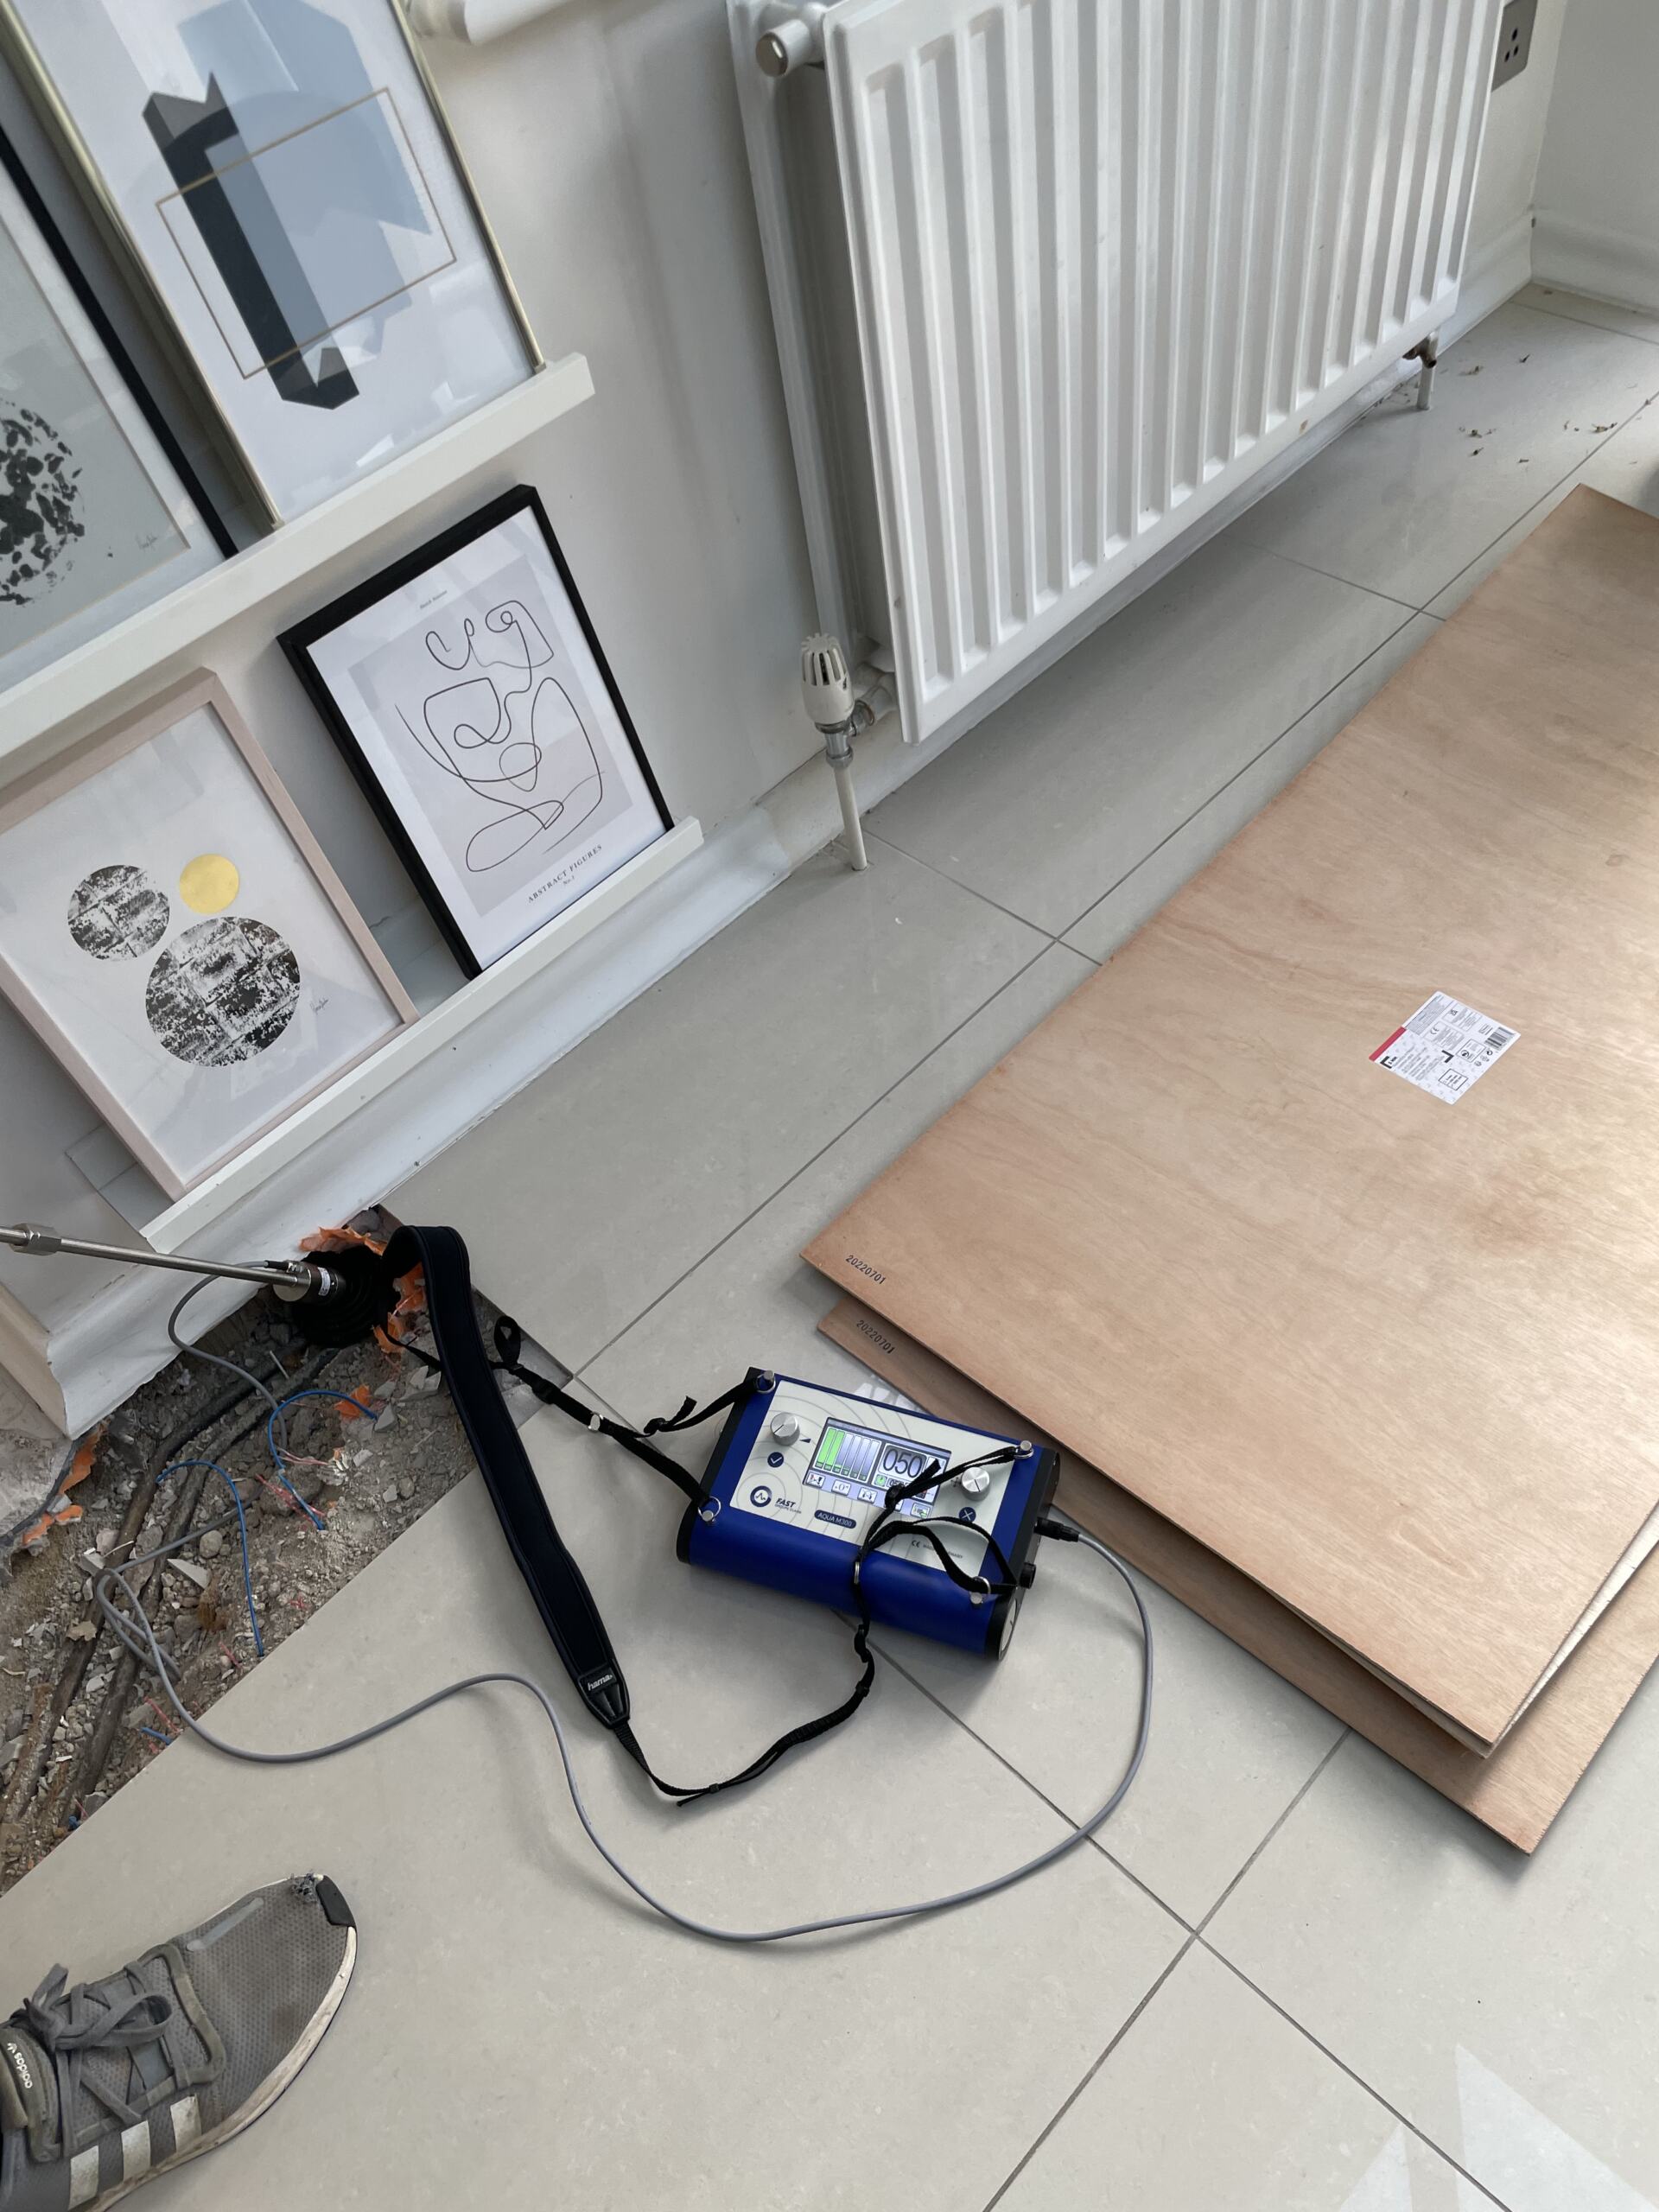
Despite us locating the leak and repairing the cracked pipe our boiler pressure kept dropping. It took a few hours for it to drop to zero this time which meant that the leak was smaller but there was definitely another leak somewhere still. We got in touch with Home Serve again and they sent the thermal imaging team back. This time they also did gas detection to be 100% sure there were no other leaks in the house. This means that gas is injected into the water main to detect any water leaks in pipework. Again they detected the same area (dining room) and confirmed that there was a leak probably on the exact same pipe leading up to the radiator. Of course to be totally sure we would have to remove more tiles to gain access. At this point we had already broken two tiles (and damaged another two) and only had few spares left. The leak team marked the area with tape (again) and a different team came to remove more tiles and fix the leak. They also had to remove the newly laid concrete which just felt like such a waste. Once they started removing the tiles it didn’t take long to realise that there were more cracks in the pipe leading up to the radiator. And that meant that more tiles would need to come up.
REROUTING THE WATER PIPE
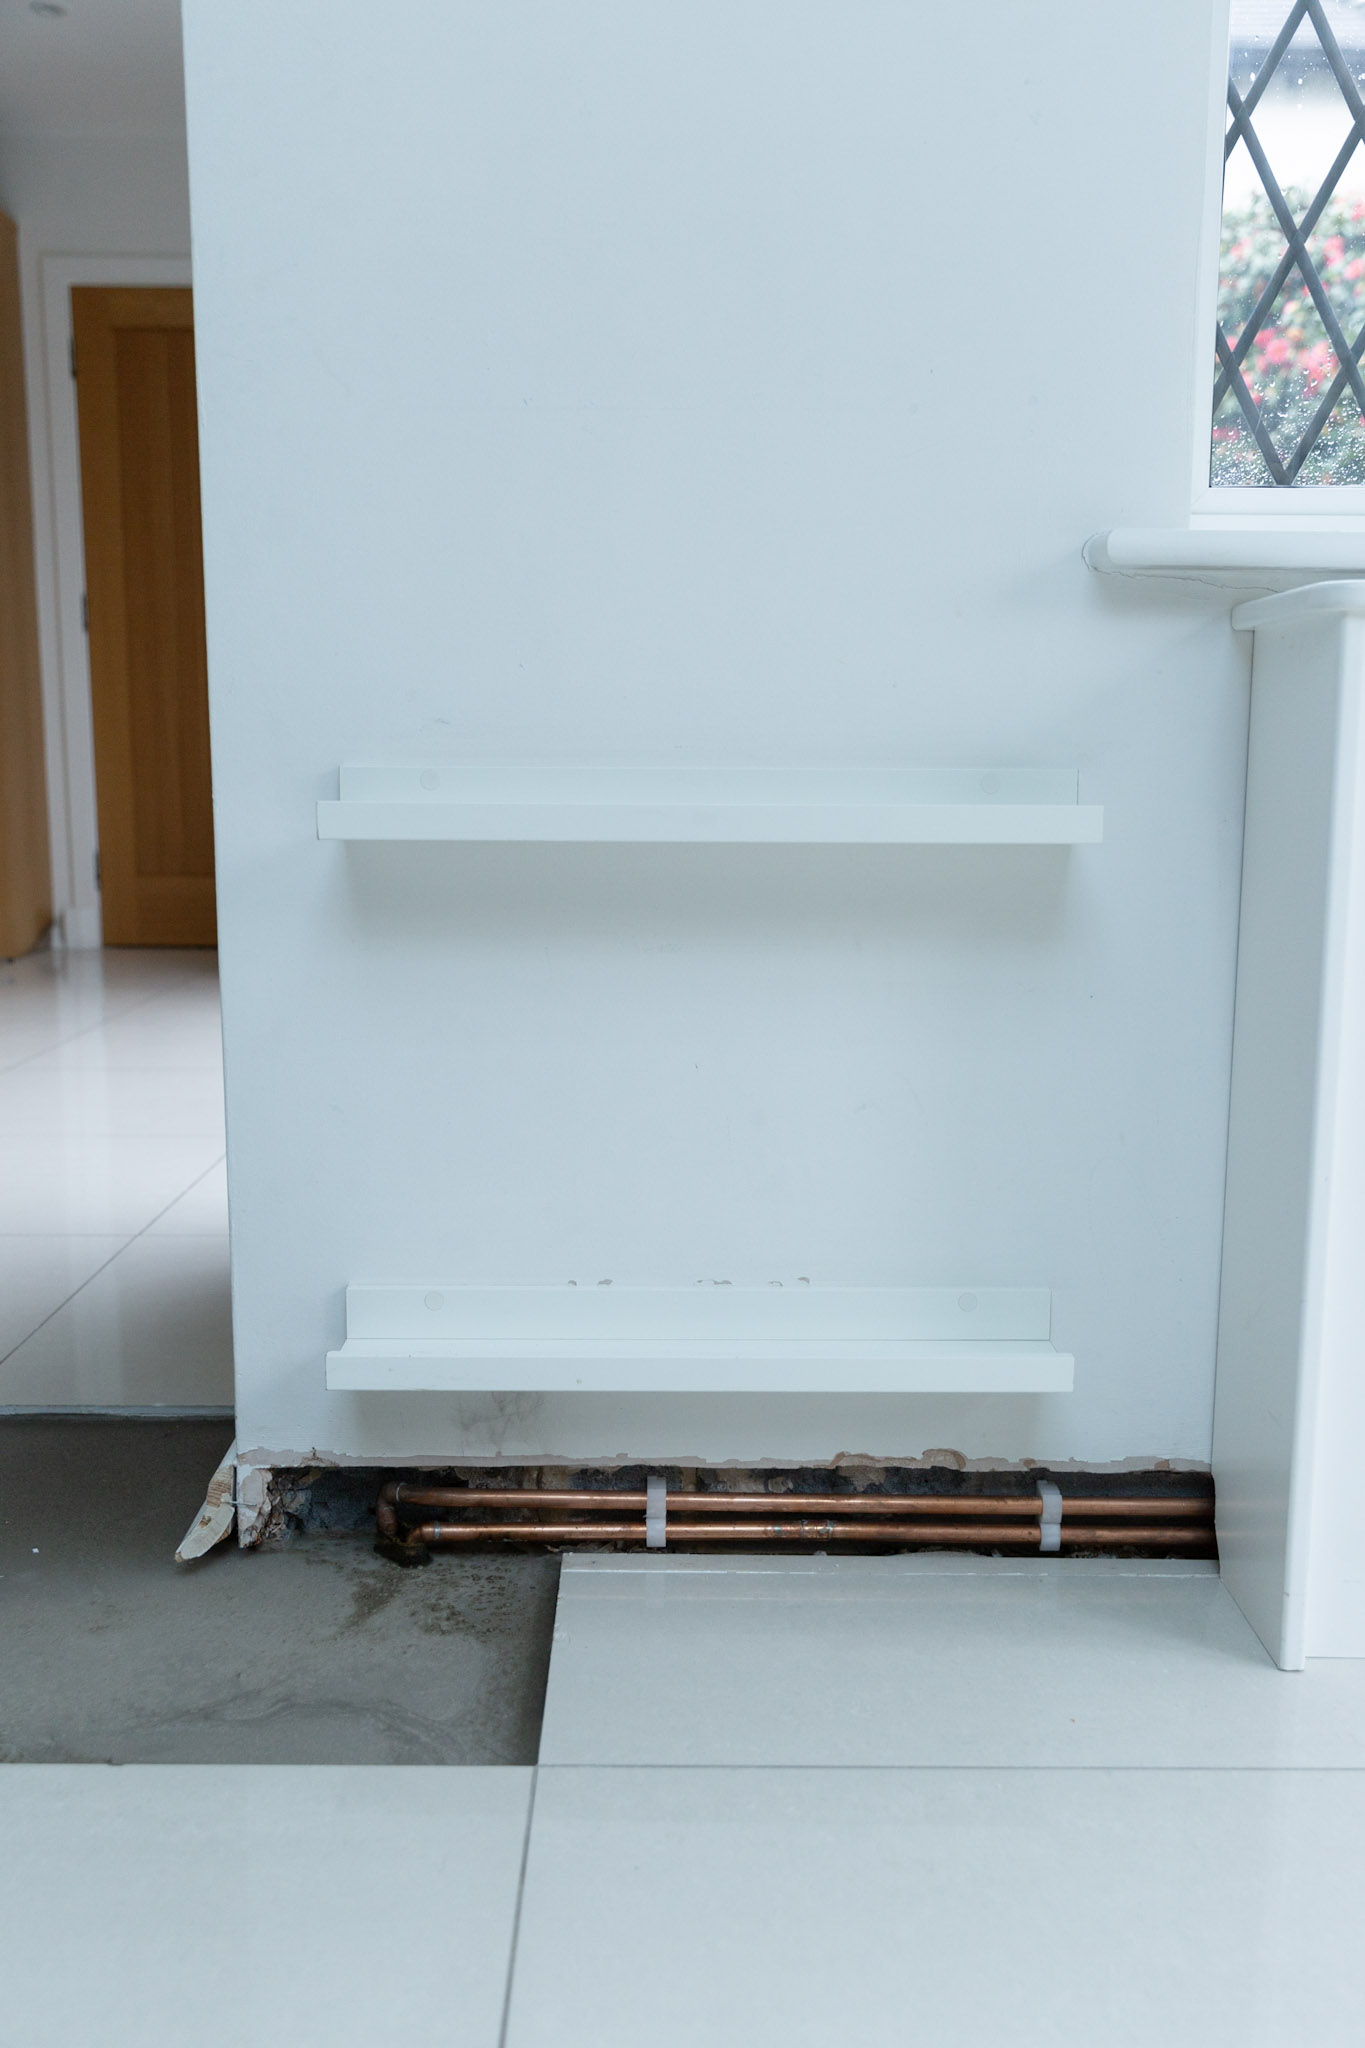
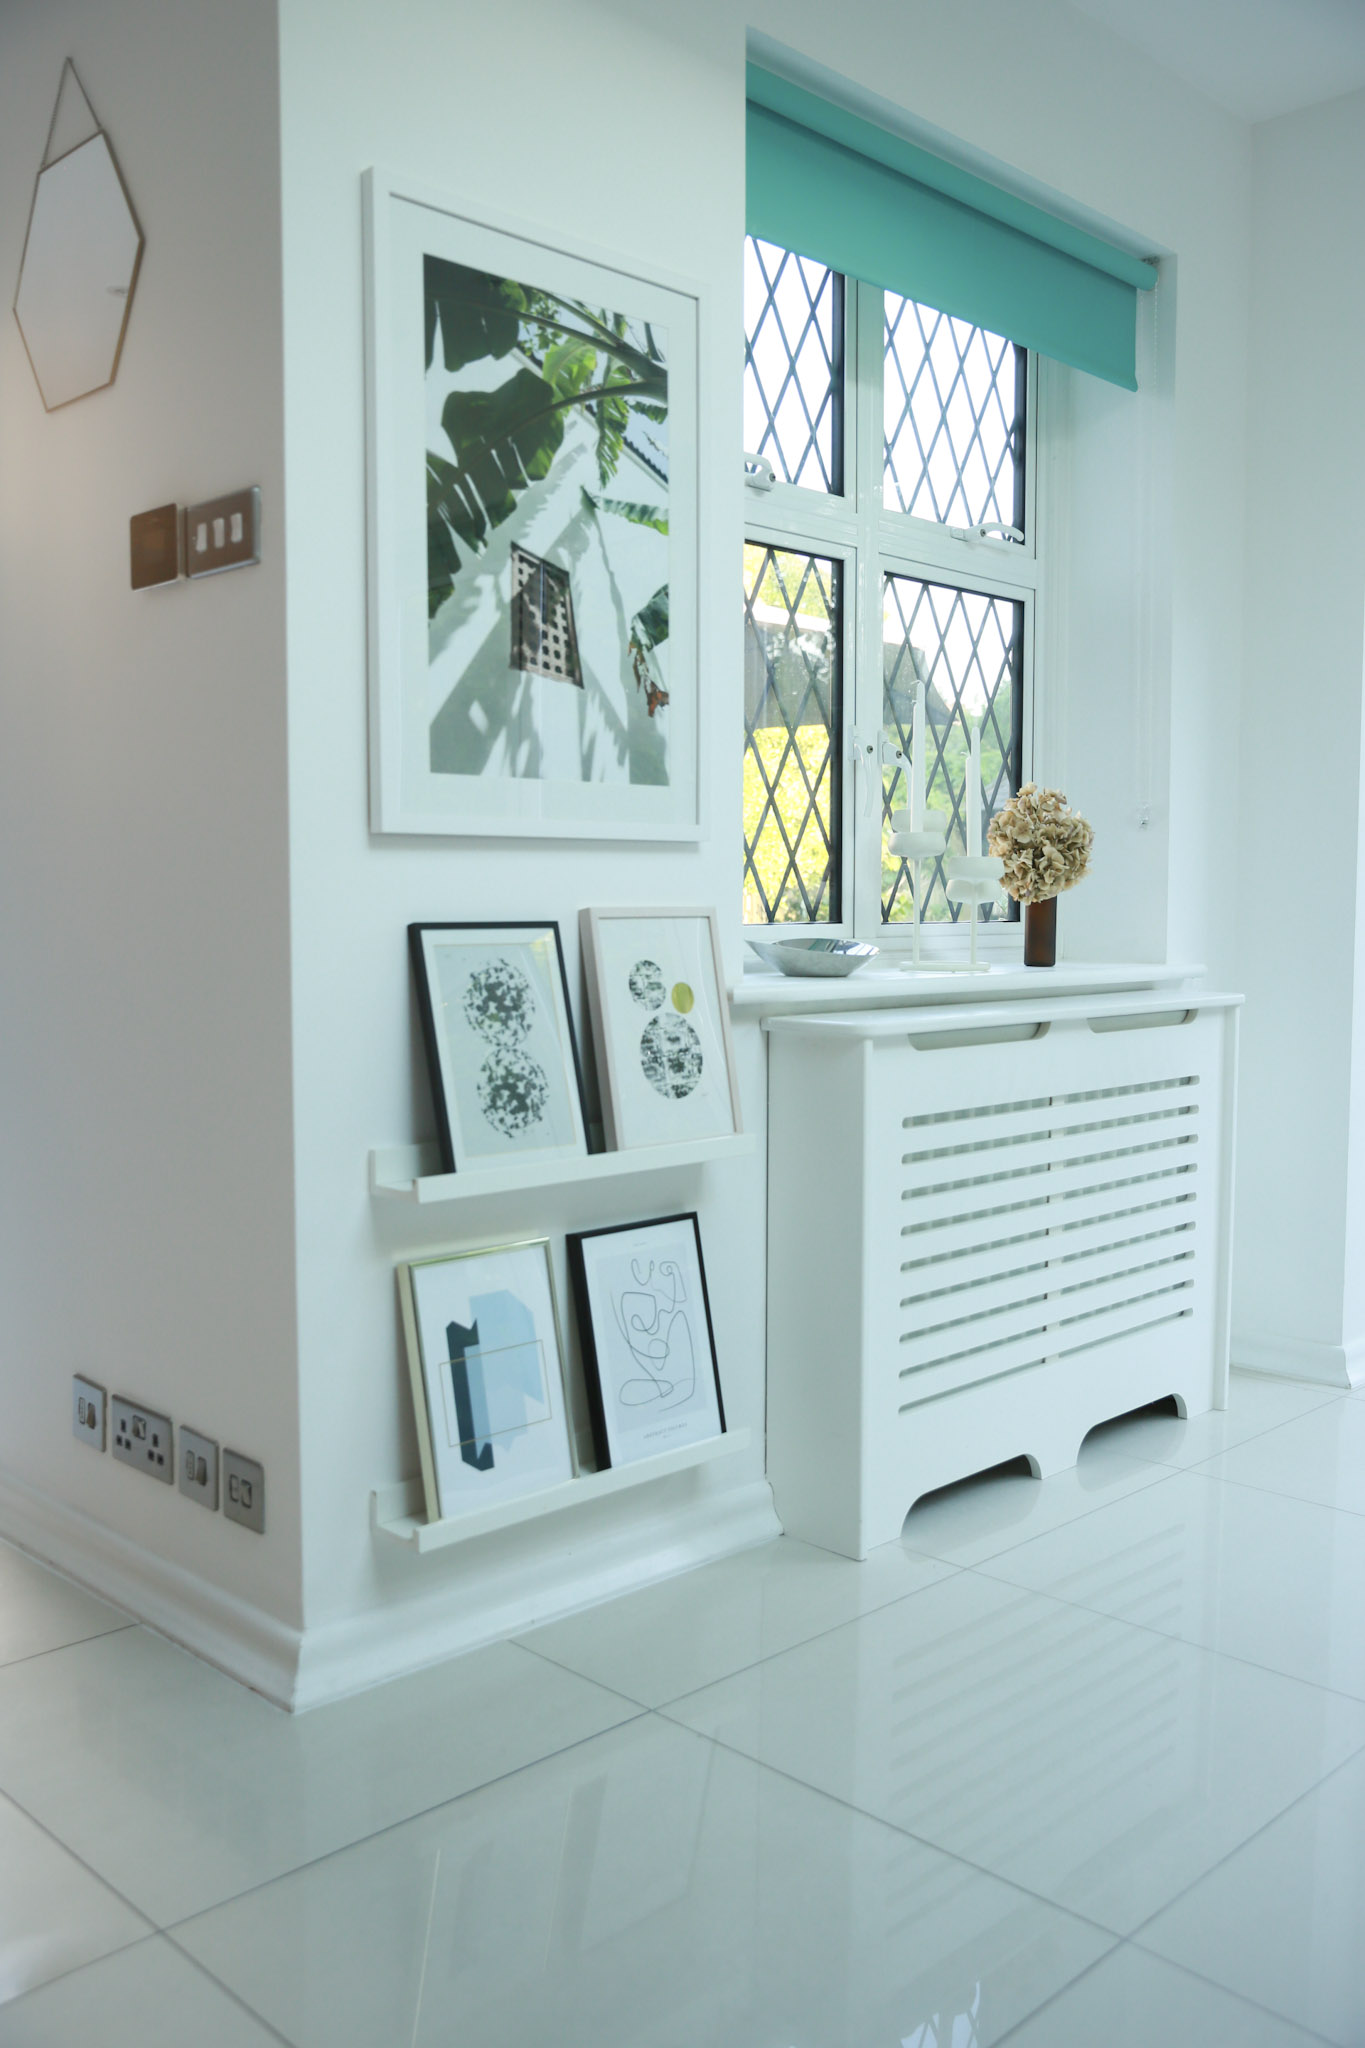
Since we had only few spare tiles left we had to come up with another solution. We didn’t want to risk losing and damaging more tiles in order to gain access to other leaking pipes. So instead of lifting more tiles, we decided to cap the existing water pipe under the floor and install a new one that would go behind the skirting board and connect to the radiator. This was such a genius idea and it worked perfectly in the end. Skirting board had to come off and we had a painter and plasterer over to fix it afterwards but it was so worth it. You really can’t tell any work has been carried out in this corner at all thanks to the radiator cover. And it meant that those tiles could stay intact.
LEAKING BOILER
I am not sure how much our leaking boiler contributed to our dropping boiler pressure but I’m sure it didn’t help. We decided to have our boiler serviced by an independent plumber who found that it was never really properly serviced before (although we had just had it serviced 6 months ago by someone else). As it turned out there was another leak inside the boiler and the whole thing needed replacing. Most likely both the leaking boiler and the cracked water pipe contributed to the dropping boiler pressure. Once we replaced the boiler the pressure stayed where it should be. It’s normal for it to fluctuate a little but we no longer had to keep topping it up which meant it was working as it should.
REPAIRING THE TILED FLOOR
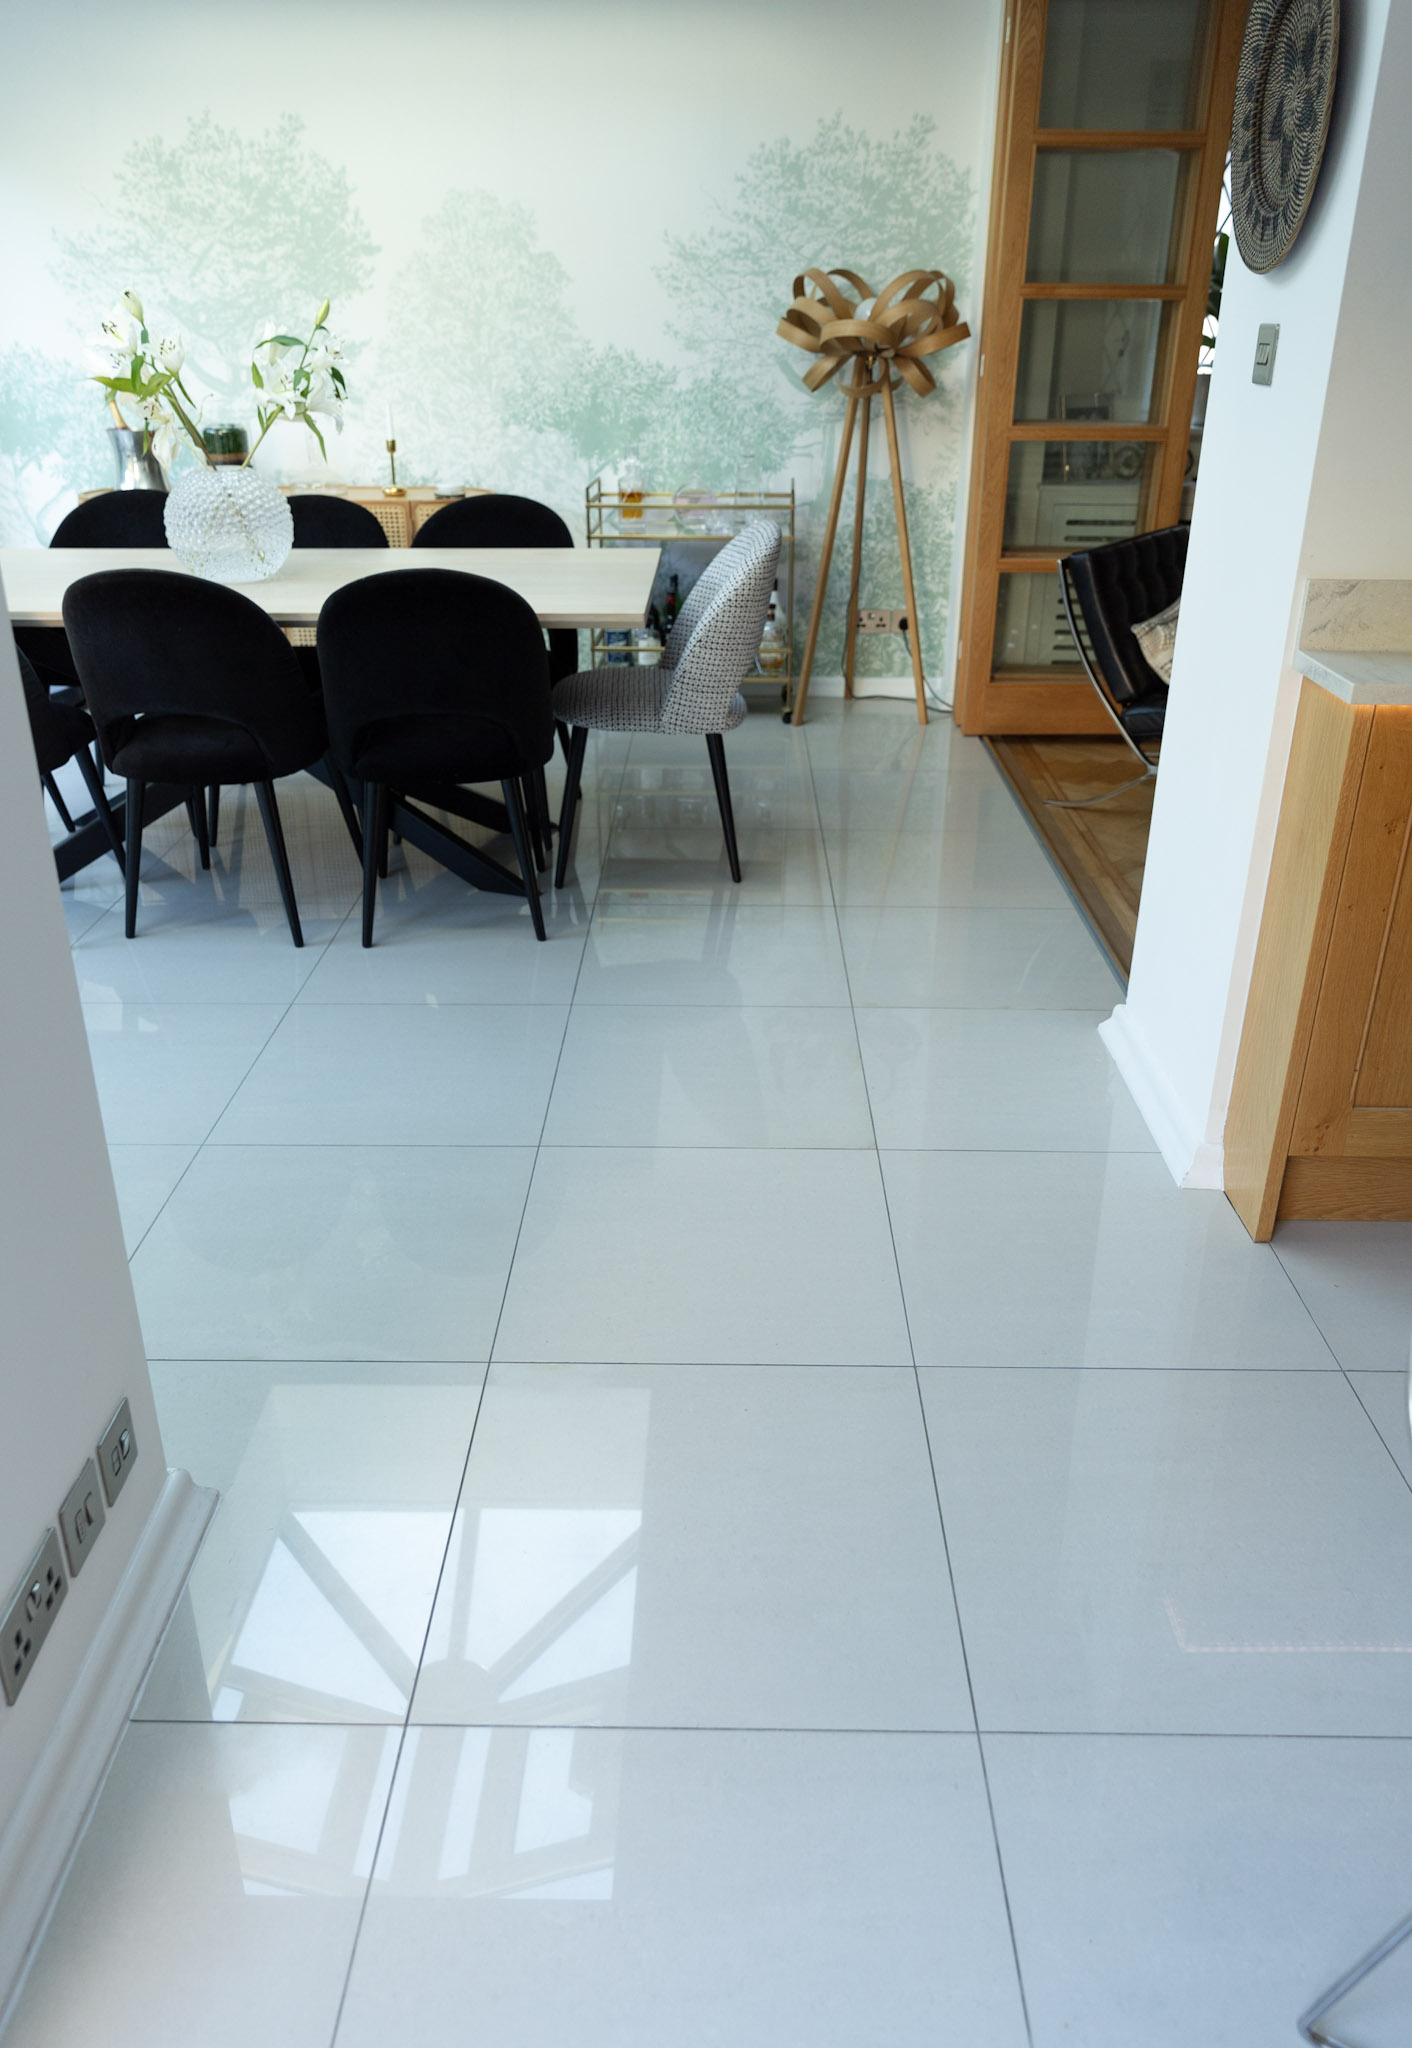
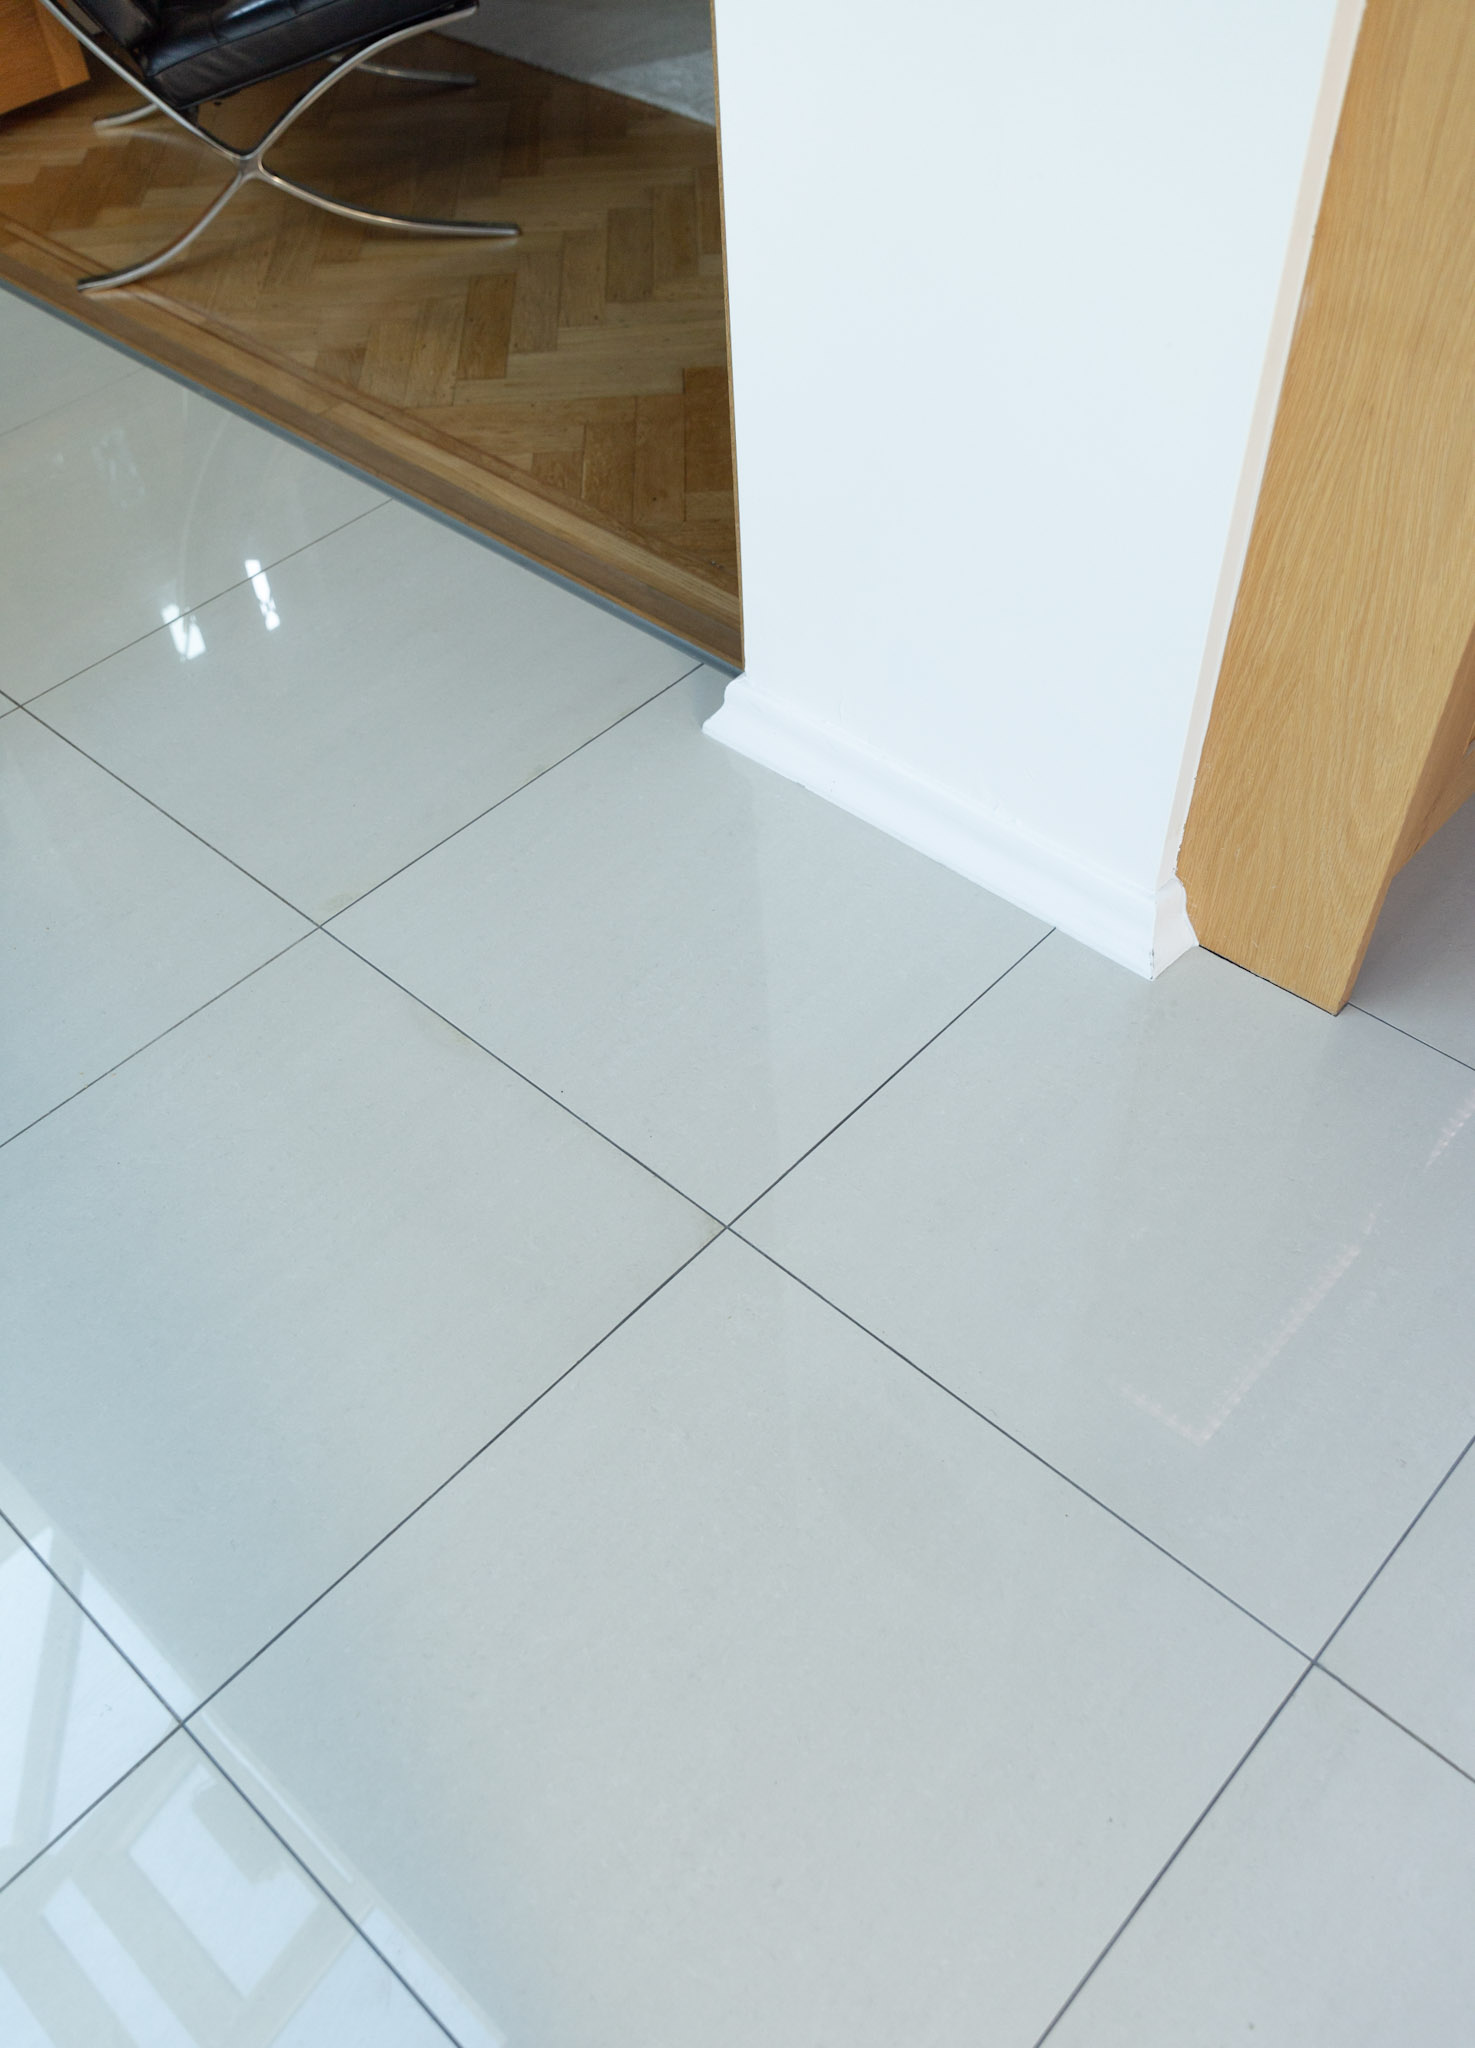
Porcelain is probably one of the worst types of tiles to remove. It is very fragile and will break easily. Although we only removed three tiles in total, quite a few surrounding ones got damaged in the process. It wasn’t an option to replace these as we didn’t have enough tiles. So we put the spares (that we did have) back on, after the floor was levelled of course. We then got a tile repair specialist to fix the existing cracks. Polished tiles are one of the hardest to repair as you will never get the shiny finish back but I was astonished how well the tiles looked in the end. If I look close up I can see where the repairs are but nobody else would be able to tell. I posted a reel on Instagram of the process if you want to see more!
I wanted to give it a few months before writing this post just to be sure that we have truly fixed the leak once and for all. I am so happy to say that since April our boiler pressure has been absolutely fine and heating has been going on as normal. The past 5 months have been so stressful, not just because we had limited heating, but the uncertainty of it all has kept me awake at night. I’ve been on every leak/DIY chat forum I could find looking for answers but couldn’t find anything that would give me much hope. We only bought our house two years ago and for something so big to go wrong so soon really made me question what have we done. But leaks do happen, and speaking from my very recent experience, can be fixed and dealt with. I do feel for anyone who is struggling with something similar right now. My advice would be ‘don’t give up and keep looking until you find the leak”. Leaking pipes are not only bad for the house but for the foundations too. It’s also worth checking your home insurance and maybe getting another policy with Home Serve or similar company, especially if you live in an old house like we do.
Have you ever had to deal with a leak?