* In partnership with Domkapa.

This blogpost has been long overdue. I totally underestimated the effort (and the budget!) it would take to make this room look more like me. We also had some supply and demand issues and of course, finding the right tradespeople to work with took time. There was just no way we could have completed everything in one year (or even two) as we simply didn’t have the money to do it the way we wanted.
Instead, I took a rather relaxed approach to this reno. I thought if something is meant to be, it will come our way; whether that’s the right people to work with or the perfect couch. Most importantly, I made sure I didn’t settle for anything, which was the best decision ever.
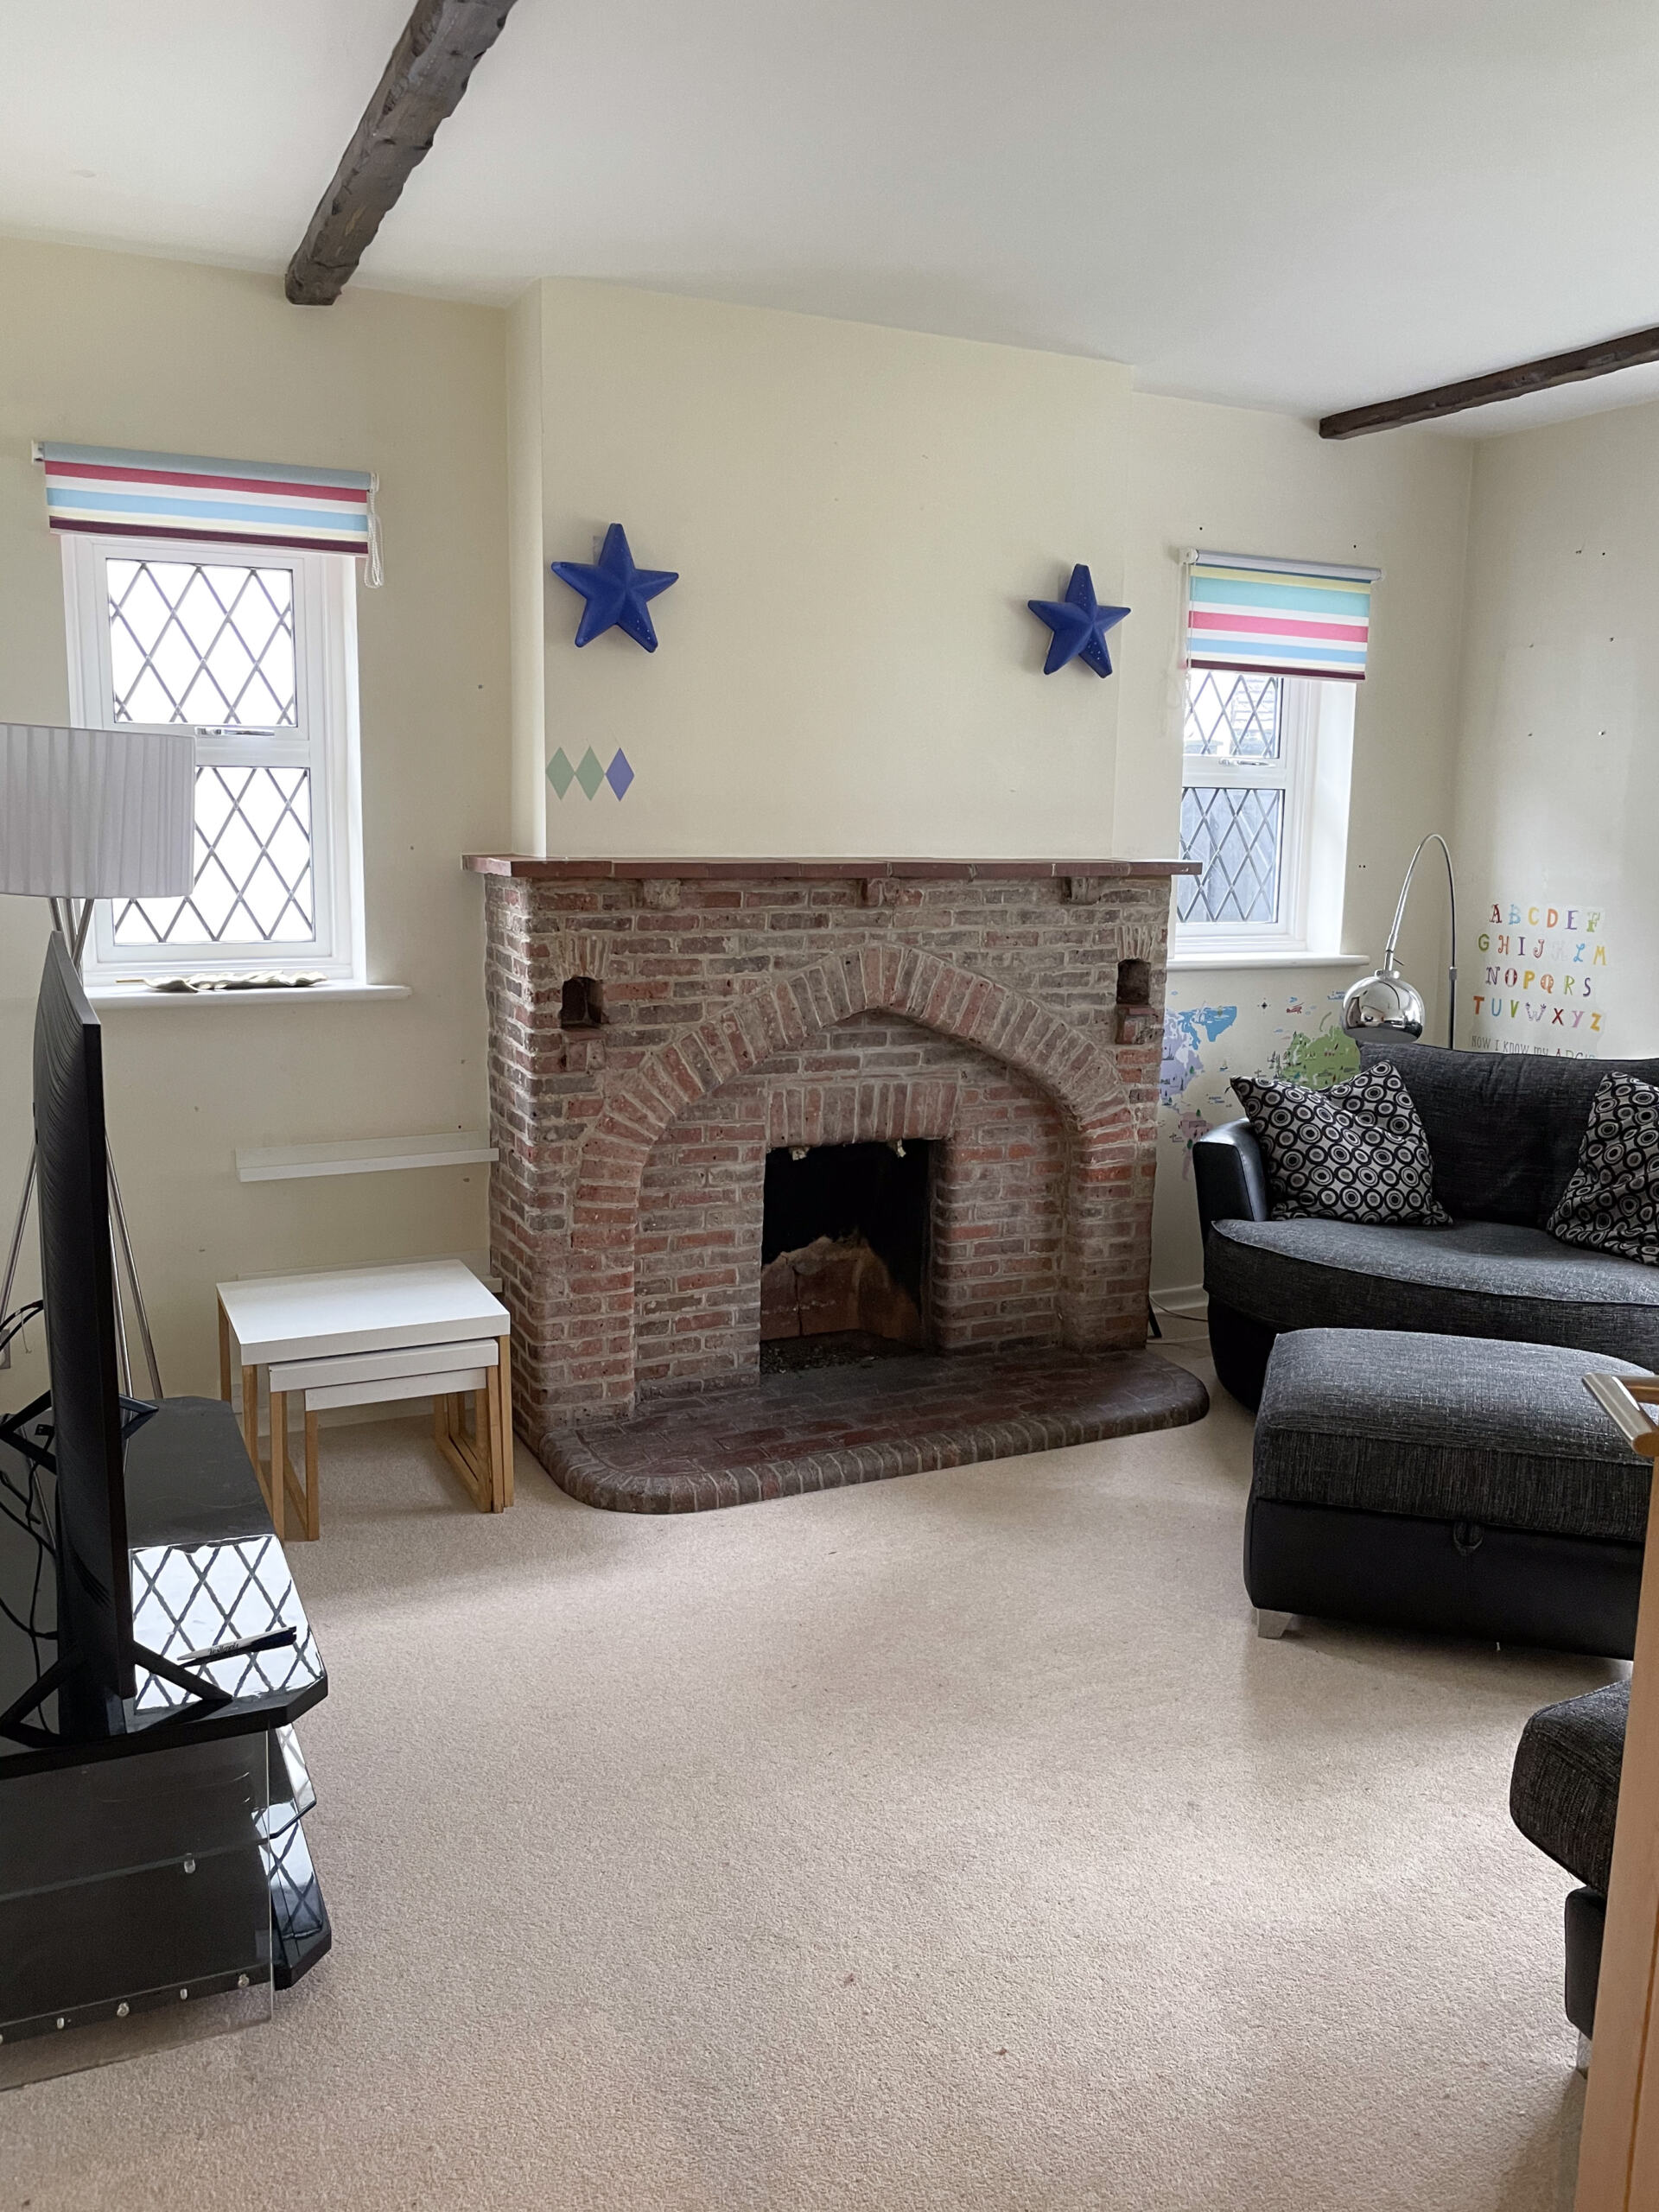
BEFORE
I love looking at the before pictures because they show how far we’ve come. And oh boy have we come far this time! The old living room is almost unrecognisable (minus the beams) and turned out even better than I ever dreamed of. The previous owners used this room as a kid’s playroom, which felt like a massive waste. Also, my girls are bigger now and I knew we needed a cosy TV room to host movie nights as a family. I decided that pretty much everything had to go, but I wanted to keep the feel of the room still somewhat traditional. The original brick fireplace dominated the space and didn’t go with my design ambitions. Ripping out the old fireplace was quite a big job and I’ve documented it all on the gram. But I never had any doubts about demolishing it. Don’t feel that you have to keep original features if they don’t appeal to you. In this case, I’m pretty sure installing the new fireplace will add more value to the house than the original one.

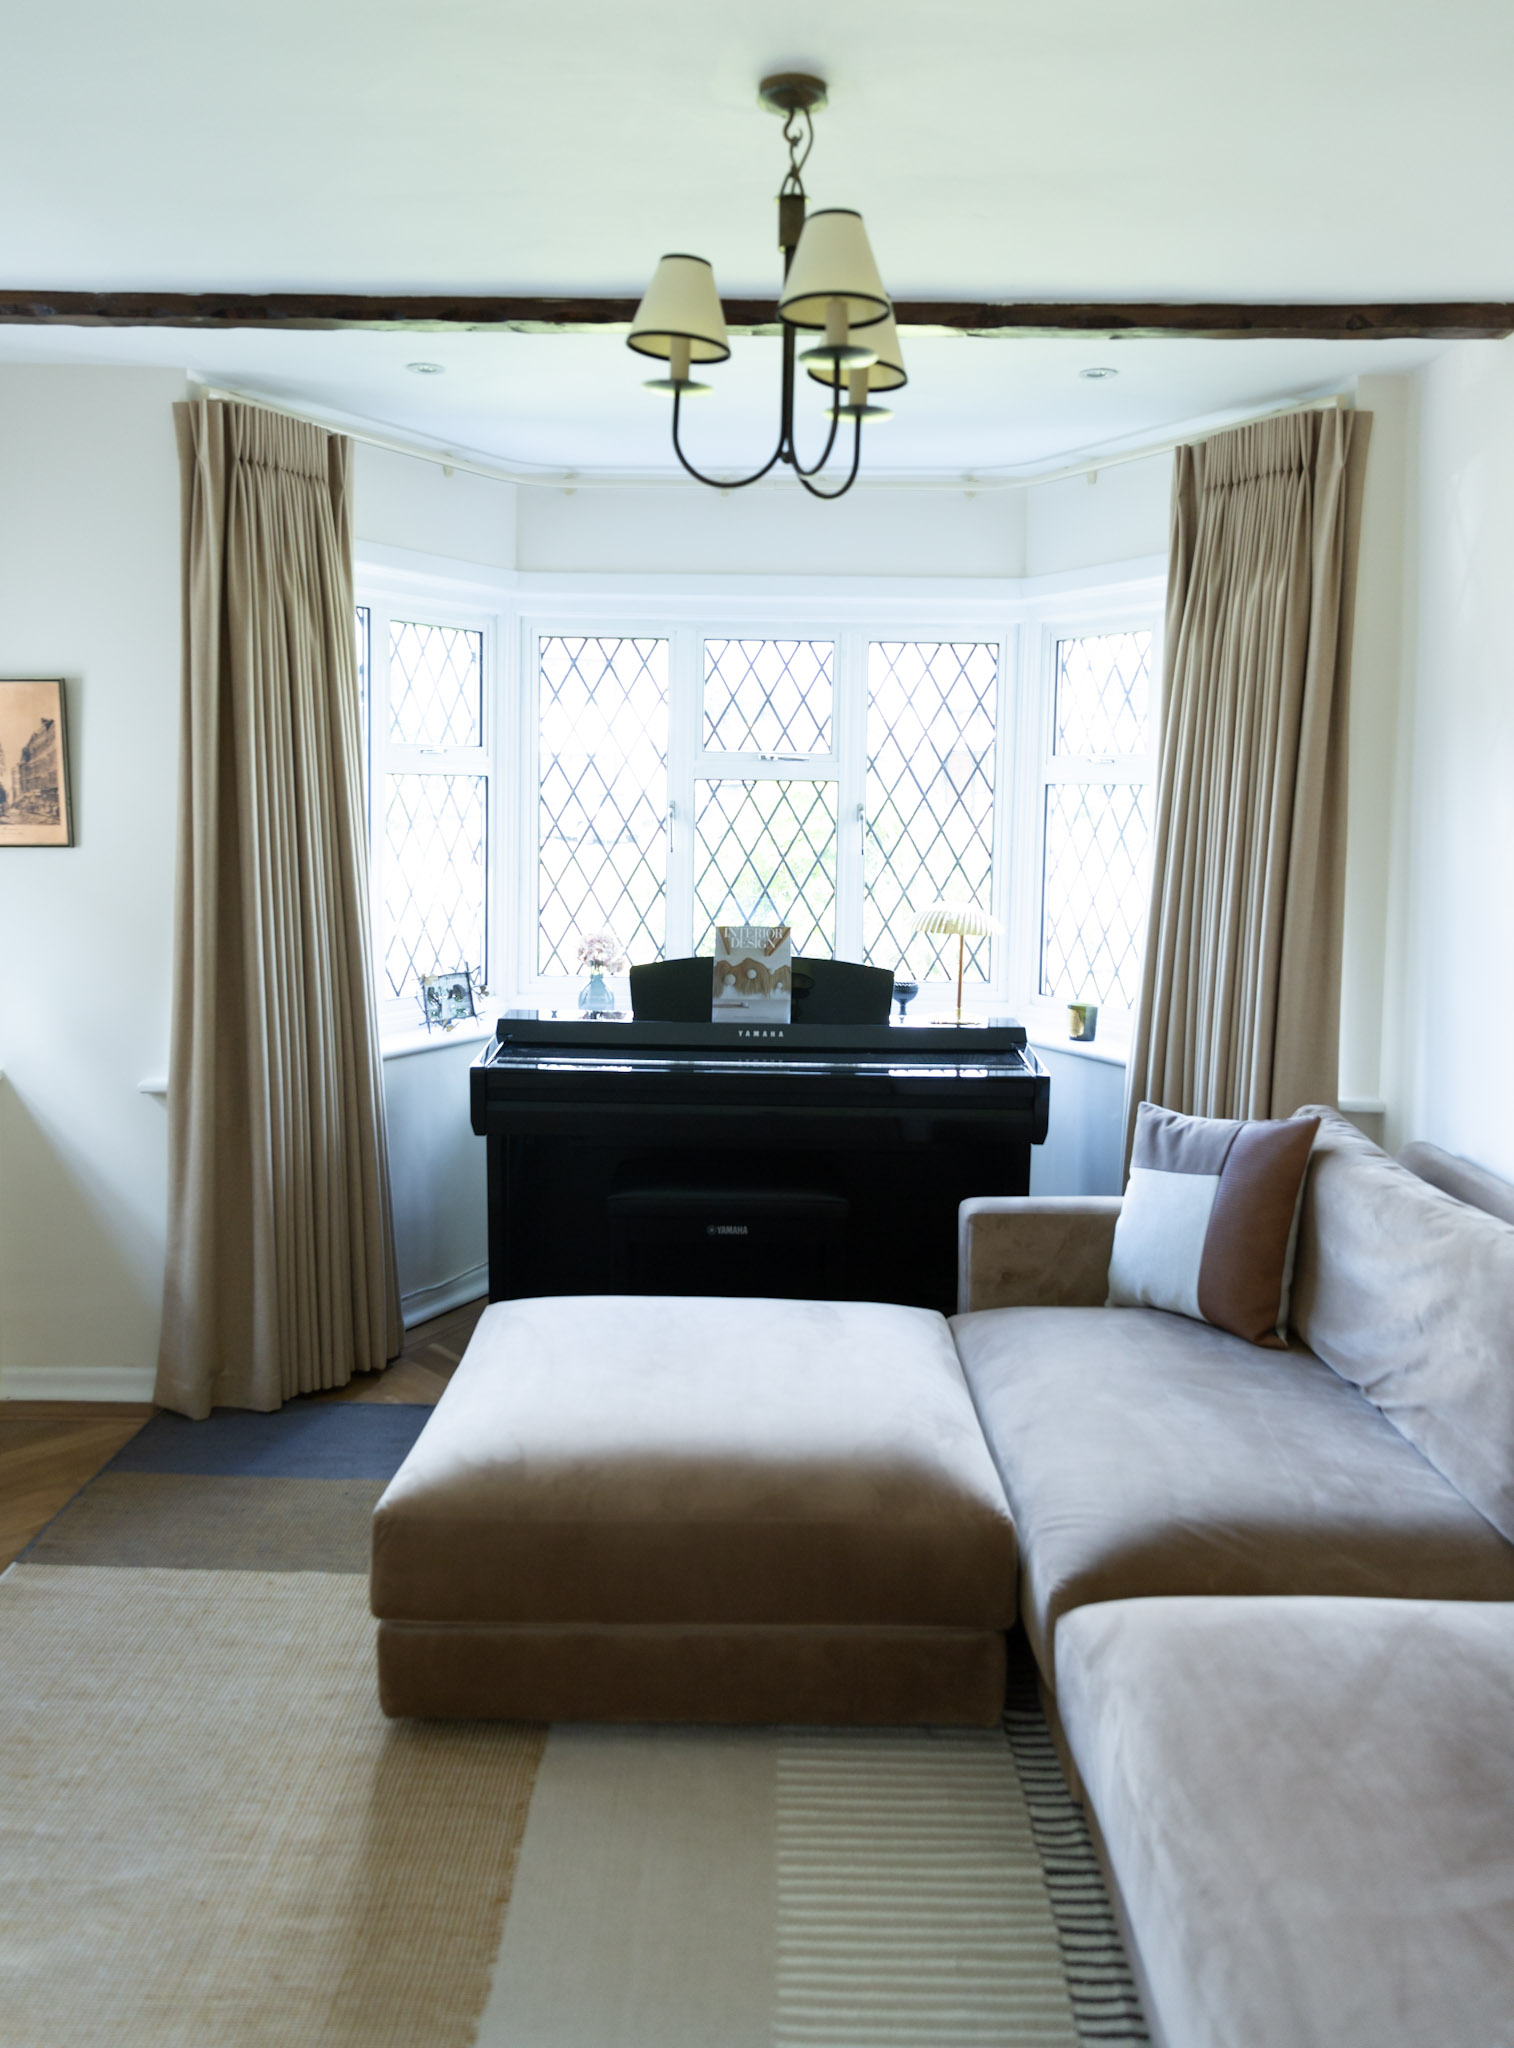
AFTER
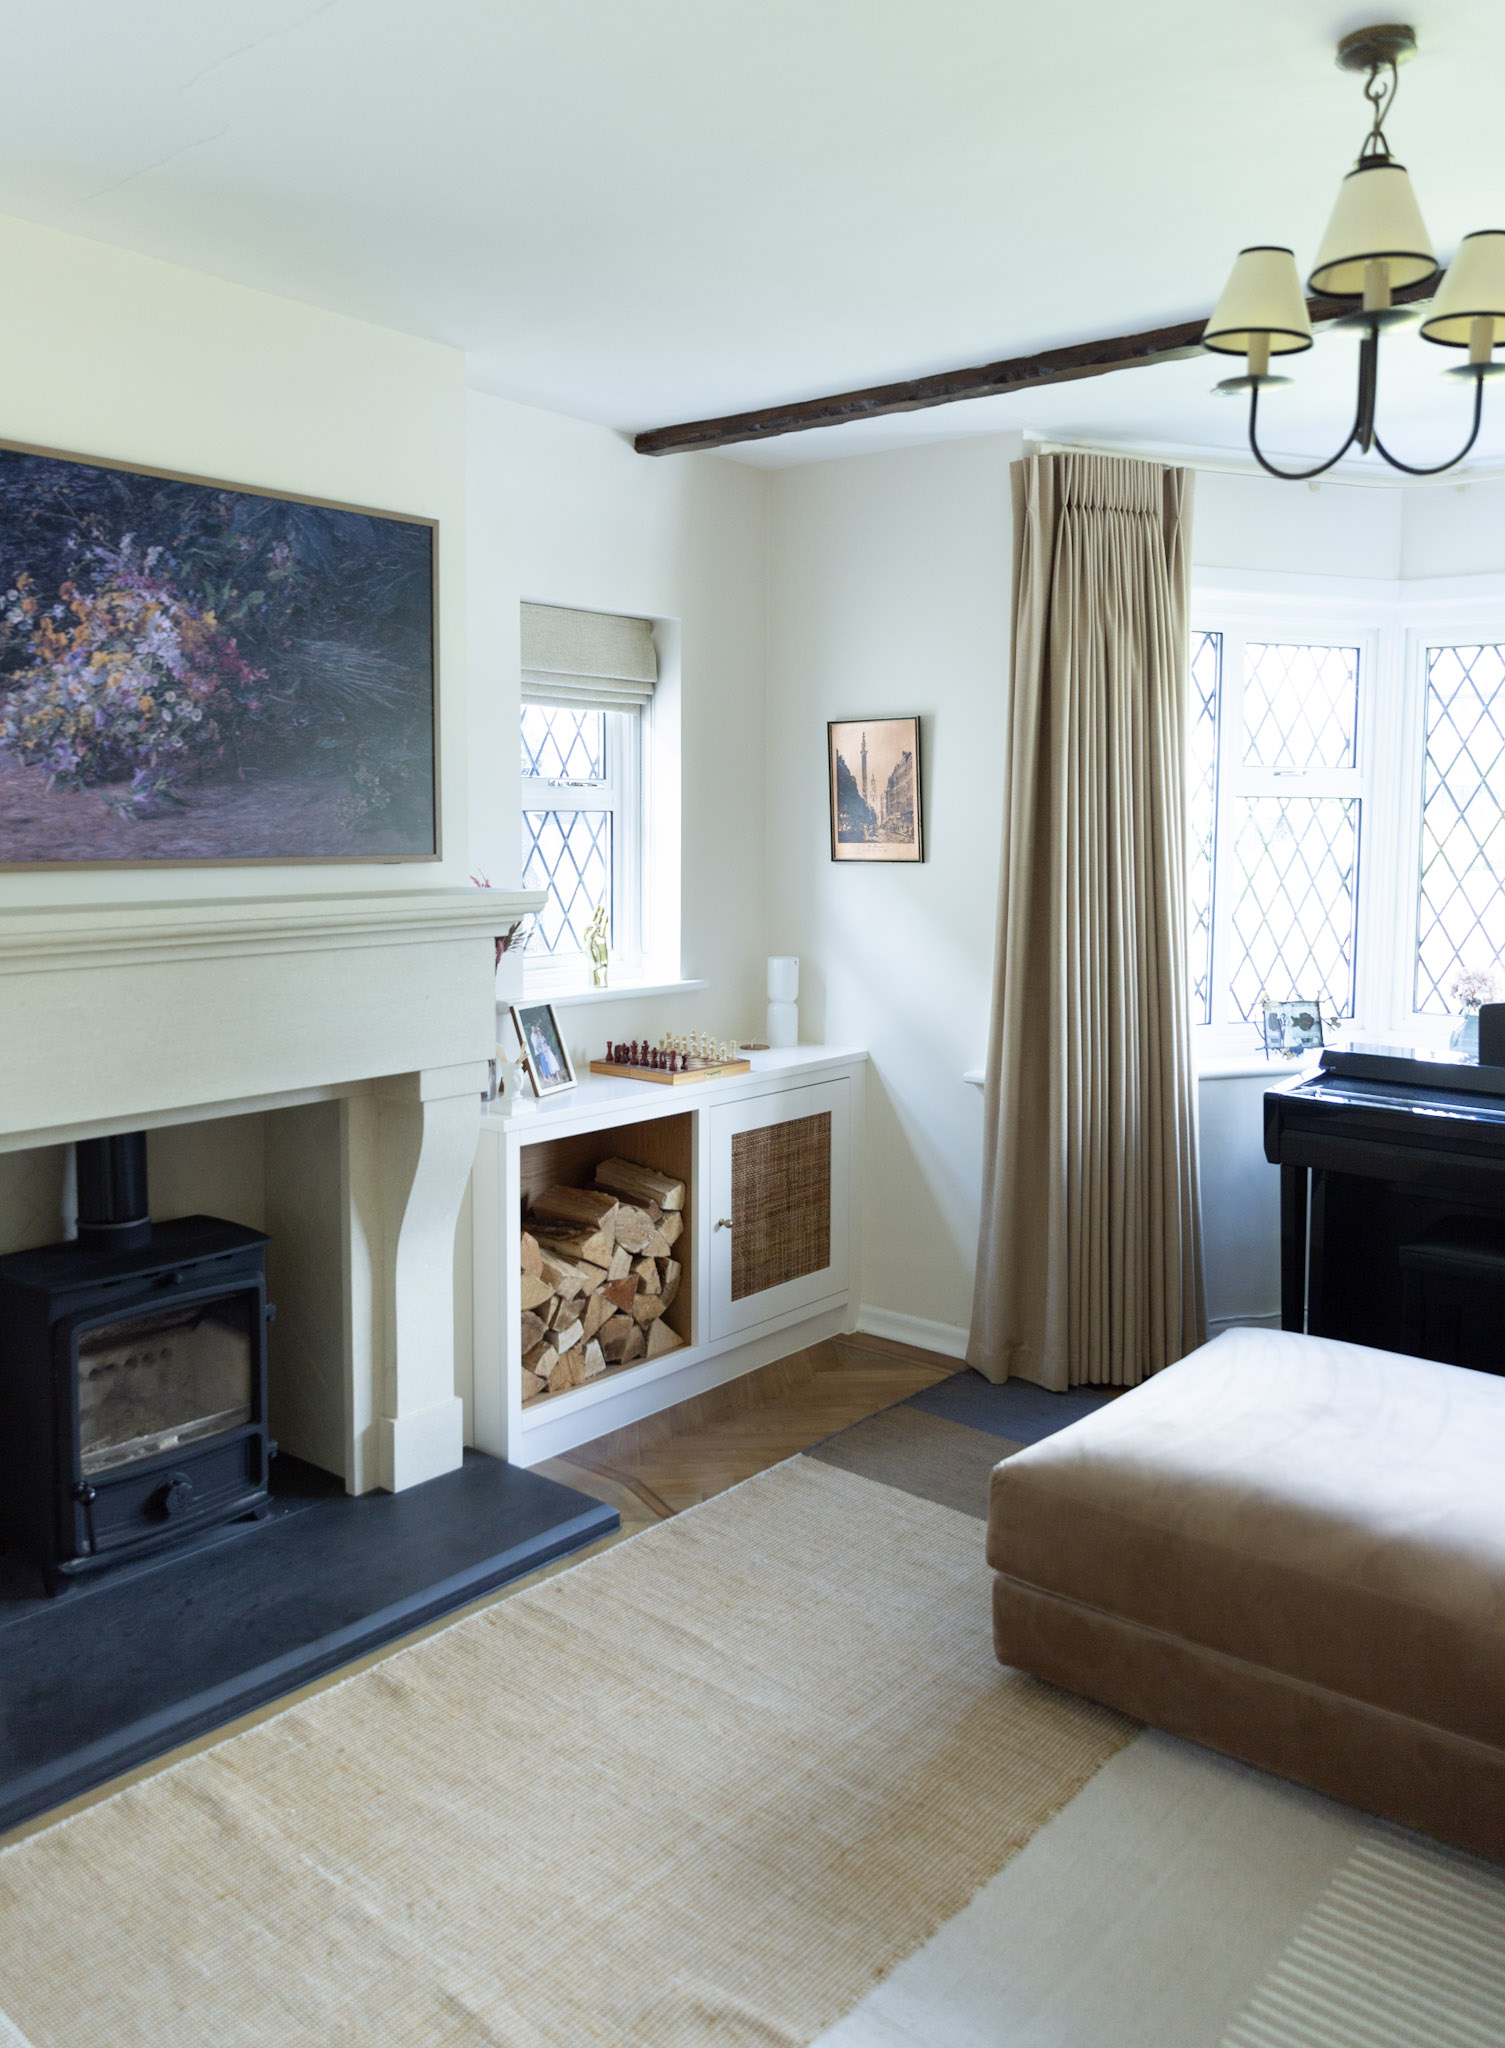
Drum roll please.. let me introduce you to our new family/fireplace/cinema room! What used to be a busy playroom is now the cosiest and multifunctional family living space. I can’t tell you how happy I feel just sitting here, listening to the crackling fire or my daughters playing the piano. The neutral colours bring me more calm and zen than I could have ever imagined. The traditional 1920s wooden beams remind me of the history of the house and how it intervenes with the present. I mean, if these walls could talk, wouldn’t that be something? As you can see, I am very fond of this room now. It has gone from my least favourite room in the house to probably my favourite. We use this room as a family in a whole new way now. But none of it would have been possible without some major design updates and new furnishing. The reno part took the longest and in this blogpost I’ll take you through the different stages, products, brands and supplies we used.


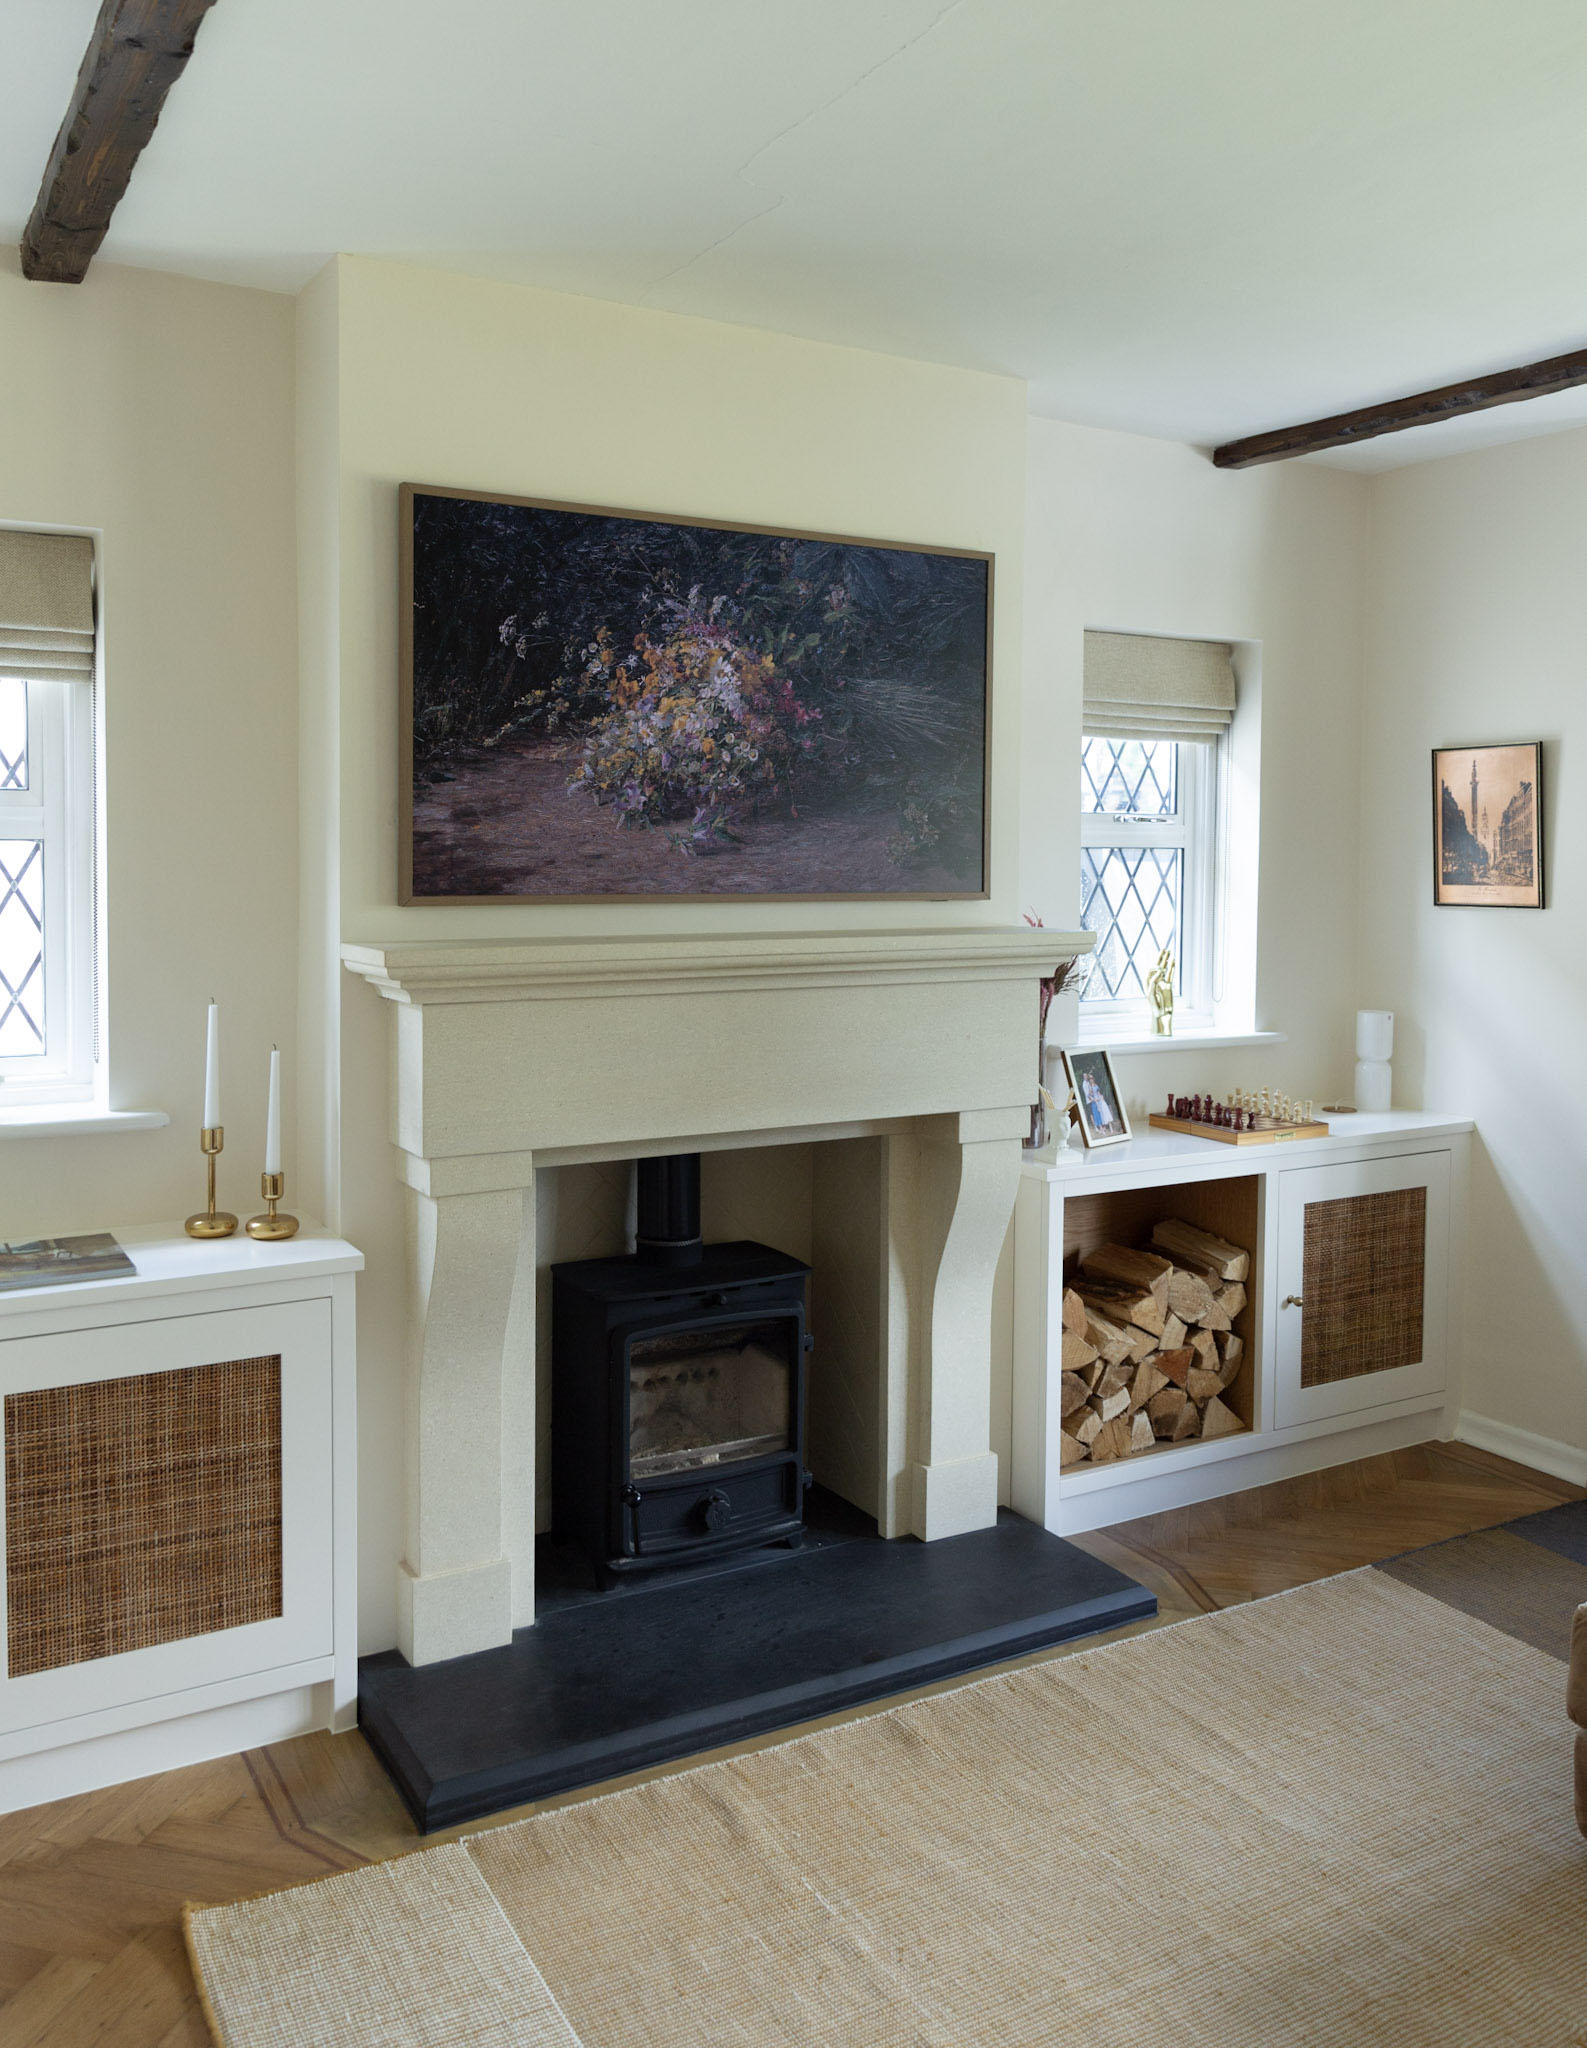
FIREPLACE REMODEL
Step one. We hired Kelvin Fireplaces to demolish the old brick fireplace and install a new one. I wanted something quite traditional and similar to our other limestone fireplace (in our second living room). I was thrilled when I spotted this dramatic Spanish stone fireplace in their showroom. I knew straight away it was ‘the one’. And of course, it also happened to be their most expensive design and material (how typical of me). We spent more on the fireplace than anything else in this room, but I’d say it was well worth it. It doesn’t look out of place with the dark wooden beams and oak parquet flooring. The whole process involved installing a brand-new flue liner and scaffolding, so it wasn’t quite as simple as demolishing and rebuilding. You can read more about the process here.
ORIGINAL FLOORING
We used to have a carpet here but were lucky to discover the original parquet flooring underneath. The same oak flooring is used throughout the ground floor, so it made sense to restore it. I hired a specialist flooring company, Naos Floors, to sand it down/oil it and we even needed a French polisher for the edges around the fireplace. It was quite a big job but nothing compared to having to install new parquet flooring. I never understand why people would want to hide something this beautiful with a carpet. The aged oak adds so much character and warmth to this room. And I love it even with all its quirks and imperfections.
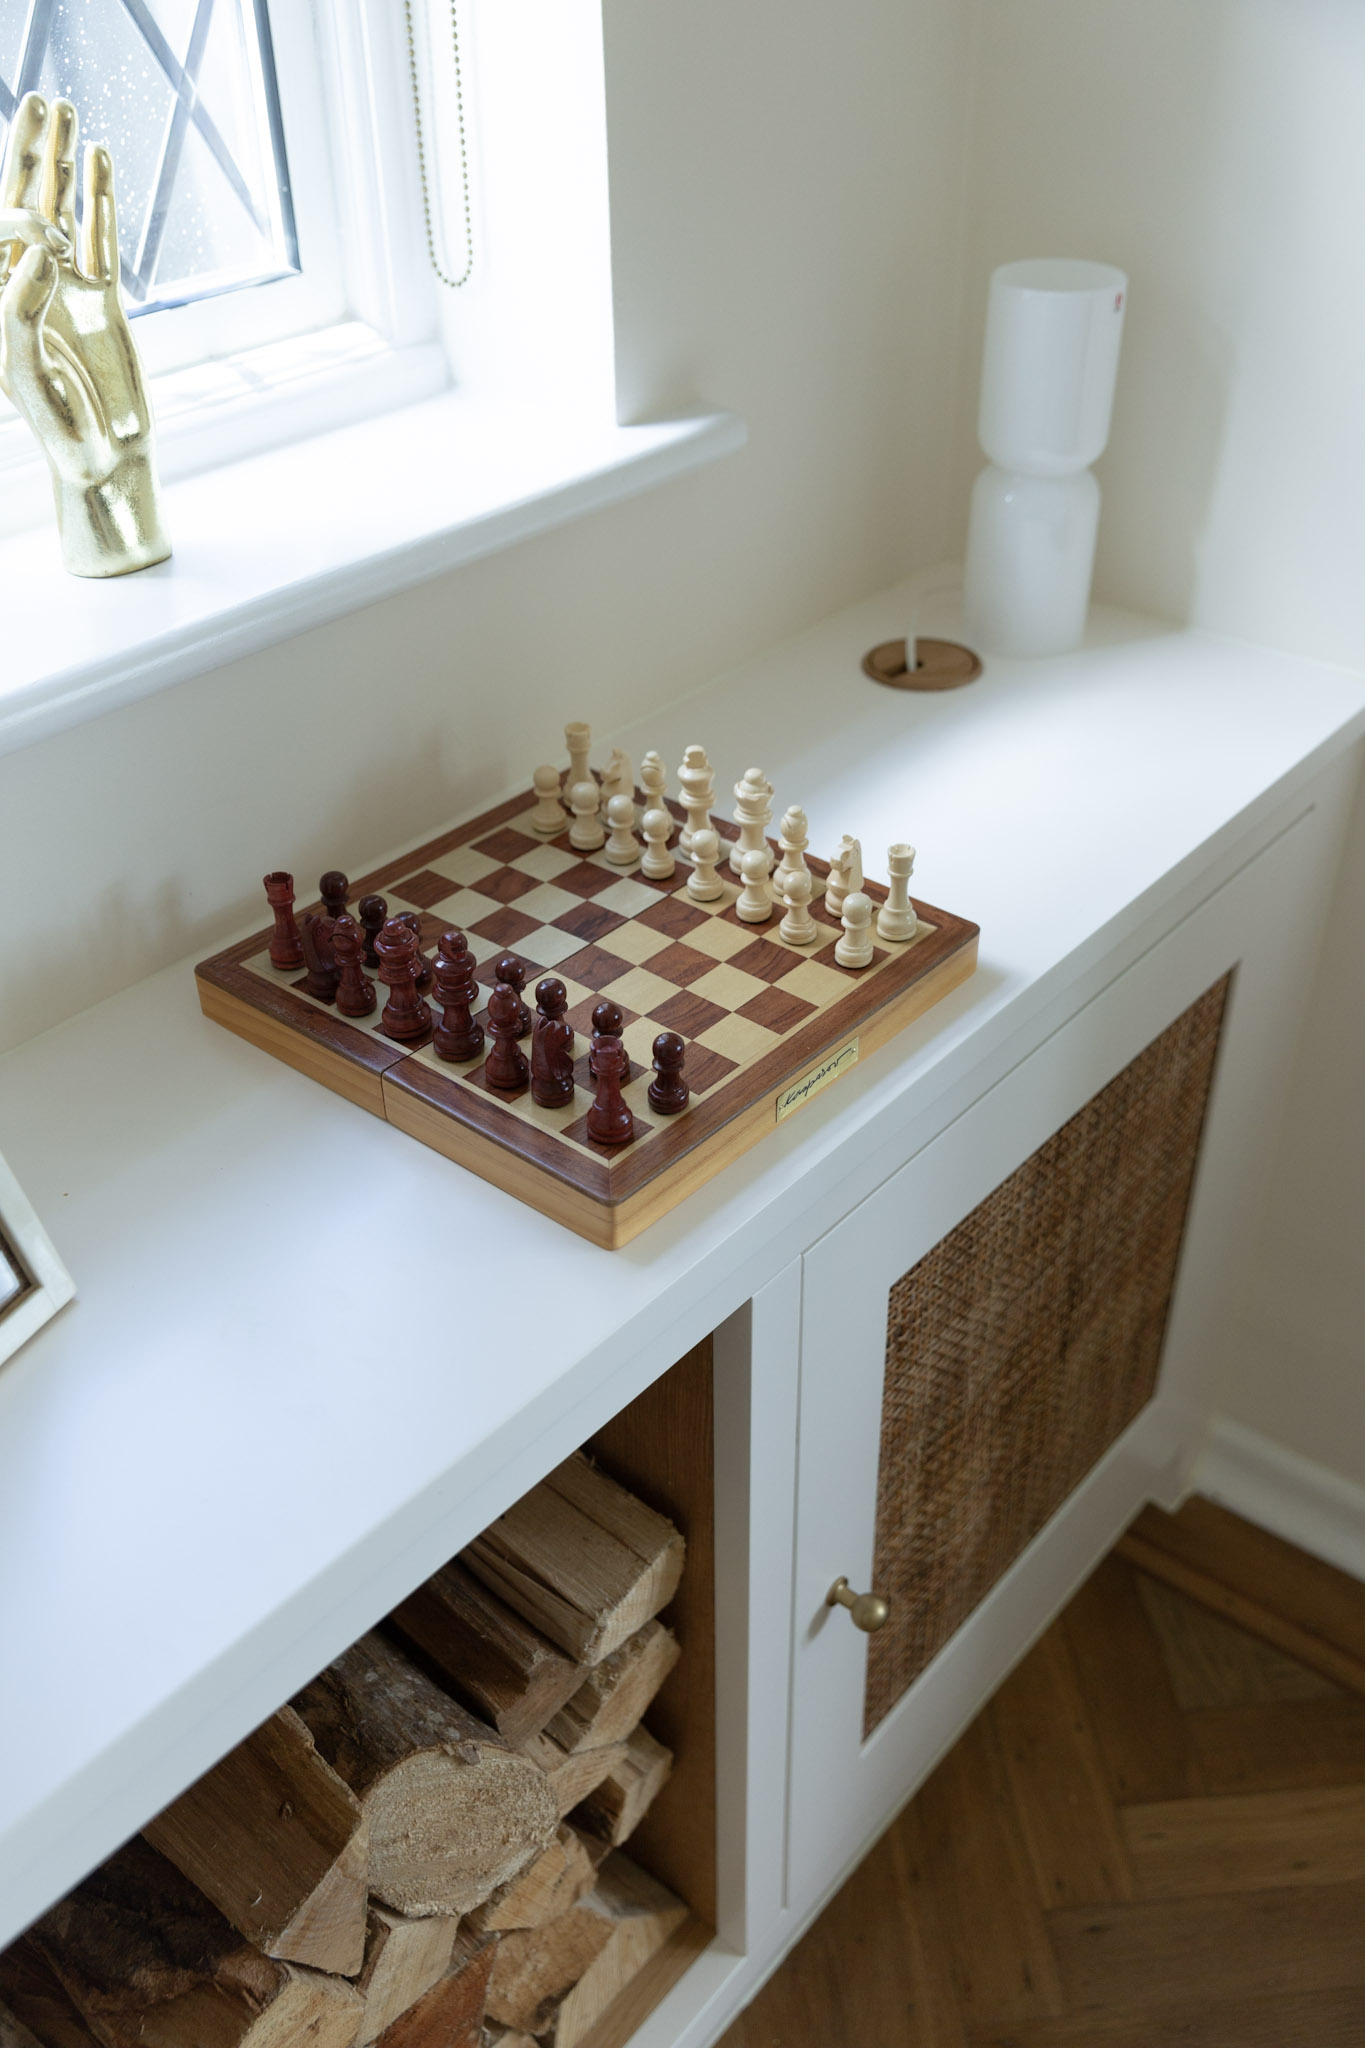
ALCOVES
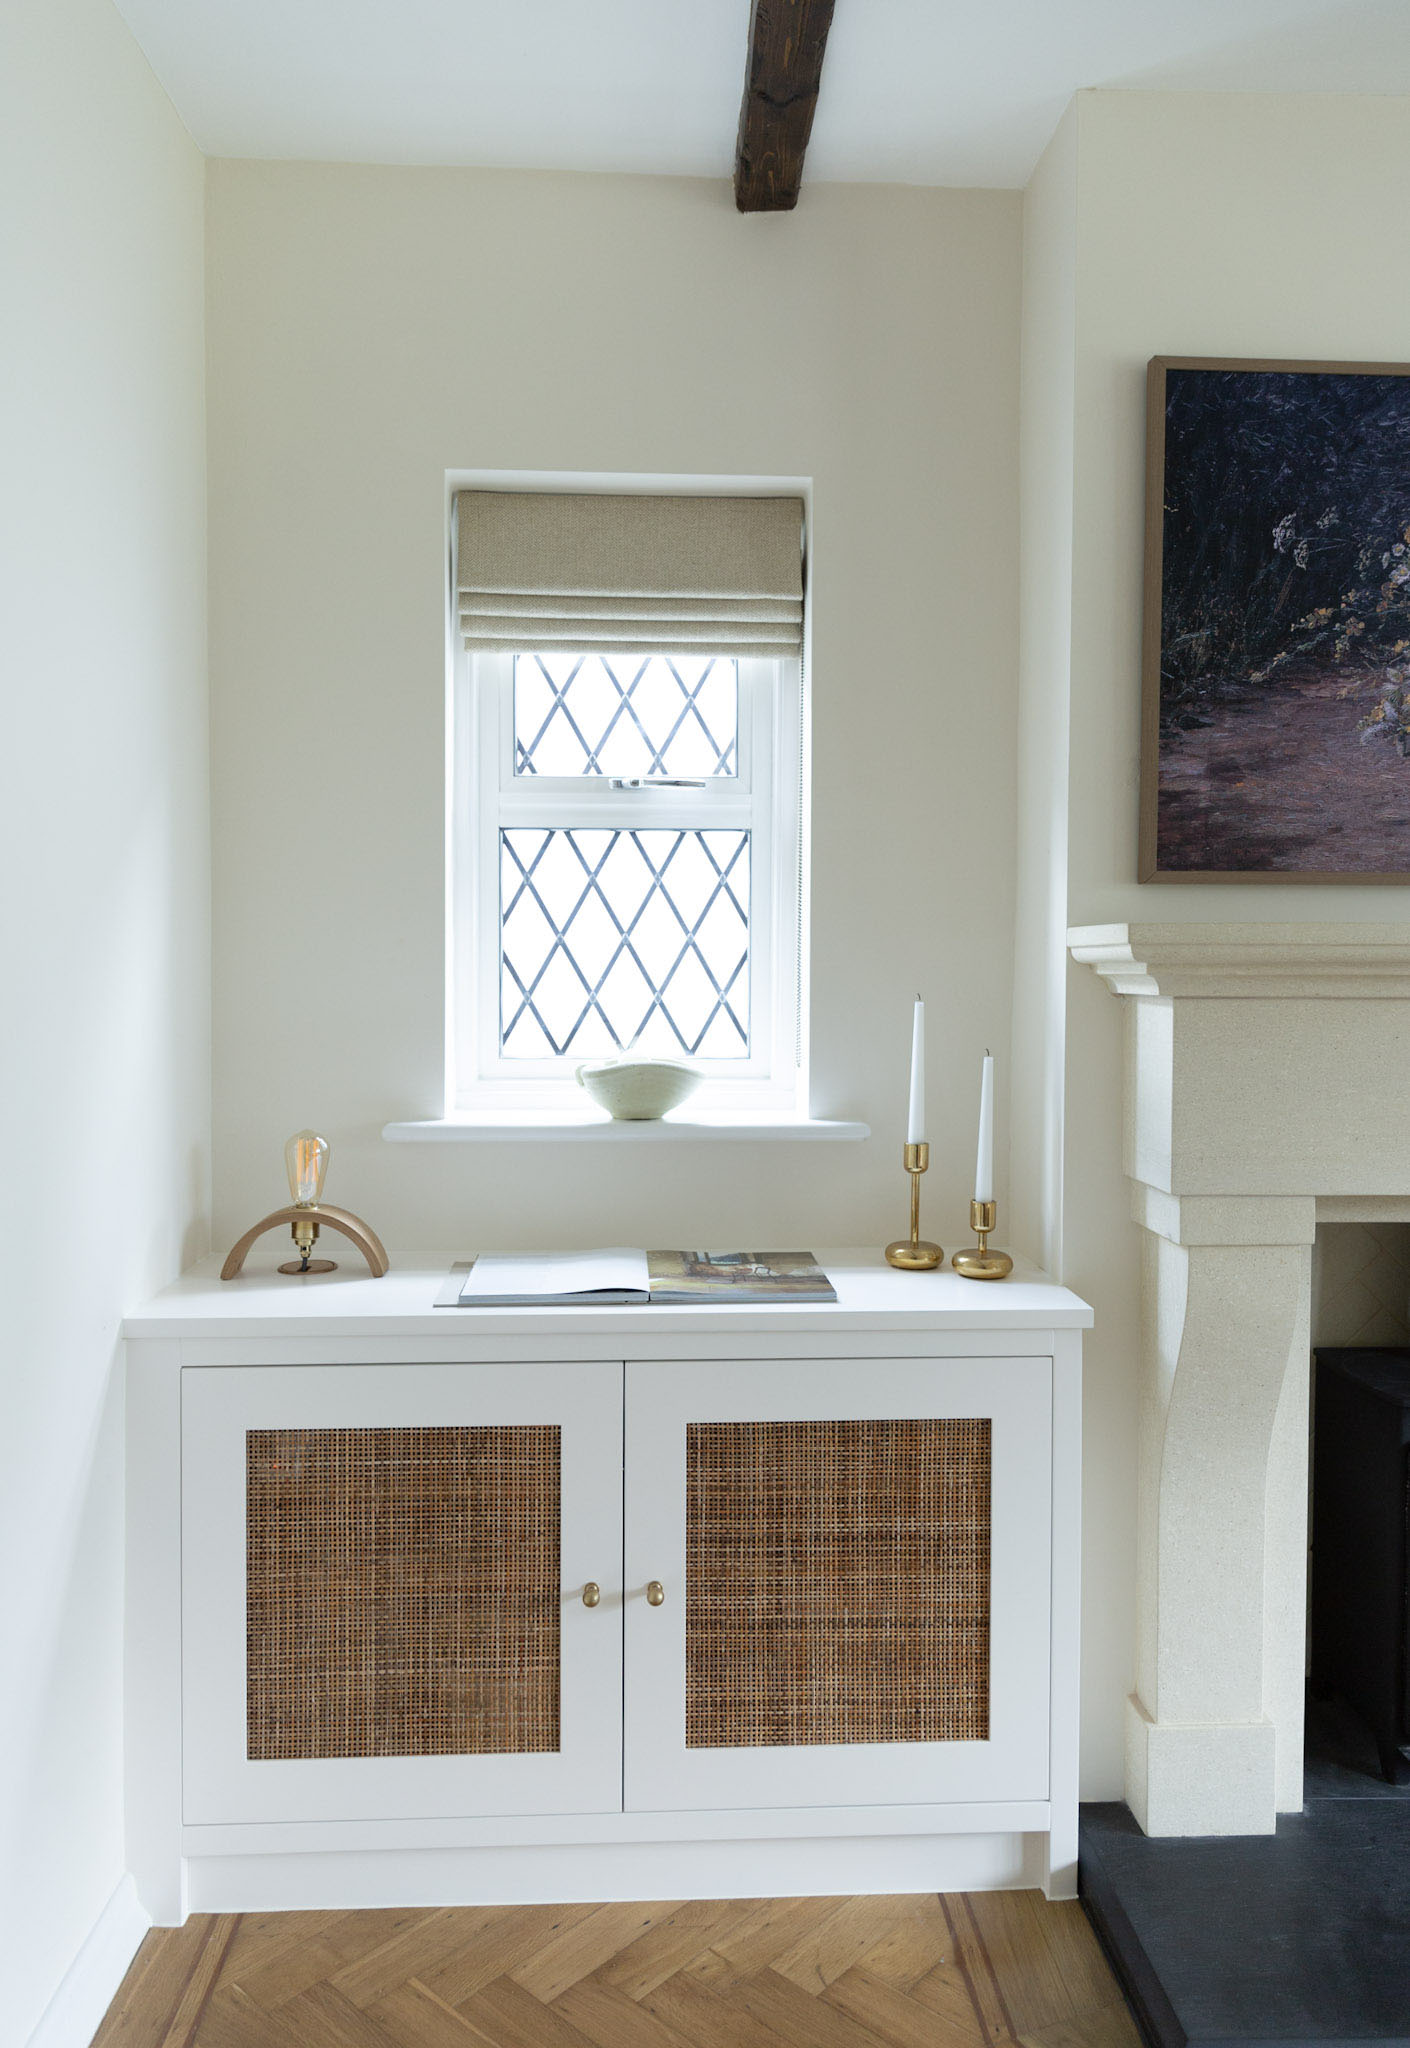
Once the new fireplace was installed, it was time to think about storage. I wanted bespoke wooden alcoves with built-in shelves that would not only look good but would hide all the clutter. I hired Freeborn Carpentry to build the most beautiful wooded alcoves with clever log storage. I’ve been following Lee on Instagram for years and knew he would do a fantastic job. You can read all about the alcove design and installation here.
SAMSUNG FRAME TV & HIDDEN HOME THEATER
As much as I wanted to design a cinema room, I didn’t want to have to see all the appliances and gadgets. Building alcoves with rattan fronts allowed us to hide all the TV boxes, speakers etc without sacrificing the sound. The audio system from Lyngdorf is absolutely incredible and truly makes this room feel and sound like a proper home cinema. We had AV Innovation install our home cinema and Samsung Frame TV. The Frame TV looks incredibly realistic. You wouldn’t know it’s not real art from a distance. You can find more details about our home cinema set-up and installation here.

PAINT COLOURS
If in doubt, go neutral, right? It never goes out of style. And in this case, I wanted to create a tranquil living space that helps me to relax and unwind after a long day. I picked warm browns and beige tones for the soft furnishing and wanted the walls to provide a clean and crisp contrast. Neutral walls are a perfect backdrop for different textures and showcasing historical details. It really allows them to pop and create a space you’ll want to hibernate in. We used Fired Earth Mulberry white (matt) for the walls and Neve (eggshell) for the alcoves. I do think they complement each other incredibly well and provide just the right amount of contrast. And the warm undertones come out so nicely with the brown sofa and curtains too.
CURTAINS
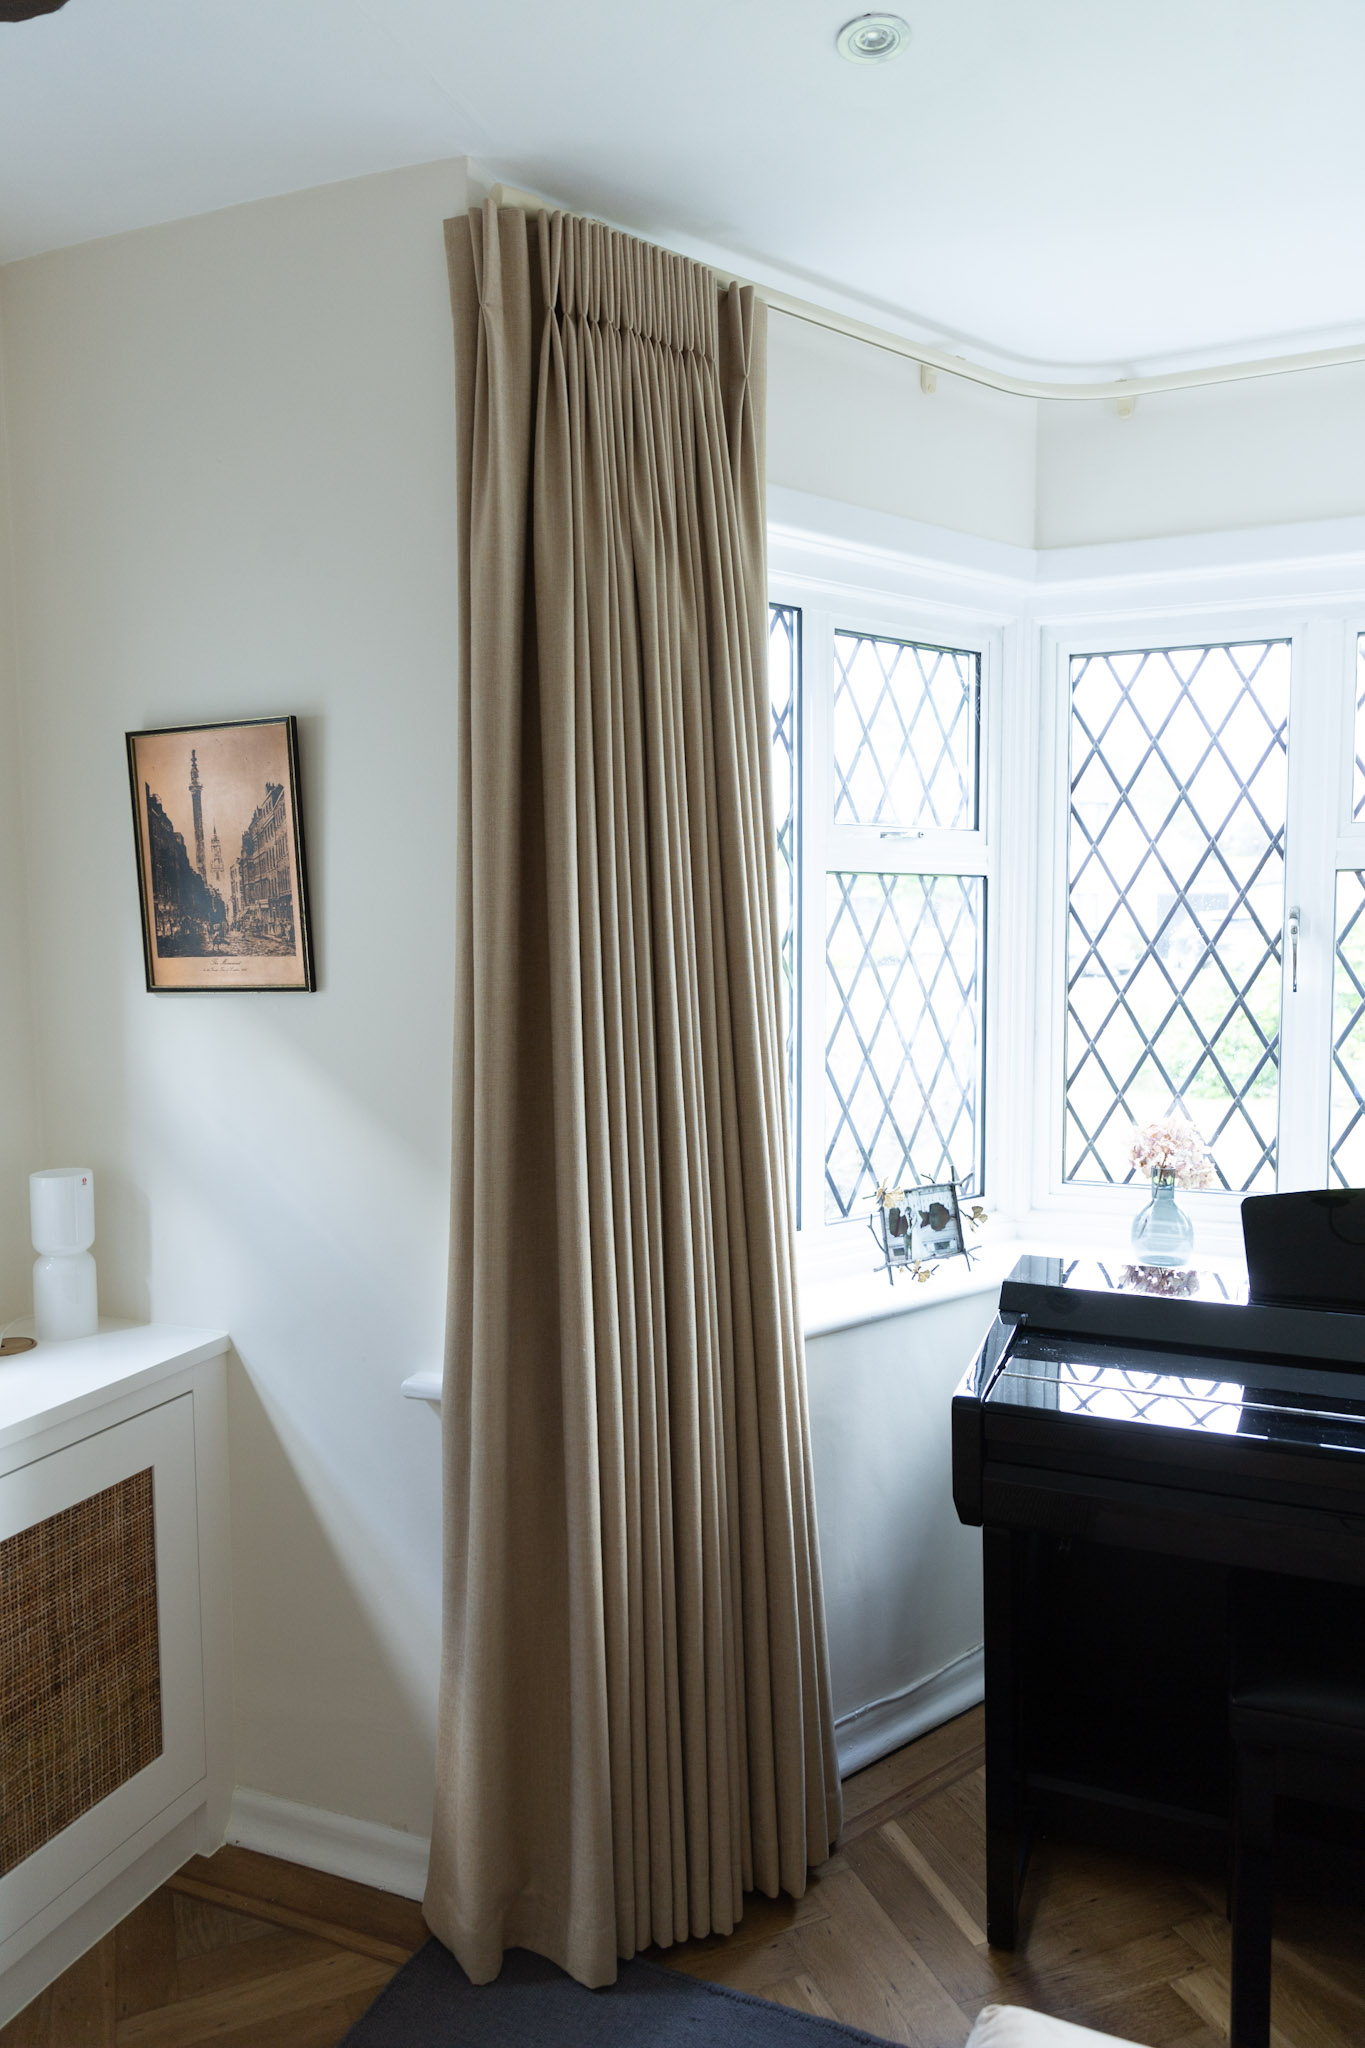
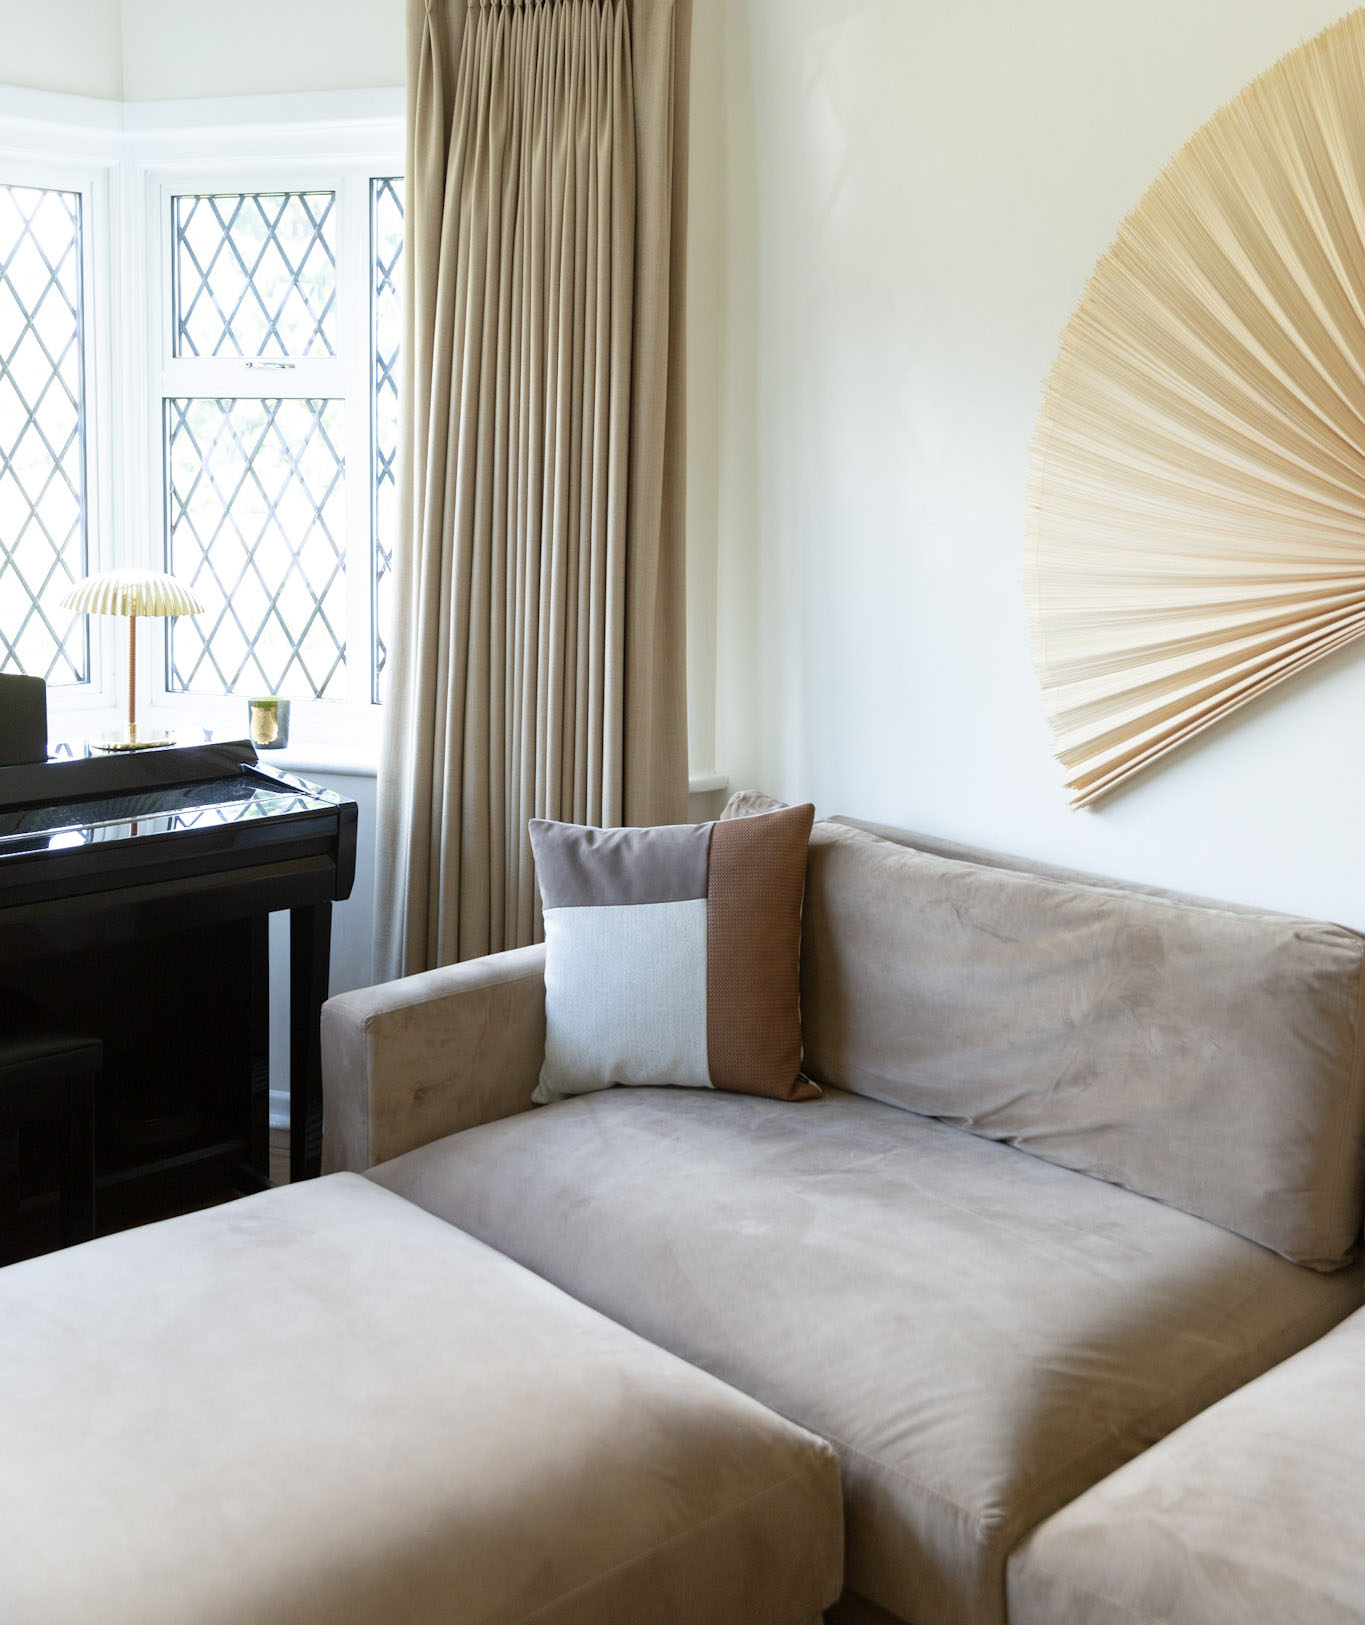
You can’t have a cinema room without dramatic theater curtains, am I right? So, we hired the lovely Julia from Pickwick Papers & Fabrics to work her magic. Julia was super helpful throughout the entire process. They stock some of the most luxurious brands in textiles and wallcoverings, so you’ll be spoiled for choice. We picked Sanderson’s (Prism Plains) for the curtains and Romo Fabrics (Kitley Twill) for the roman blinds, which go so beautifully together. I’m really glad we went full length as they do dress the room so much better. We made sure to hang the curtain track as close to the ceiling as possible, to minimise any light coming in. This also gives you an illusion of a higher ceiling, so if in doubt, always go as high as possible. Of course, we also added some blackout fabric to help to keep the light out. The pinch pleat style looks sumptuous and tailored resulting in a luxurious look that will never go out of style.
SOFA & ARMCHAIR
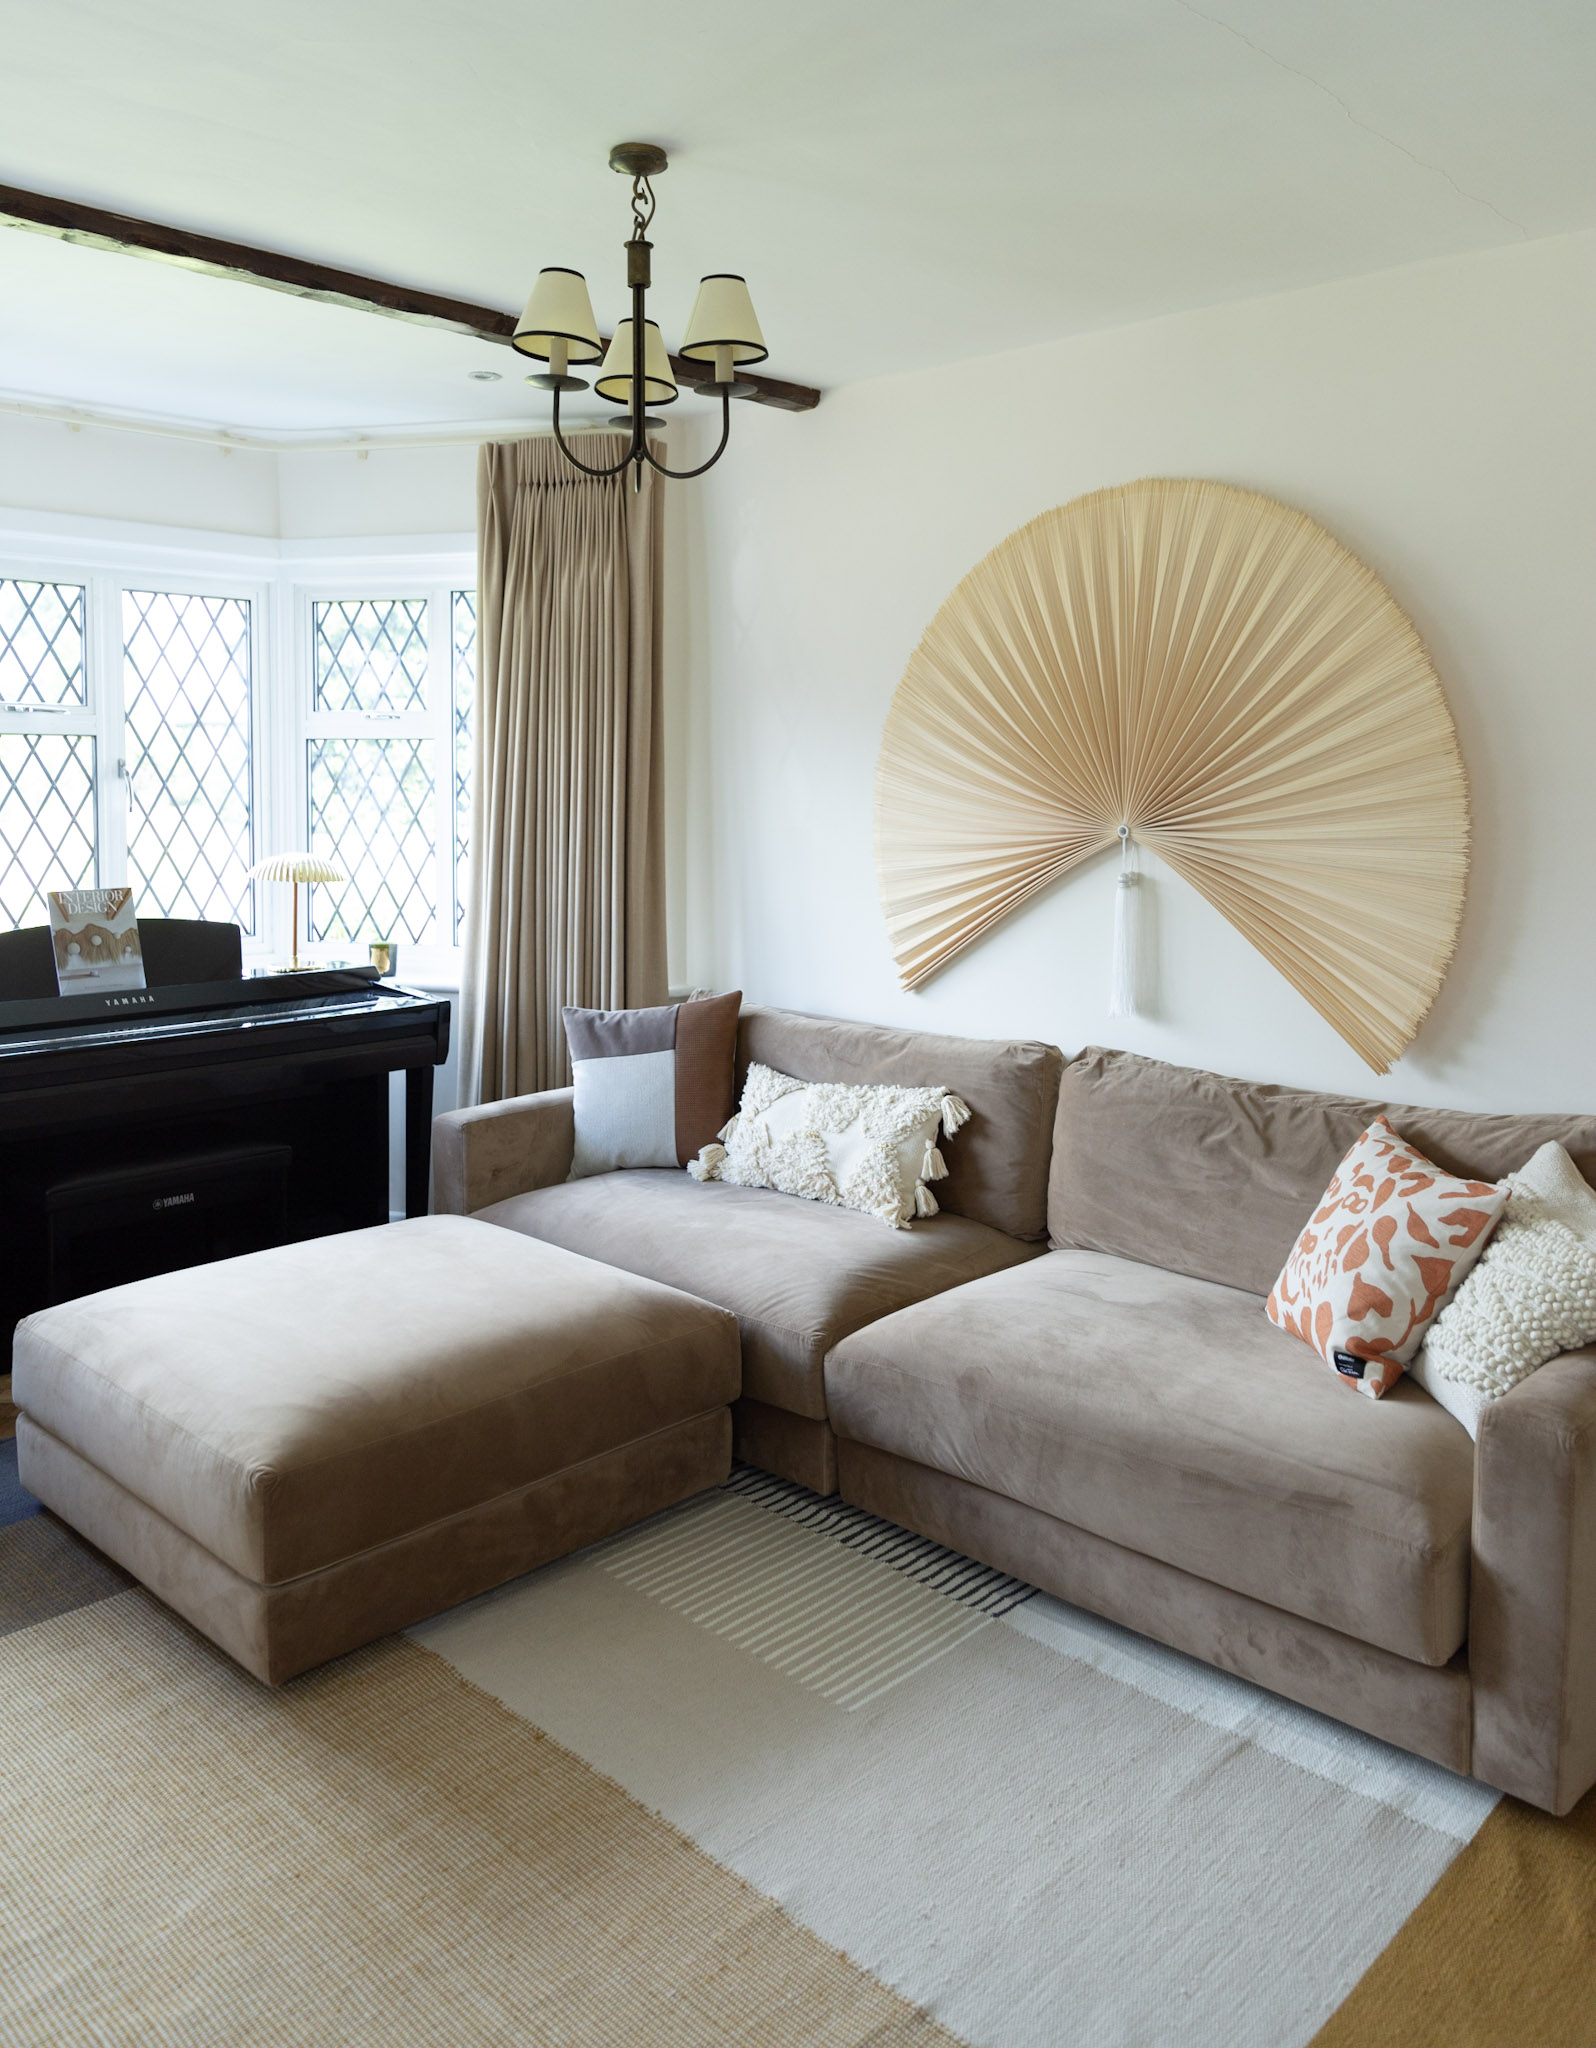
Now, we all know that no living room makeover would be complete without a comfortable sofa and an accent chair. Although this space isn’t huge, I didn’t want to compromise on the size of the couch. We are a family of four and the sofa needs to be able to host us all frequently. Thankfully this is where modular sofas come in handy. The Edward modular sofa from Domkapa is the perfect addition to a small living room or large open-plan space. The minimalist design offers incredible versatility without sacrificing comfort. I used Domkapa’s modular sofa planner to build the perfect sofa for our family. I loved the option of having slimmer armrests as space was limited and the optional pouffe that converts it into an L-shaped sofa.
You can read my full Edward sofa review here. I’ve had the sofa for almost a year now and you can see from these photos that it looks pristine. This room is mainly used by our girls (8 and 11 yo) and despite plenty of use, it still looks new. It turned out that synthetic velvet is the best choice for our family as it’s very easy to clean and super comfortable to touch. And thanks to the timeless design, I don’t see us getting bored of it anytime soon.
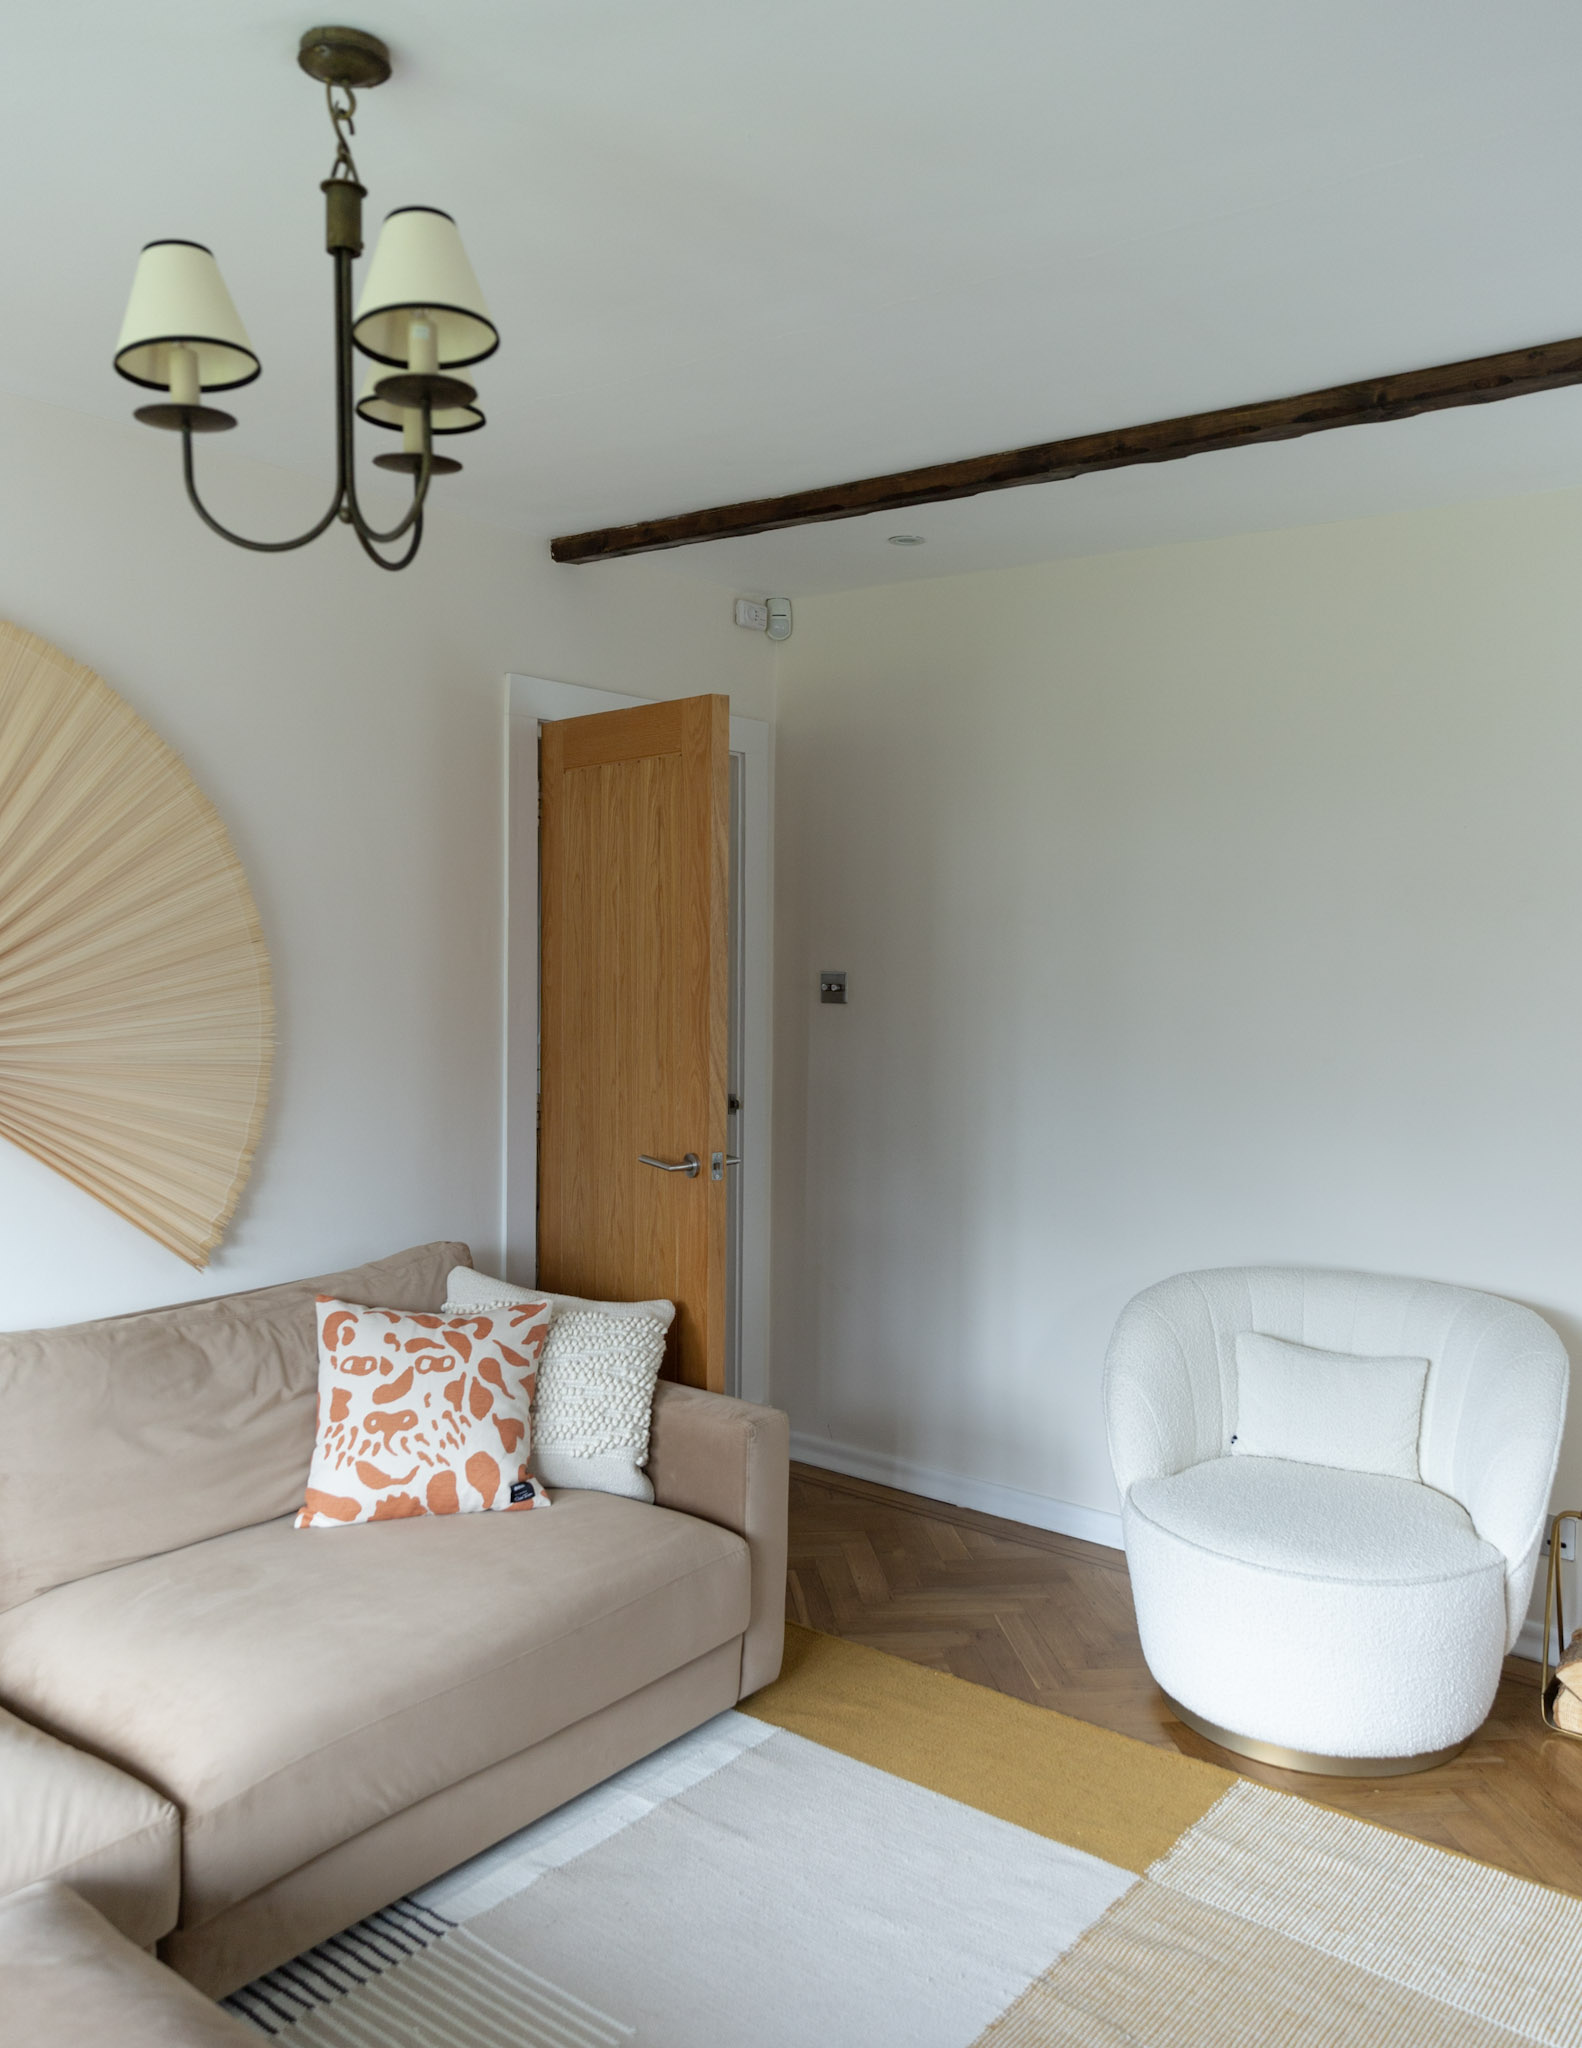
Of course this room wouldn’t be complete without a cloud-like accent chair. I’ve had my Pearl armchair from Domkapa for a few years now and I love it as much as the day I got it. Nothing adds impact like bouclé fabric. You can transform even the dullest corner with this armchair with minimal effort. I love that it swivels too and the brass base just adds to the drama. Bouclé has been trending for quite some time but I truly believe it is a timeless classic. It’s important to pick a good quality bouclé (wool) to ensure that it will look good in years to come. Thankfully, all Domkapa’s furniture is upholstered in high-quality fabrics and finishes that are built to last. I’m sure you can see why I’m so fond of the Portuguese brand. Each piece of furniture I have from them is a masterpiece of fine craftsmanship, which is very hard to find nowadays.
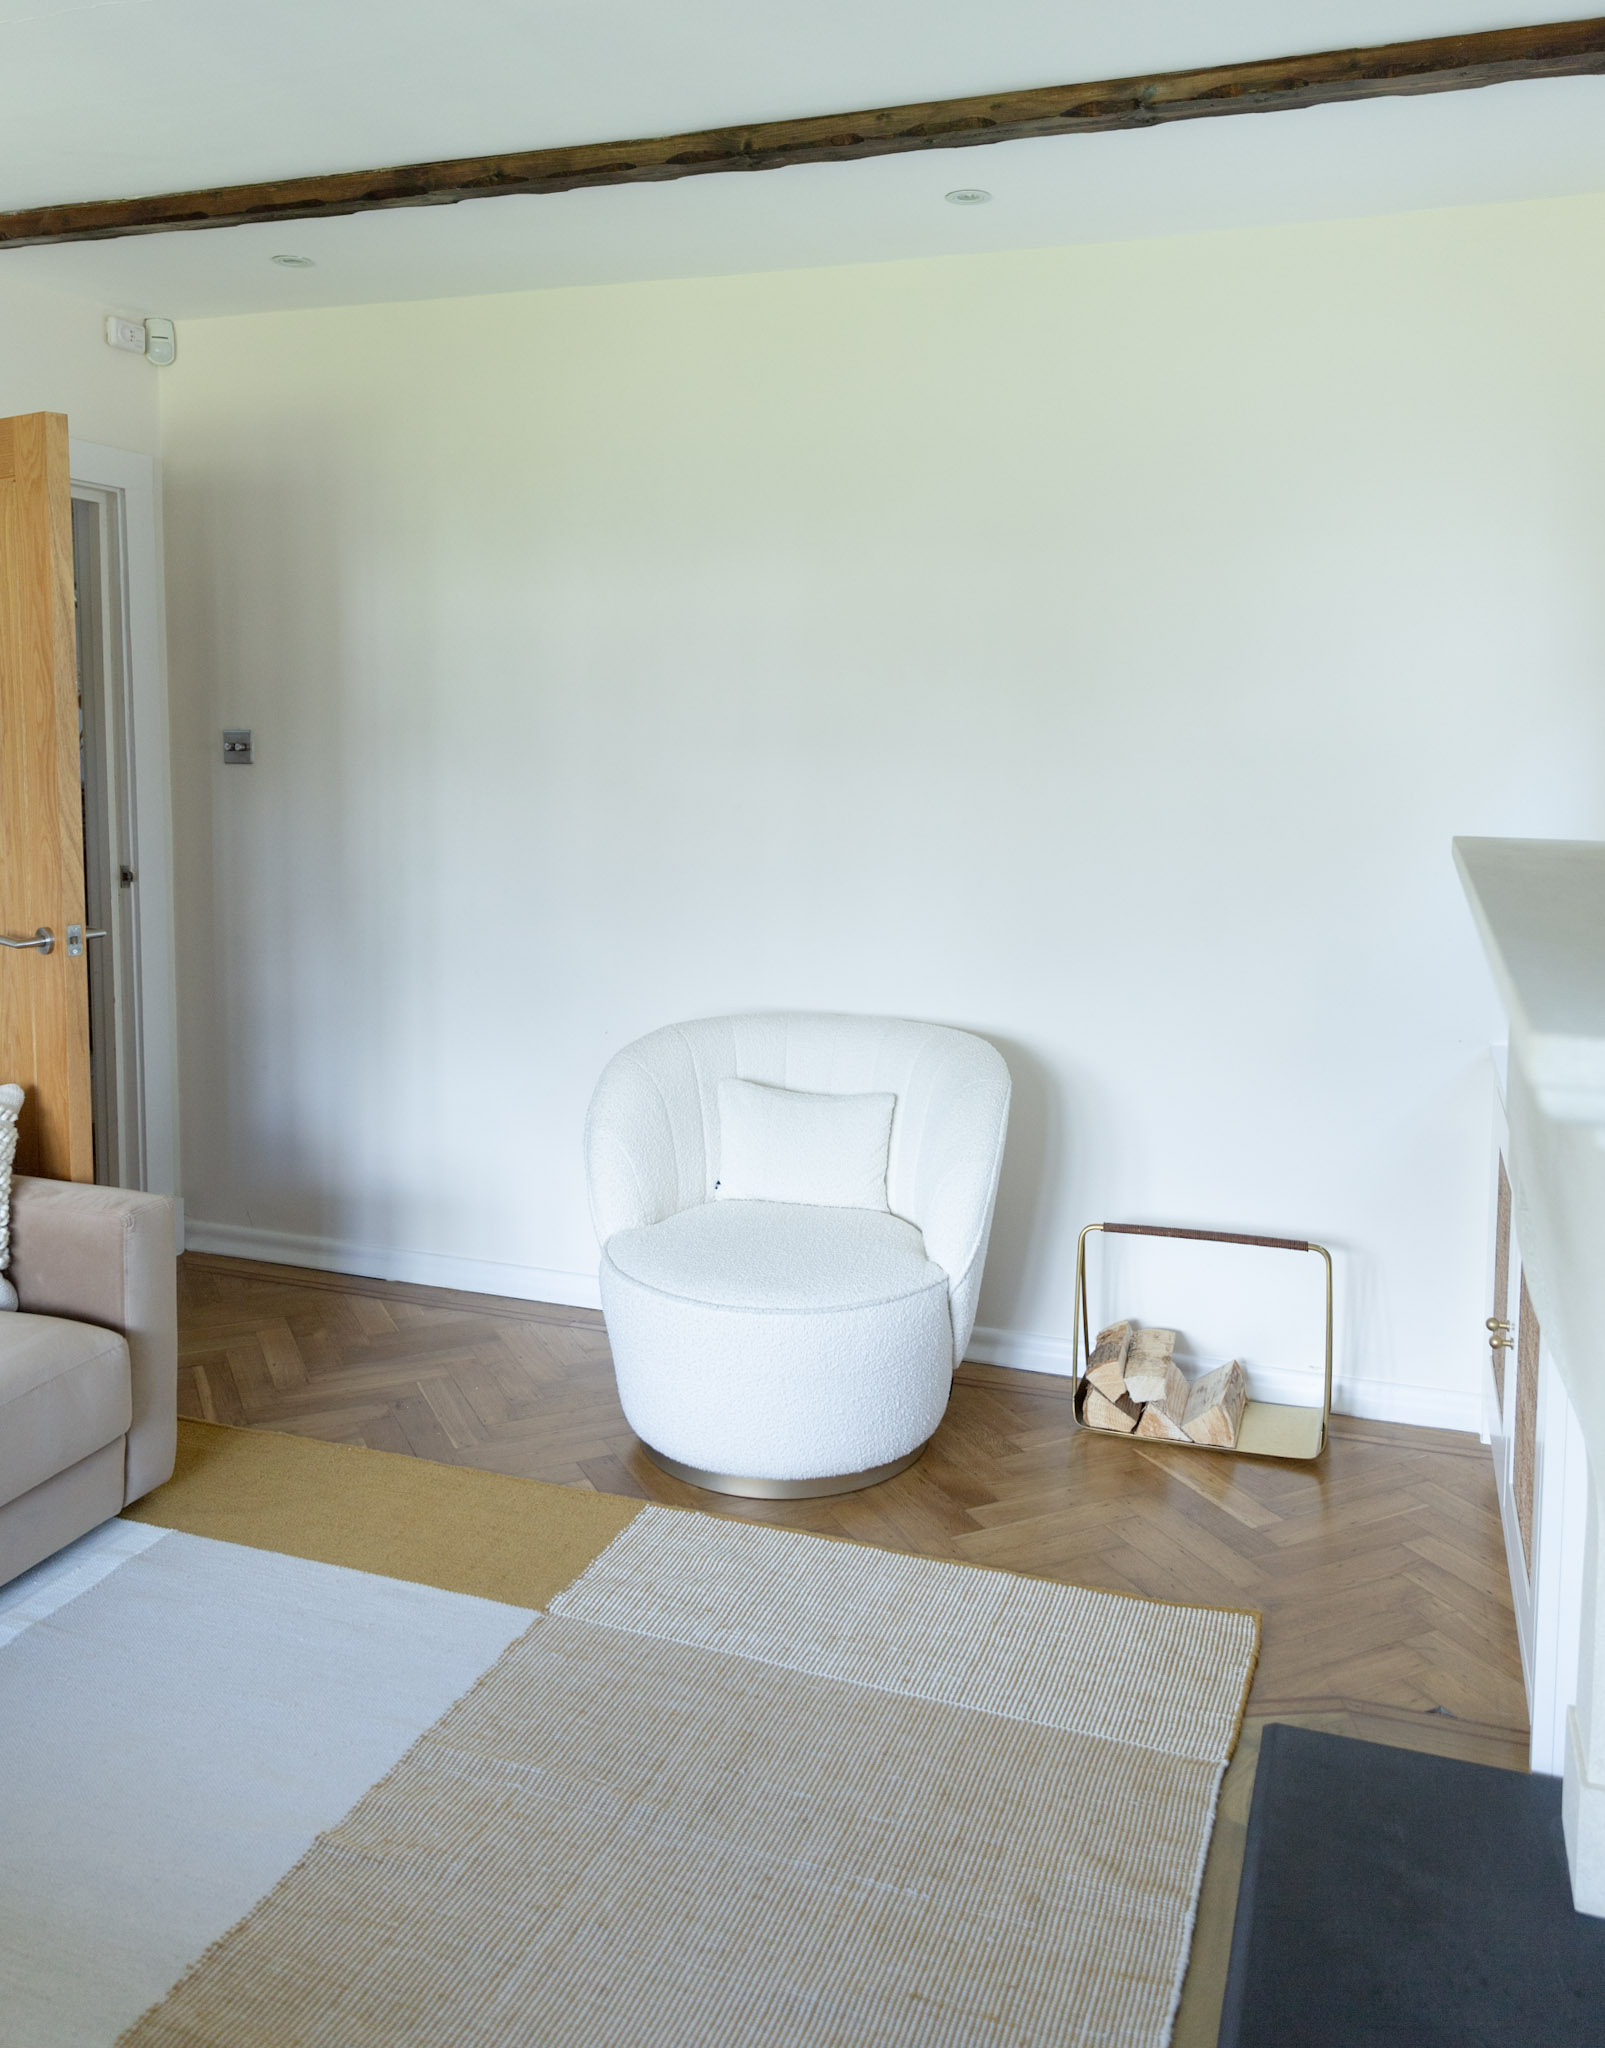
RUG & ACCESSORIES
Accessories can make a real difference to a room. I took my time finding the perfect pieces to finish off this make-over and love how they all enhance the living space. The large area rug is from West Elm and the Ada scatter cushion is by Domkapa. I’ve also got vases, photo frames and random ornaments dotted around to give it a more personal touch.
ANTIQUE ART
I also found the chicest vintage art from our local antique shop. It features ‘The Monument to the Great Fire of London’. Not only is it appropriate because we are in South East London, but the colours couldn’t be more perfect. And I adore the moodiness of this art print.

LIGHTING
Now, let’s not forget about interior lighting. There are so many different lighting tricks you can use to add to the functionality and aesthetics of a room. My favourite one is to install dimmer switches. They will allow you to have so much more control over the ambience. I didn’t want to get rid of our Jim Lawrence pendant light so I just ordered new lamp shades to go with it. I also scattered a few table lamps around to spread the light around the room. I went for a mix of contemporary and traditional lighting to add visual interest and texture. Sticking to only one style is so dated these days. Instead, try mixing different looks to create a unique transitional style you’ll love for years to come.
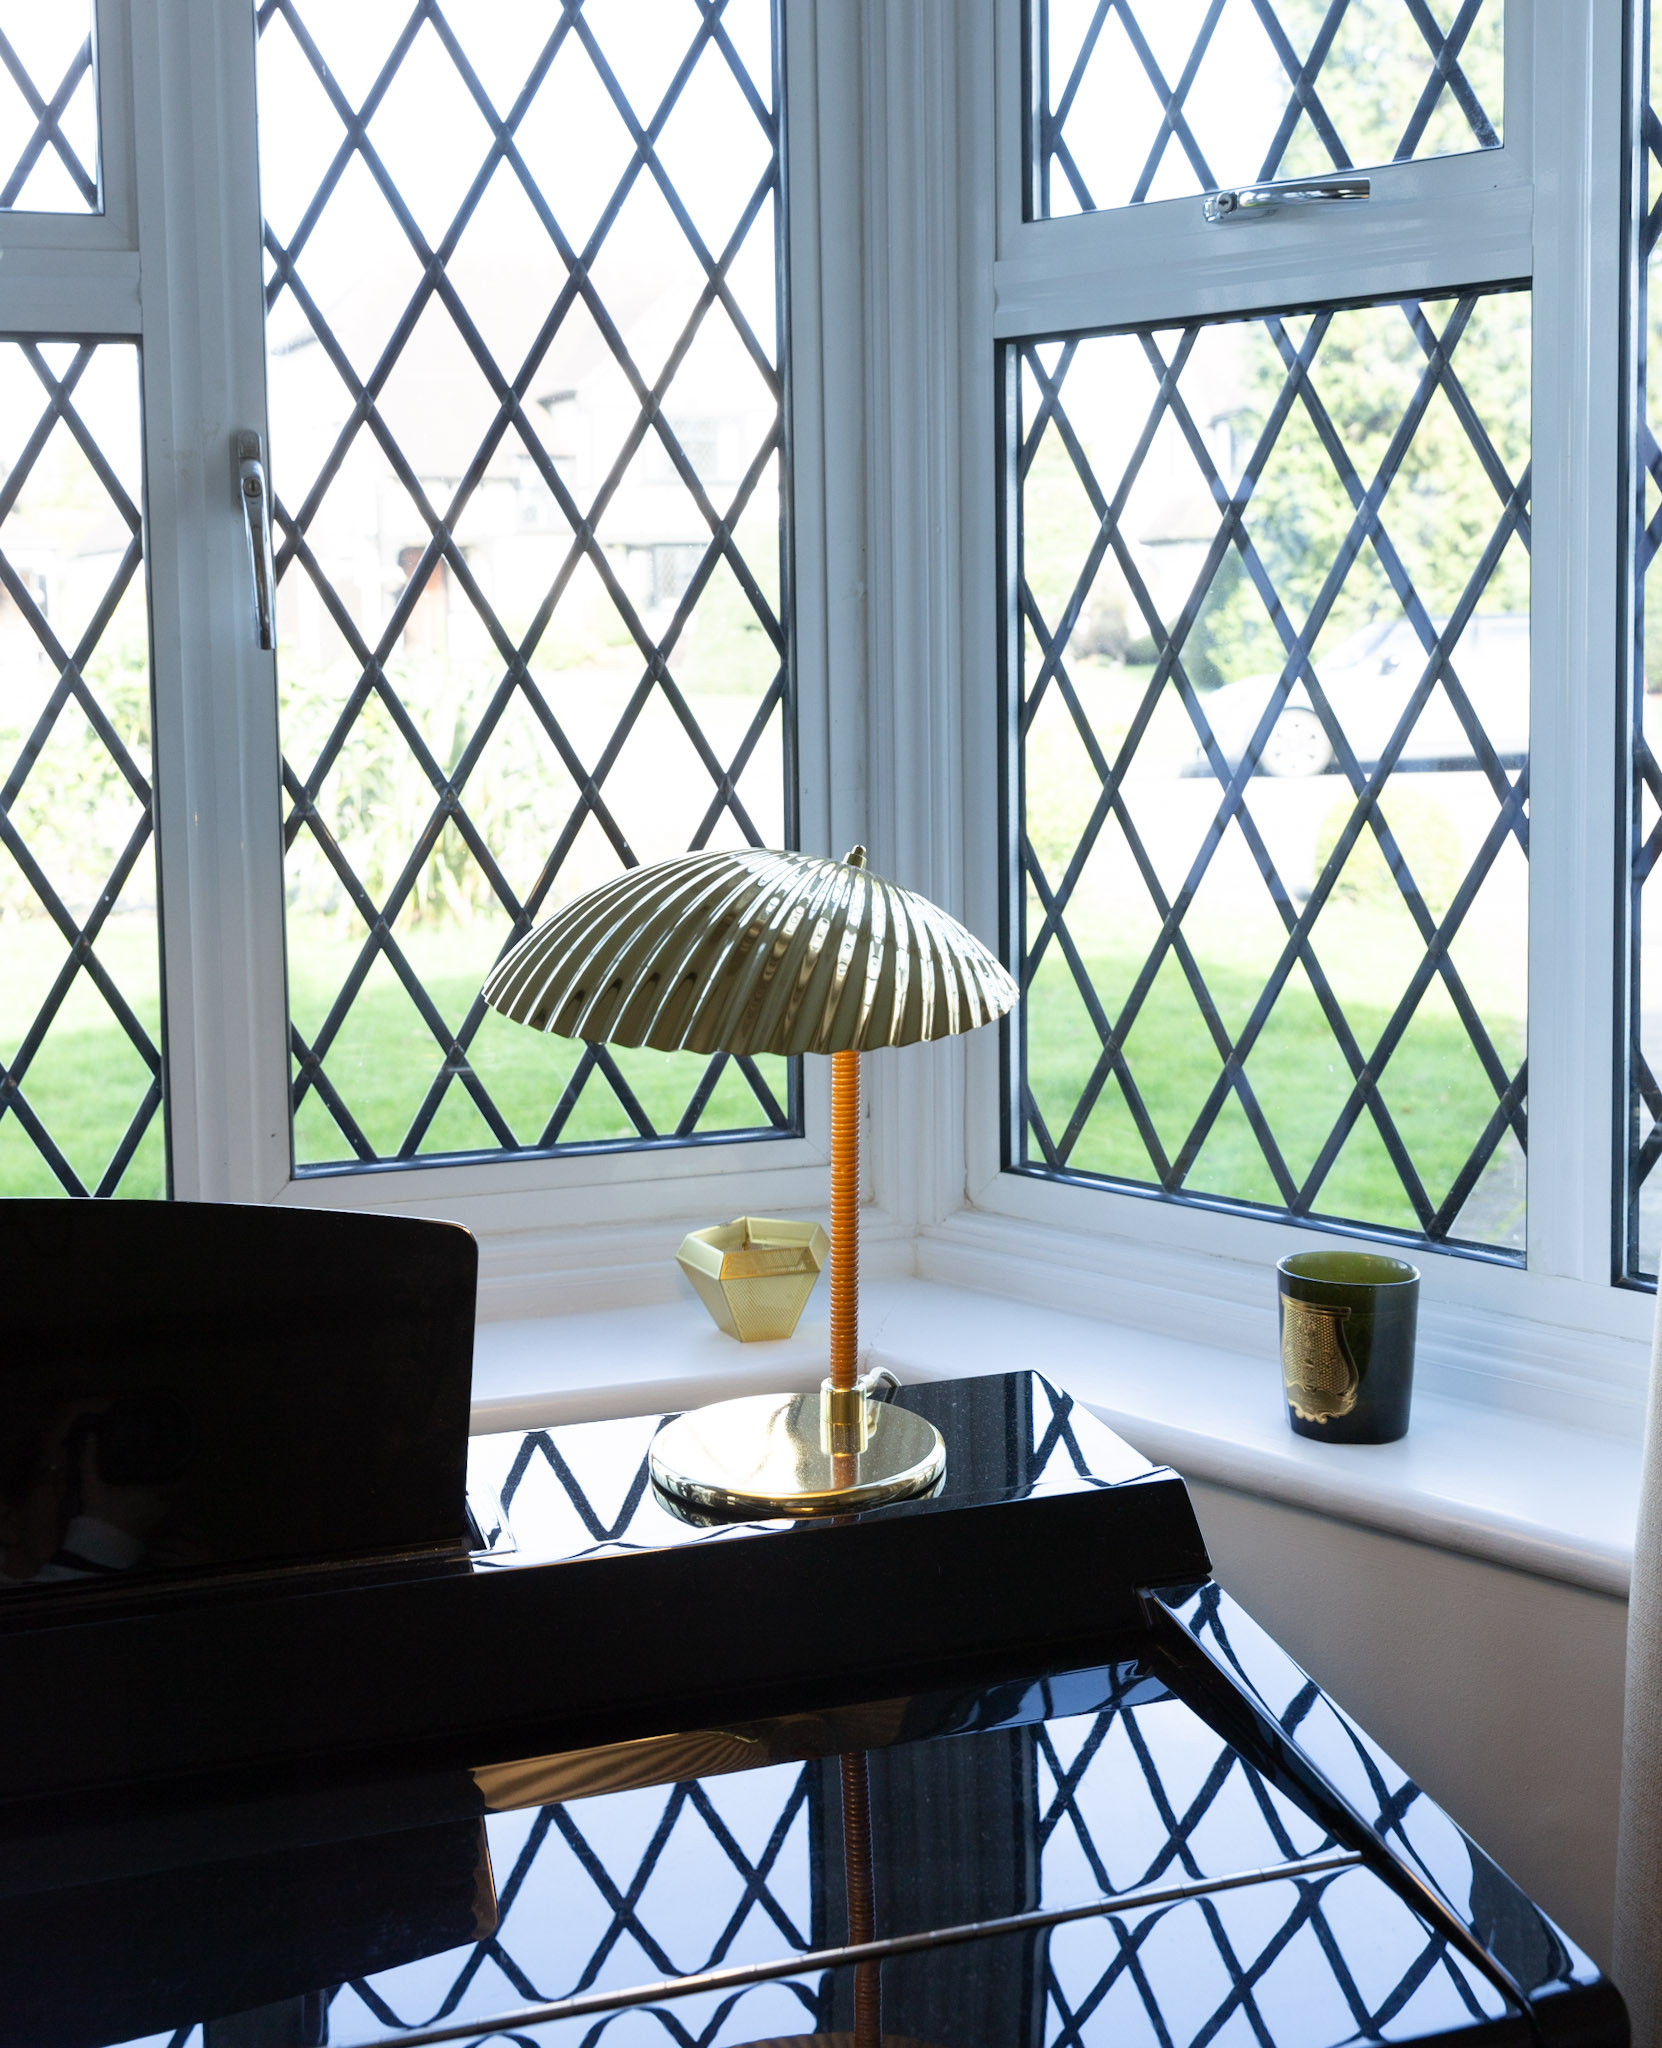
That’s it, folks! I hope you enjoyed this room makeover and if you have any questions or comments, feel free to get in touch by leaving a comment below or via email.

