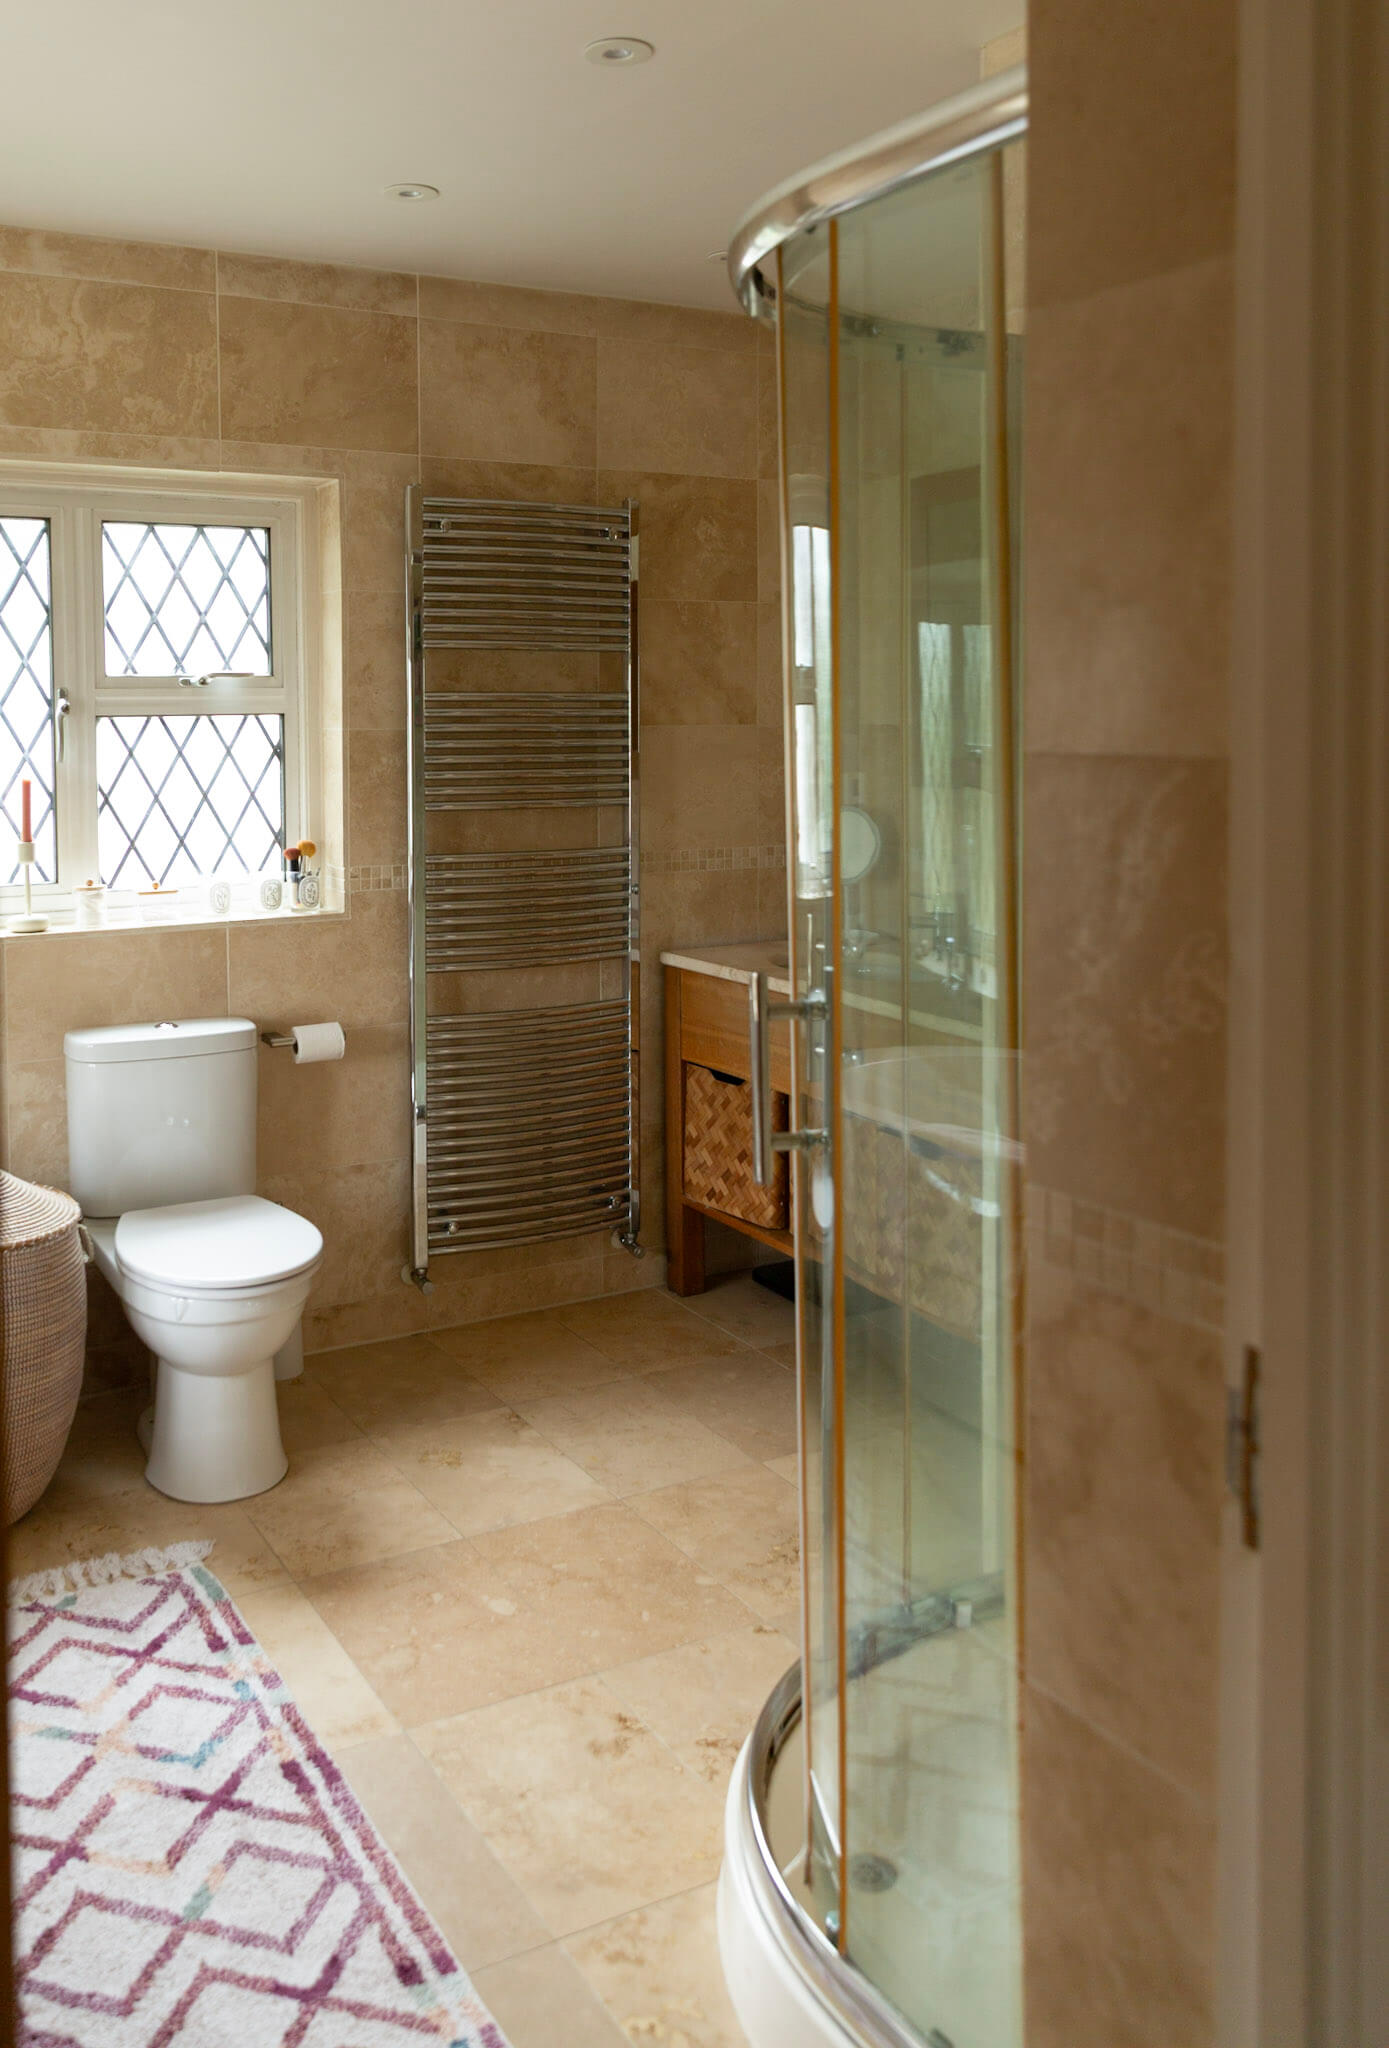
Living in an old house means there is a never-ending list of things that need doing or repairing. The bigger the house, the longer the list. I’m at the stage where I’m tired of calling a handyman for every ‘little’ job, especially when the results are no better than doing it yourself and it saves money too. Regrouting bathroom tiles turned out to be one of those DIY jobs that was much easier than I expected.
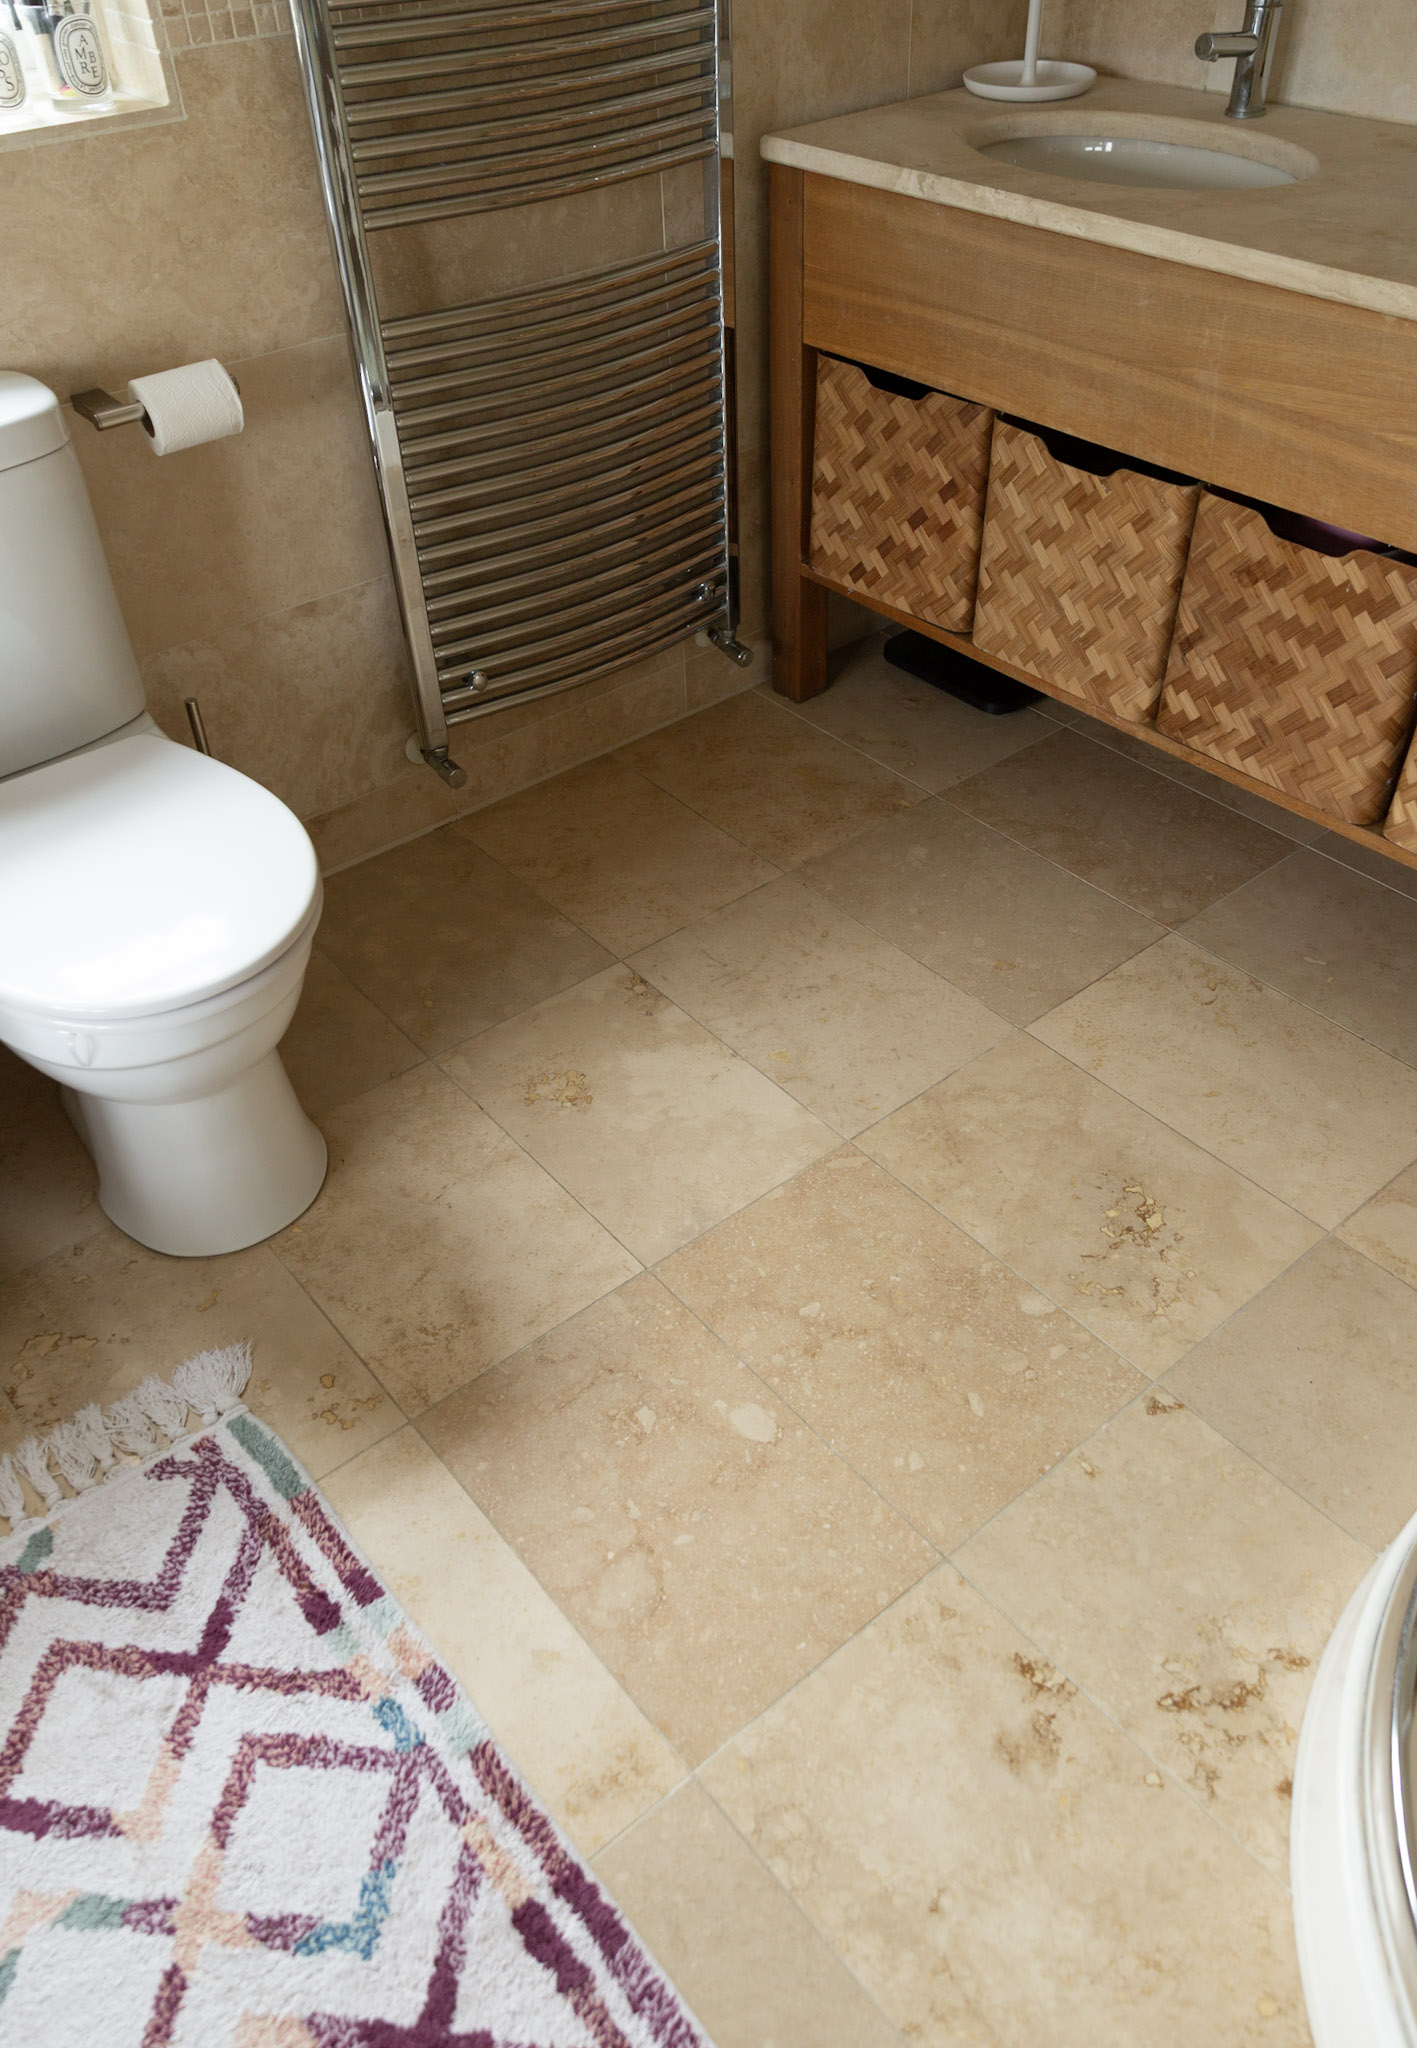
So, a few weeks ago, I decided to teach myself how to fix the cracked grout in our bathroom tiles. The bathrooms are now over 10 years old (although they don’t look it!), and unfortunately, grout doesn’t last forever. It had gotten to the point where the tiles in the master bathroom were moving and cracking, so I decided to regrout bathroom tiles myself and headed to our nearest DIY store and sort it out myself (crossing my fingers).
I should add that this hack only works for repairing grout between tiles that are otherwise undamaged. If the tiles themselves are cracked or damaged, they should be replaced. We don’t have any spare tiles, so I’ll have to live with the hairline cracks for a while longer (unless anyone knows a hack for that!). If you maintain the grout before it starts crumbling, your tiles should stay in good condition. It’s important to repair any missing grout as soon as possible, especially on floors, as loose grout can cause tiles to shift over time. That can become a much more expensive fix later on.
Here are the simple steps I followed to fix the grout.
1. Remove the Old Grout
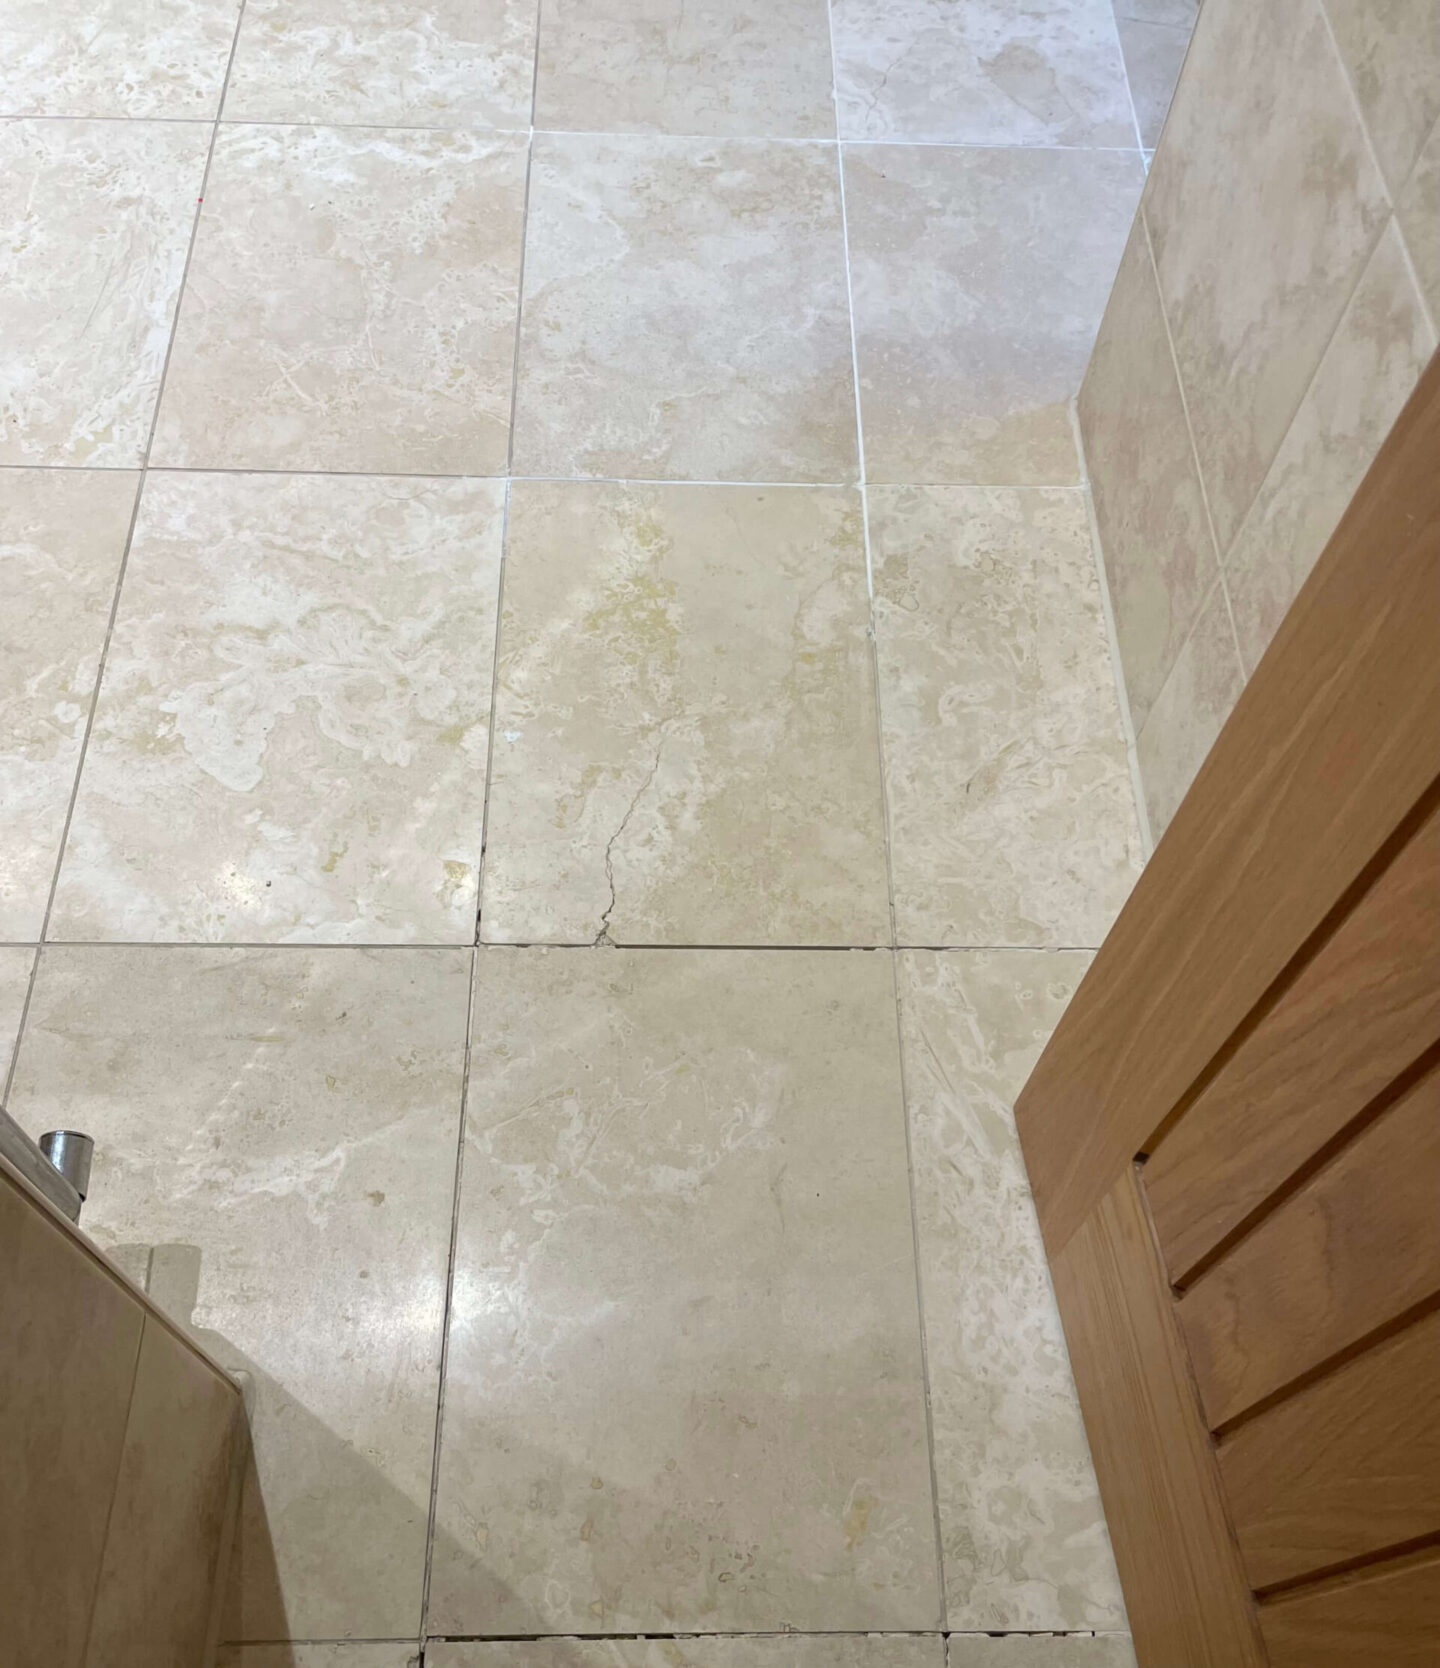
Before – Cracked bathroom tiles and grout
You should never grout over old grout. It simply won’t stick. The best approach is to remove the old grout carefully with a grout remover tool (I used this one from B&Q), being gentle so you don’t damage the tiles. In our case, the grout was already crumbling, so removal was straightforward. Never force it, though. Work gently with the scraper and hoover up any excess debris to clear the space, ready for the next step.
2. Apply ready-mixed grout with a grout smoothing tool
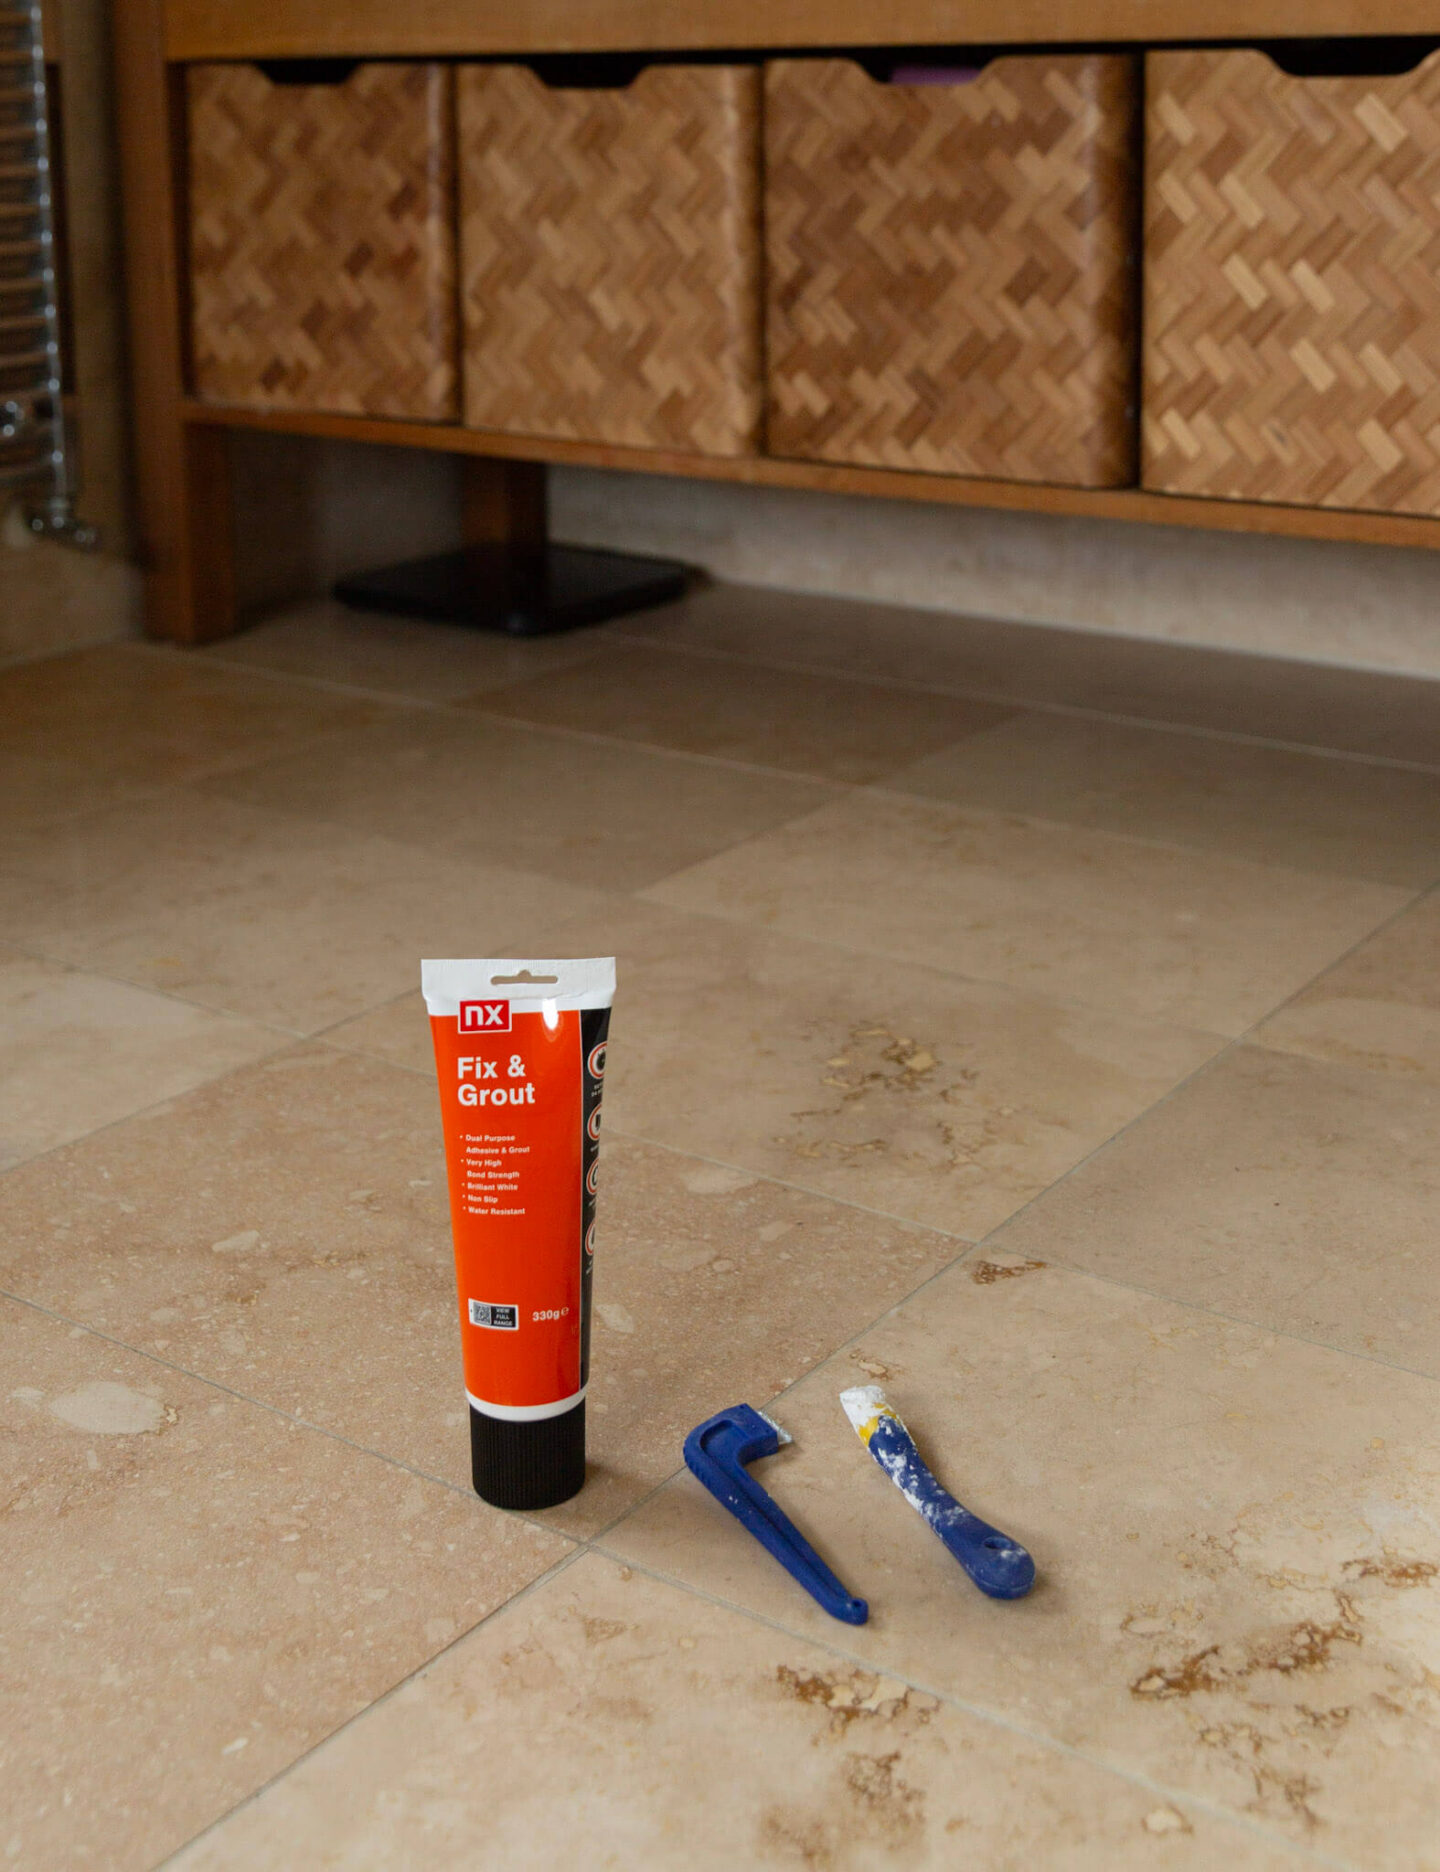
Ready mixed grout, grout scraper and grout smoothing tool
I bought ready-mixed grout, but you can easily mix your own if you’re working on a larger area. For bathroom tiles, make sure the grout has a high bond strength suitable for tiles and is fully waterproof. I much prefer the ready-mixed version (no measuring required and any leftover grout can be sealed and saved for future use).
Now this next part is important because it makes the whole application so much easier. Buy a grout smoothing tool, ideally one with a round flexi head. I found it worked really well with thin grout lines, although a couple of times I had to use my finger too to get into tighter spots. You can easily scrape off any excess grout from the tool and reuse it in other areas. It made getting the grout between the tiles so smooth and neat! Oh, and don’t forget to use disposable gloves when applying new grout to protect your skin from irritation.
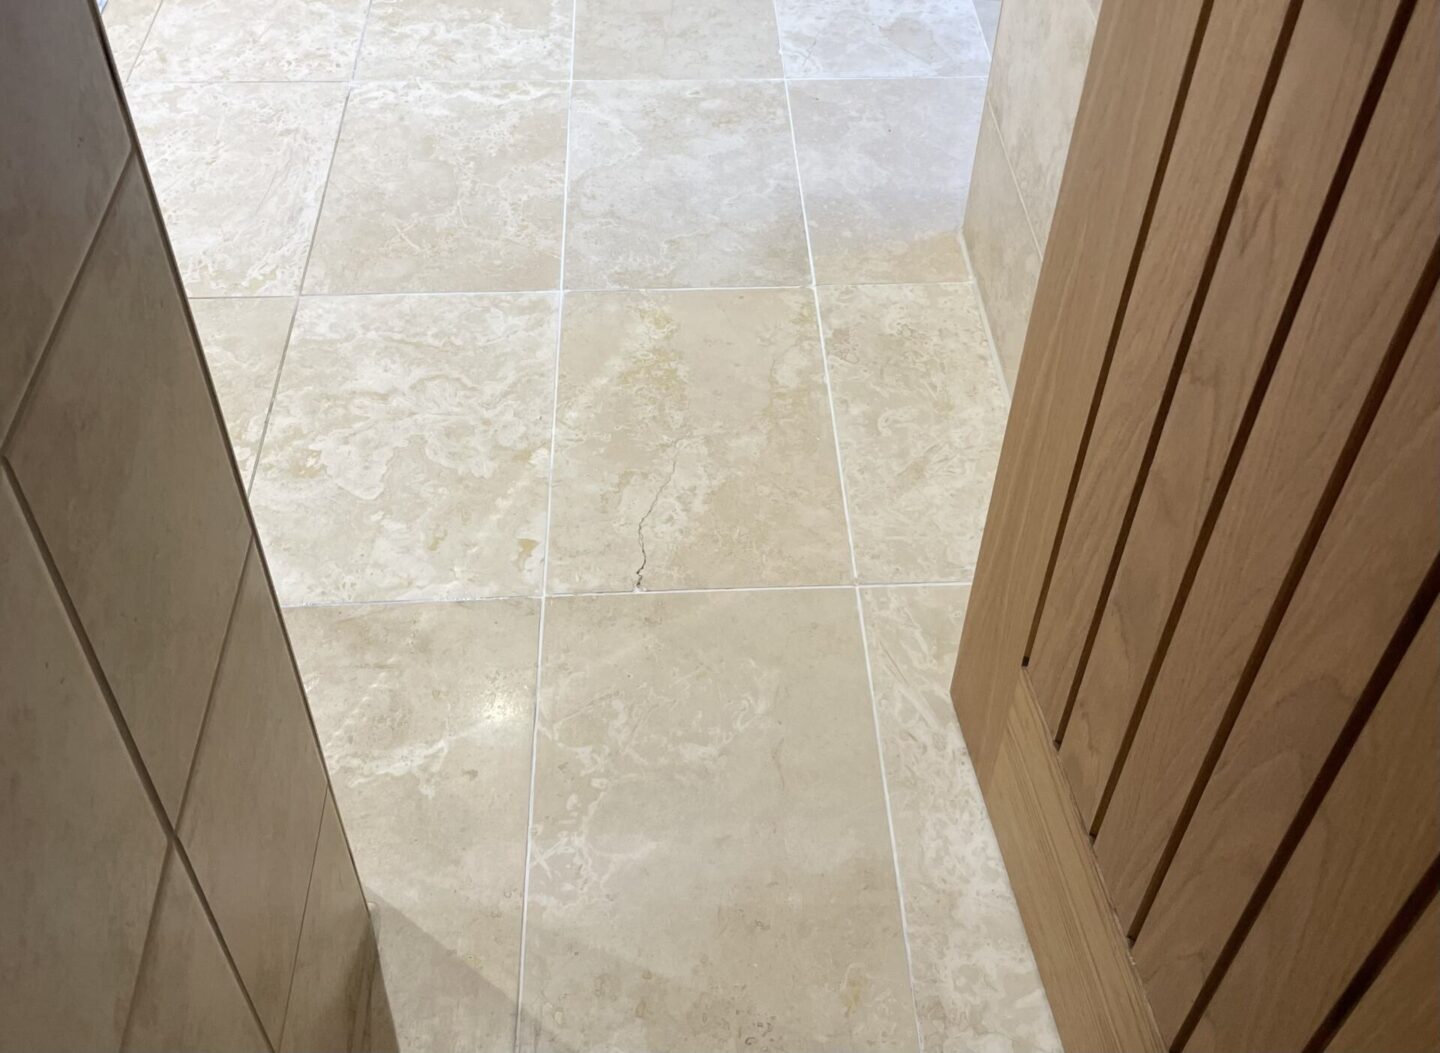
After – New grout on bathroom tiles
3. Remove excess grout with soap and water
It’s very important to wipe away any excess grout straight away so it doesn’t stick to the tiles. This also helps you check that the grout lines look even and smooth. I use a simple mix of warm water and a few drops of Fairy washing-up liquid, which helps remove even stubborn stains. Make sure your cloth isn’t too wet, as you don’t want to add extra moisture to the new grout. Don’t be tempted to touch up the grout once it has started setting. If you’re not happy with it, it’s best to remove it and just start again. For more tips on how to keep grout clean, Good Housekeeping has a brilliant guide.
4. Let the grout dry for 24 hours
Fresh white grout next to the original beige grout in the shower.
Drying time depends on the grout you use, so always check the packaging, but it’s usually a minimum of 24 hours. If you’ve grouted floor tiles, avoid stepping on them until they’re fully dry. I like to put masking tape across the area as a reminder not to walk on it.
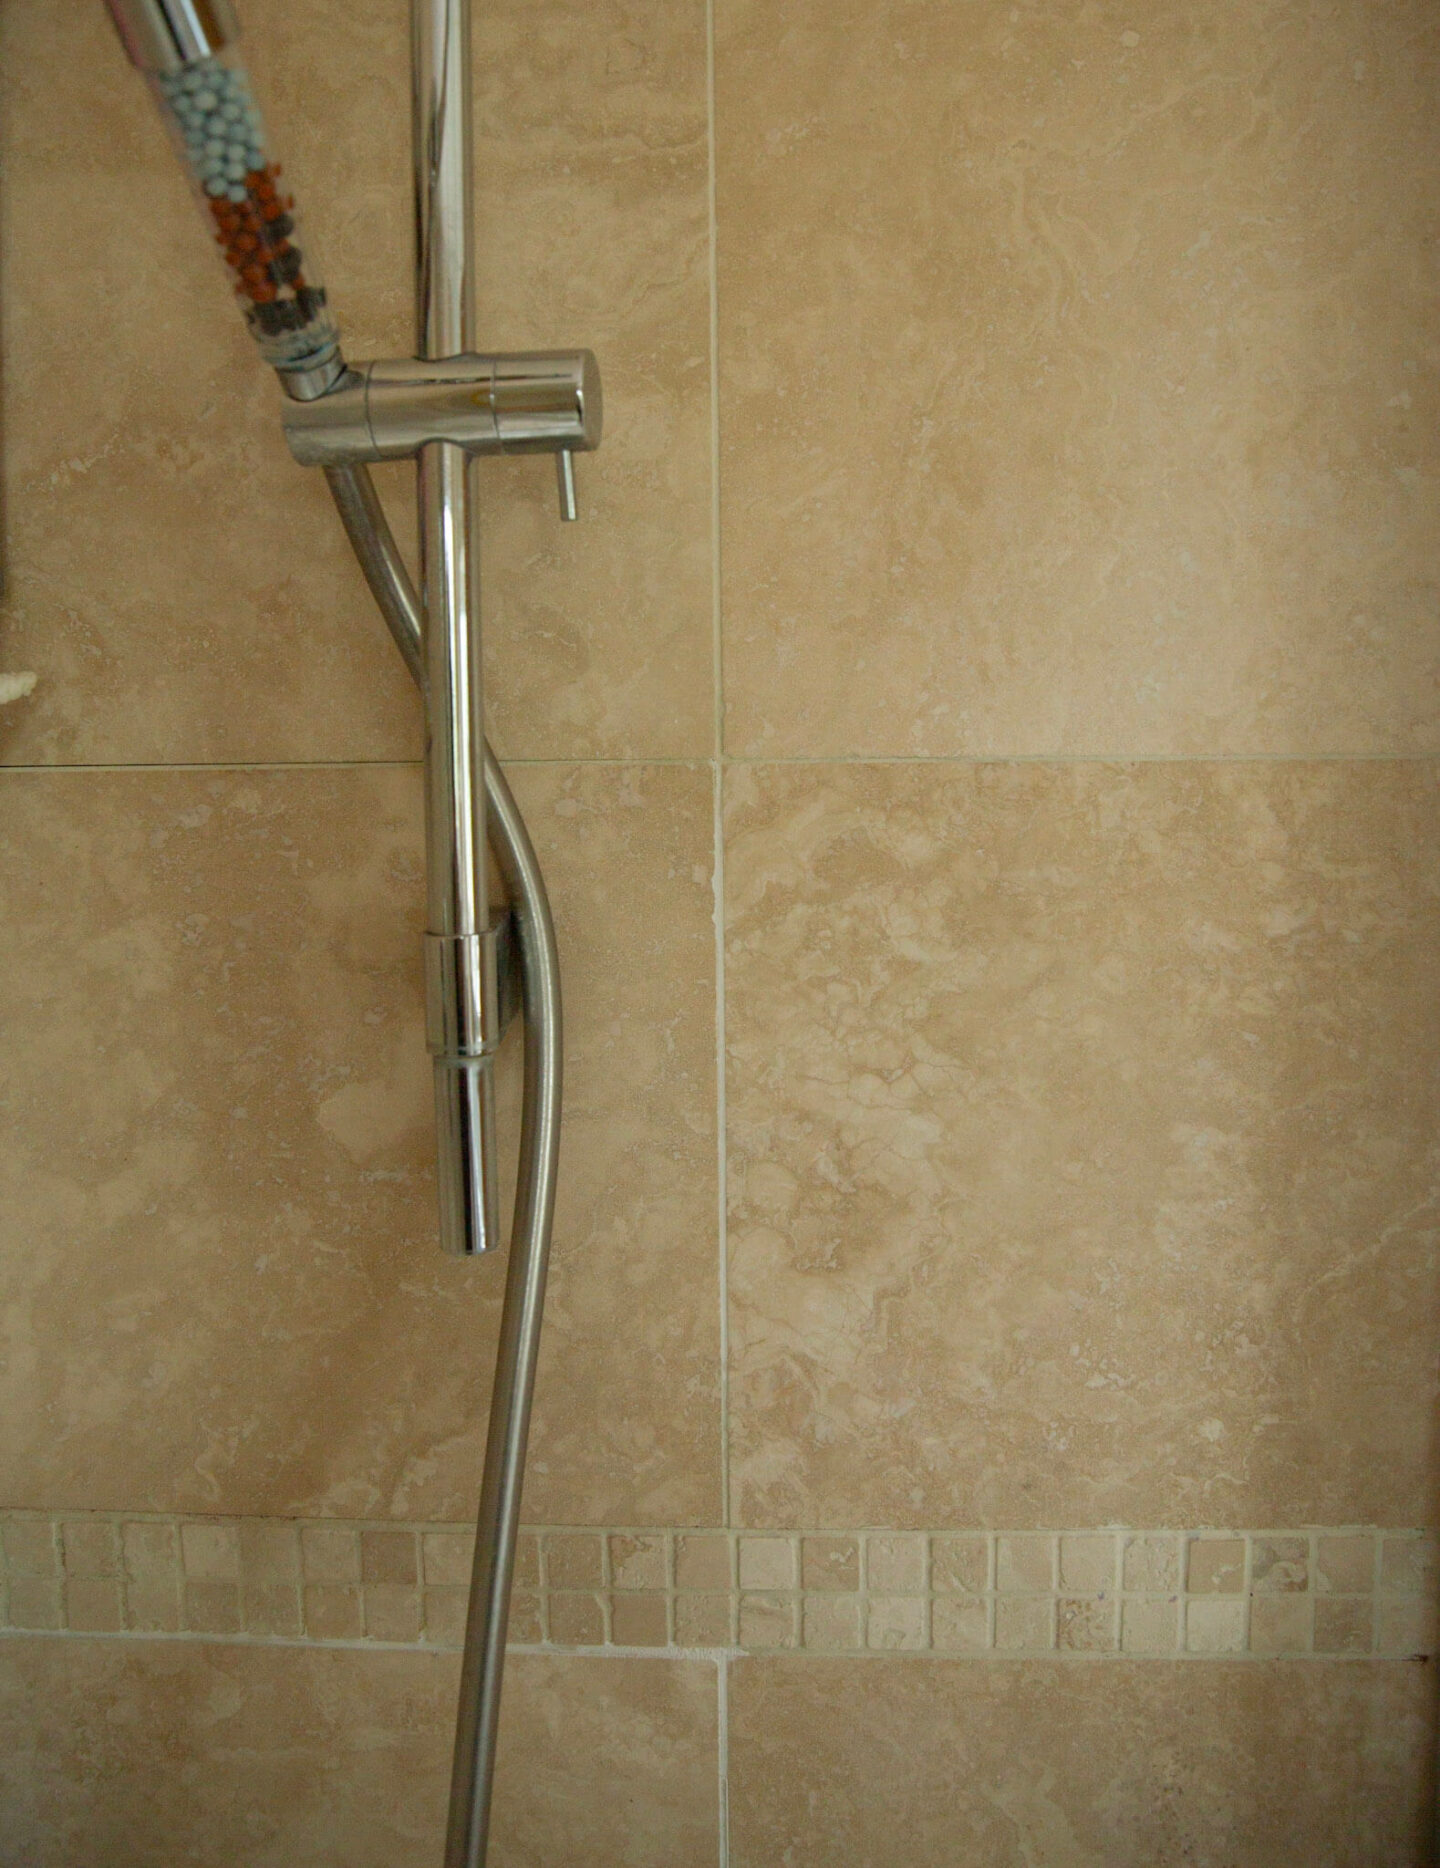
If you’re working with wall tiles, try not to shower for 24 hours if possible, or be extra careful to avoid water splashing onto the grout while it sets.
5. Paint the grout (optional)
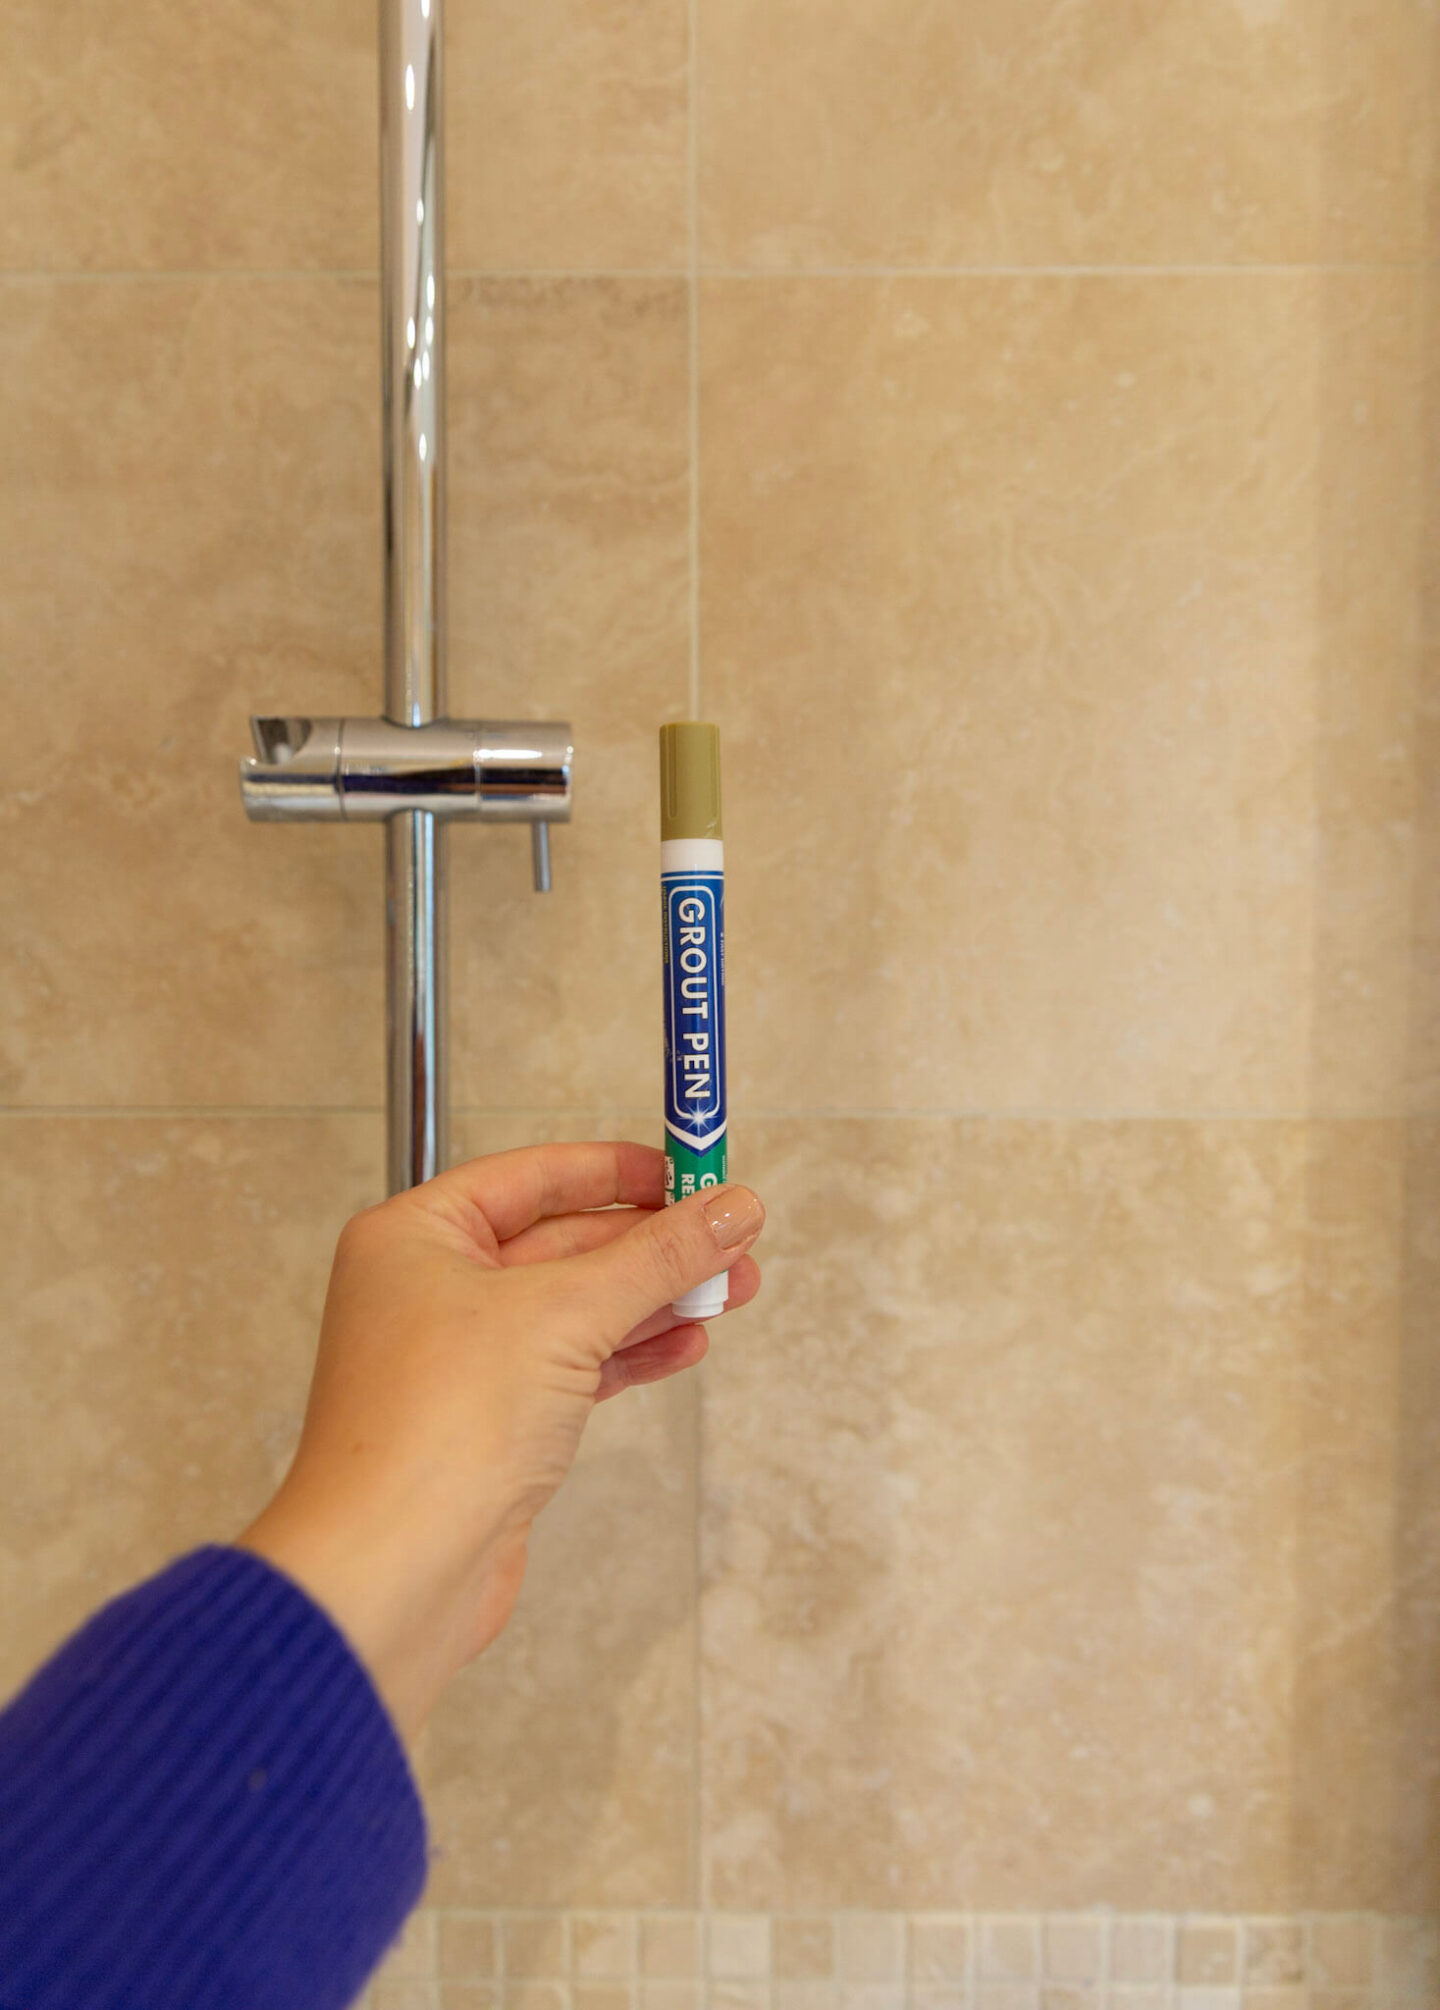
The last step is optional, depending on whether your grout is already the desired colour. Most ready-made grouts come in white or grey, so I chose to colour mine a warm beige. I used a grout revival pen to match the new grout to the existing grout, and luckily, the shade was a perfect match. You really can’t tell the difference, can you? I’ve been using grout revival pens since 2019 (yes, really!). I first mentioned them in my marble bathroom makeover post and have sworn by them ever since.
Another tip is to choose a grout colour that matches your tiles. It creates a much more natural look than picking a contrasting colour.
What to Do If Your New Grout Is Crumbling
New grout shouldn’t crumble, but it can happen, as I discovered myself. In our case, some of the smaller tiles near the doorway, where there is more foot traffic, had become slightly loose. After a few weeks, the grout around them started to crumble. The best way to fix this is to remove the loose grout first and make sure there is no dust or debris left in the gaps. Next, use a strong bonding adhesive such as Fix-A-Floor and allow it to cure for 24 hours. This helps secure the tiles back to the floor. Once the adhesive has fully set, reapply the grout as you did the first time. It should then bond properly and last much longer. This method worked well for me, and I would absolutely use it again if I noticed any grout starting to crumble in the future.
That’s it!
That’s really all there is to it! Super easy and simple bathroom tile repair, and if I can do it, anyone can. I’m so glad I’ve learned a useful new skill. There’s nothing better than seeing the results of your own work and the satisfaction it brings. It has definitely given me the confidence to keep learning and try more DIY projects myself. Not only do you save money, but it’s incredibly rewarding too.
Happy DIYing!


Great job Pia .
A lot of work but well worth the effort.
Author
Yes, it takes a bit of patience but really ins’t as hard as it looks!