
You may remember our radiator leak nightmare and how long it took to get it resolved. After months of searching, we finally found the cracked water pipe (thanks to the professionals) and managed to repair our dining room flooring. Still, this experience has taught me that every homeowner should have at least a basic understanding of plumbing and heating, rather than relying entirely on professionals. In this instance, of course, we needed a professional to fix the issue, but simpler tasks such as flushing the radiators or attaching a radiator valve can be done with the right tools and guidance.
In this complete guide, created by the experts at Radiator Village, we will walk you through every step of installing a radiator valve, from preparation to completion. This will ensure that you avoid leaks, water damage and costly mistakes. By the end, you’ll be ready to tackle the job safely and efficiently. Let’s dive in.
Why Replacing a Radiator Valve Matters
I know you’re probably thinking, ‘I’ve never had to replace a radiator valve before, so why would I bother now?’ You can consider yourself lucky, but chances are your plumber has taken care of this for you. Radiator valves play a crucial role in regulating the flow of hot water through your radiators. A faulty or outdated valve can affect your heating efficiency, cause leaks (as I know from experience!) or leave certain rooms colder than others. Whether you’re swapping out a thermostatic radiator valve (TRV) for better temperature control or replacing a standard manual valve, installing it correctly is essential to avoid long-term issues.
Step 1: Turn Off Your Heating and Isolate the Water Supply
Before touching a wrench or a radiator, safety comes first. Ensure your central heating system is completely turned off. Allow time for the water inside the system to cool down—this helps you avoid burns and other injuries. Next, isolate the radiator from the rest of your home’s water system. Most modern heating systems allow individual radiator isolation, but if yours doesn’t, you may need to shut off the entire water supply temporarily. This step is crucial to prevent any water from escaping when you detach the valve.
Step 2: Drain the Radiator
Once the heating system is off and the radiator is isolated, it’s time to drain any remaining water. Use a radiator bleed key to release pressure and allow water to exit from the bleed valve, typically found at the top of the radiator. Make sure to place a container or towels underneath to catch any escaping water. Be patient, as it can take a few minutes for all the water to drain out fully.
Tip: If you’re replacing a valve near a wooden or carpeted floor, lay down a plastic sheet or old towel for extra protection.
Step 3: Remove the Old Valve (If Applicable)
If you’re replacing an existing valve, you’ll need to remove it first. Grab a spanner or adjustable wrench and carefully loosen the compression nuts that attach the valve to the radiator and the pipework. It’s important to hold the pipe steady with one wrench while turning the nut with another. This prevents unnecessary strain on your pipe joints and avoids cracking or breaking anything. Once loosened, remove the valve gently. Be prepared for a bit of residual water to escape, and keep that container or towel handy just in case.
Step 4: Prepare the New Valve for Installation

Before fitting the new valve, you’ll want to prep the threads to prevent future leaks. Wrap PTFE tape (also known as plumber’s tape) around the threaded ends of the valve that will connect to the radiator. Four to six turns around the thread should do the trick. This thin, non-stick tape creates a watertight seal that prevents drips and enhances the longevity of your installation. Make sure the tape is wrapped snugly and evenly — avoid bunching or overlapping, which can compromise the seal.
Step 5: Fit the New Valve
Now it’s time to attach the new valve. First, slide the compression nuts and sealing rings (often called olives) onto the radiator tail and the pipe coming from the floor or wall. Then, position the valve body between them. Carefully align it so that it fits snugly between the radiator tail and pipe. Start tightening the compression nuts by hand to get the threads aligned, then use your spanner to secure them firmly. Be cautious not to overtighten—this can damage the threads or warp the fitting, leading to leaks or alignment issues.
Step 6: Refill the Radiator and Bleed It Again
With the new valve in place and all connections tightened, it’s time to restore the water flow. Turn the water supply back on gradually, allowing water to fill the radiator. You’ll likely hear some bubbling or gurgling as air escapes the system. Once water starts to flow into the radiator, use your bleed key again to release any trapped air from the bleed valve at the top. Continue bleeding until water flows in a steady stream with no air hissing out. This step is vital for preventing cold spots and ensuring your radiator operates efficiently.
Step 7: Check for Leaks
Before you call it a day, do a thorough inspection of all the connections. Look closely around the base of the valve, the connection to the radiator tail, and the joint where the valve meets the pipe. If you spot any drips, use your spanner to gently tighten the joints a little further. In some cases, removing the fitting and adding a bit more PTFE tape can solve minor leaks. Don’t rush this step—catching leaks now saves you from potential water damage down the line.
Step 8: Restart Your Heating System

Once everything is secure and leak-free, turn your central heating back on. Monitor the radiator for a few minutes to ensure it’s heating evenly and the new valve is functioning correctly. If everything is working as expected, you’ve completed the job!
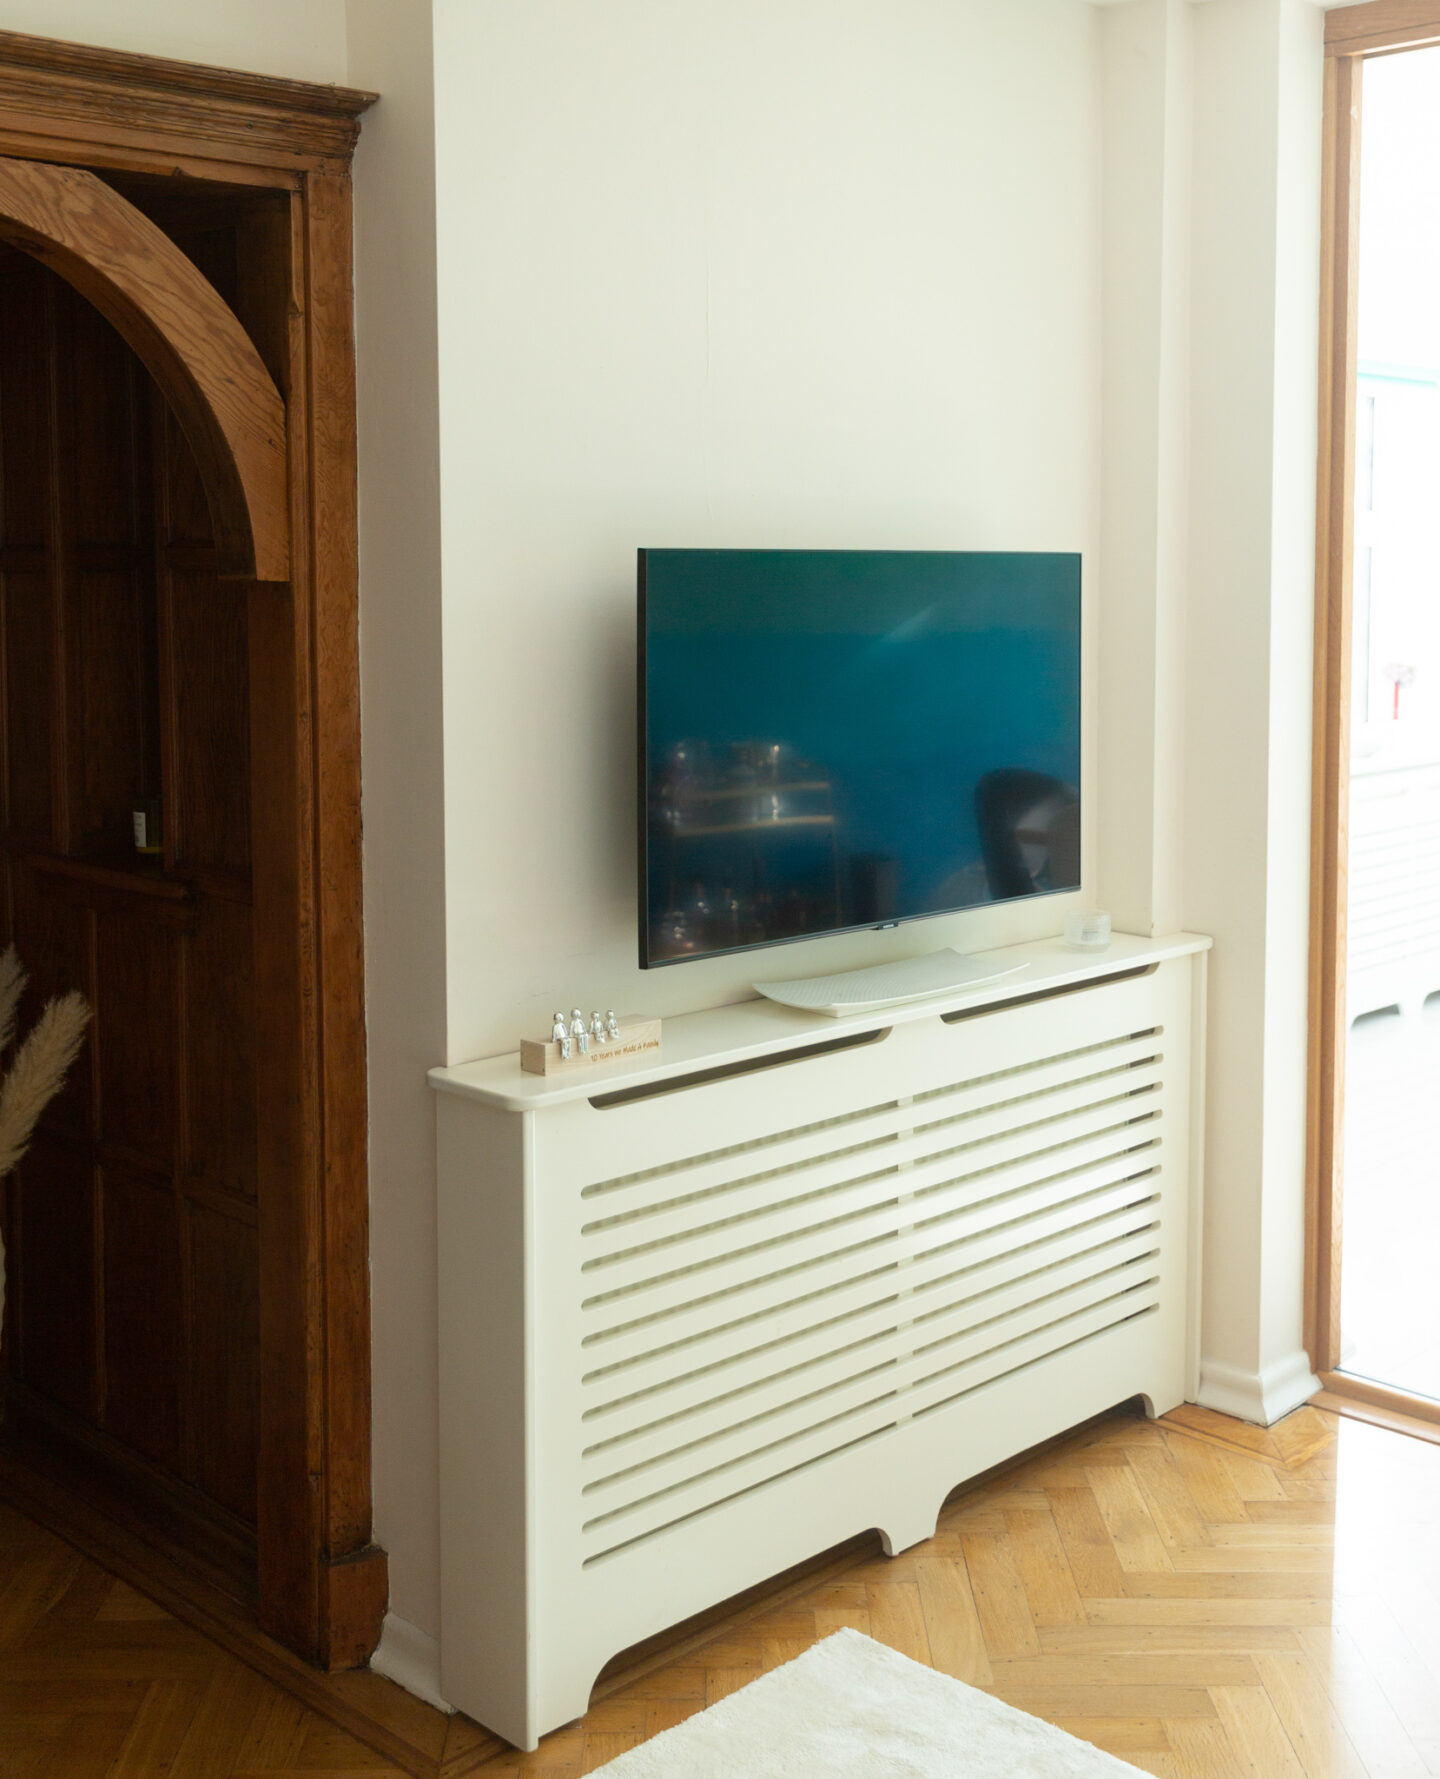
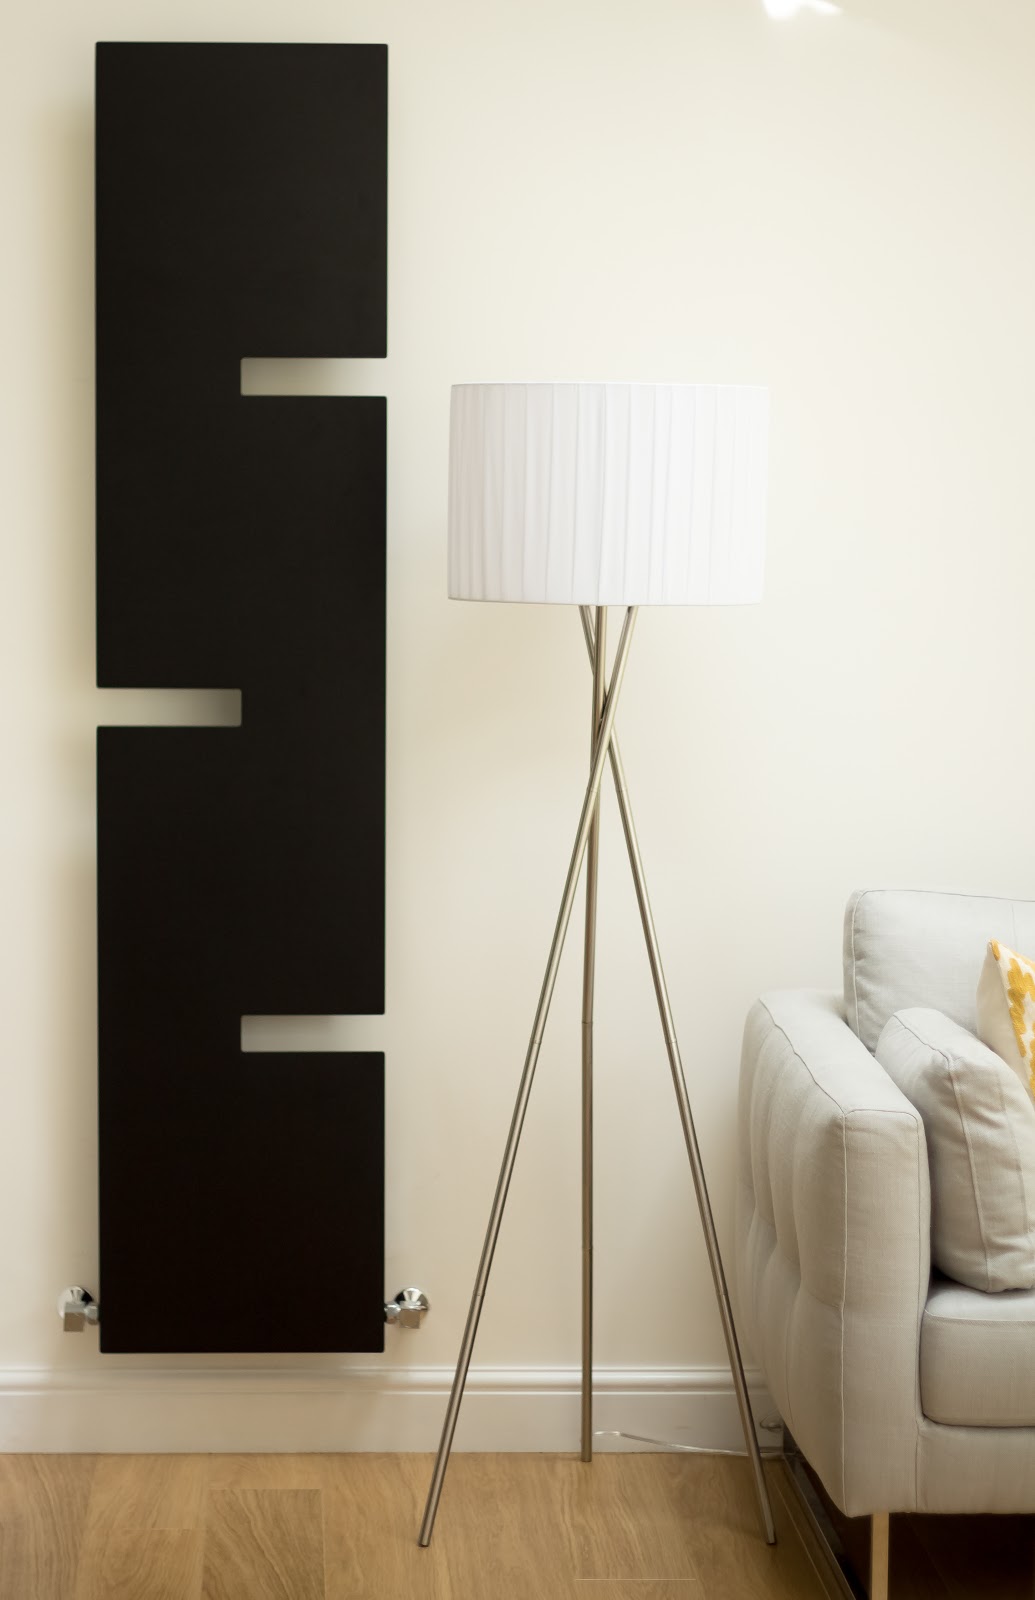
Extra tip: Whether you’re upgrading your entire heating system or just need a high-quality radiator valve, look no further than Radiator Village. They offer some of the lowest prices in the UK and a wide range of radiators and accessories, making it easy to find the perfect solution for any home. Also, don’t forget that radiators can be a very useful design element, whether you’re trying to blend them in or make a statement.
Final Thoughts
As you can see, attaching or replacing a radiator valve might seem like a daunting task, but with the right preparation, tools, and step-by-step approach, it’s entirely manageable—even for DIY enthusiasts with limited plumbing experience, such as myself. Taking time to properly isolate the radiator, drain the system, use PTFE tape correctly, and test for leaks ensures a safe, successful installation. Next time your valve needs attention, you won’t need to call in the professionals — you’ll already know how to handle it like a pro!

