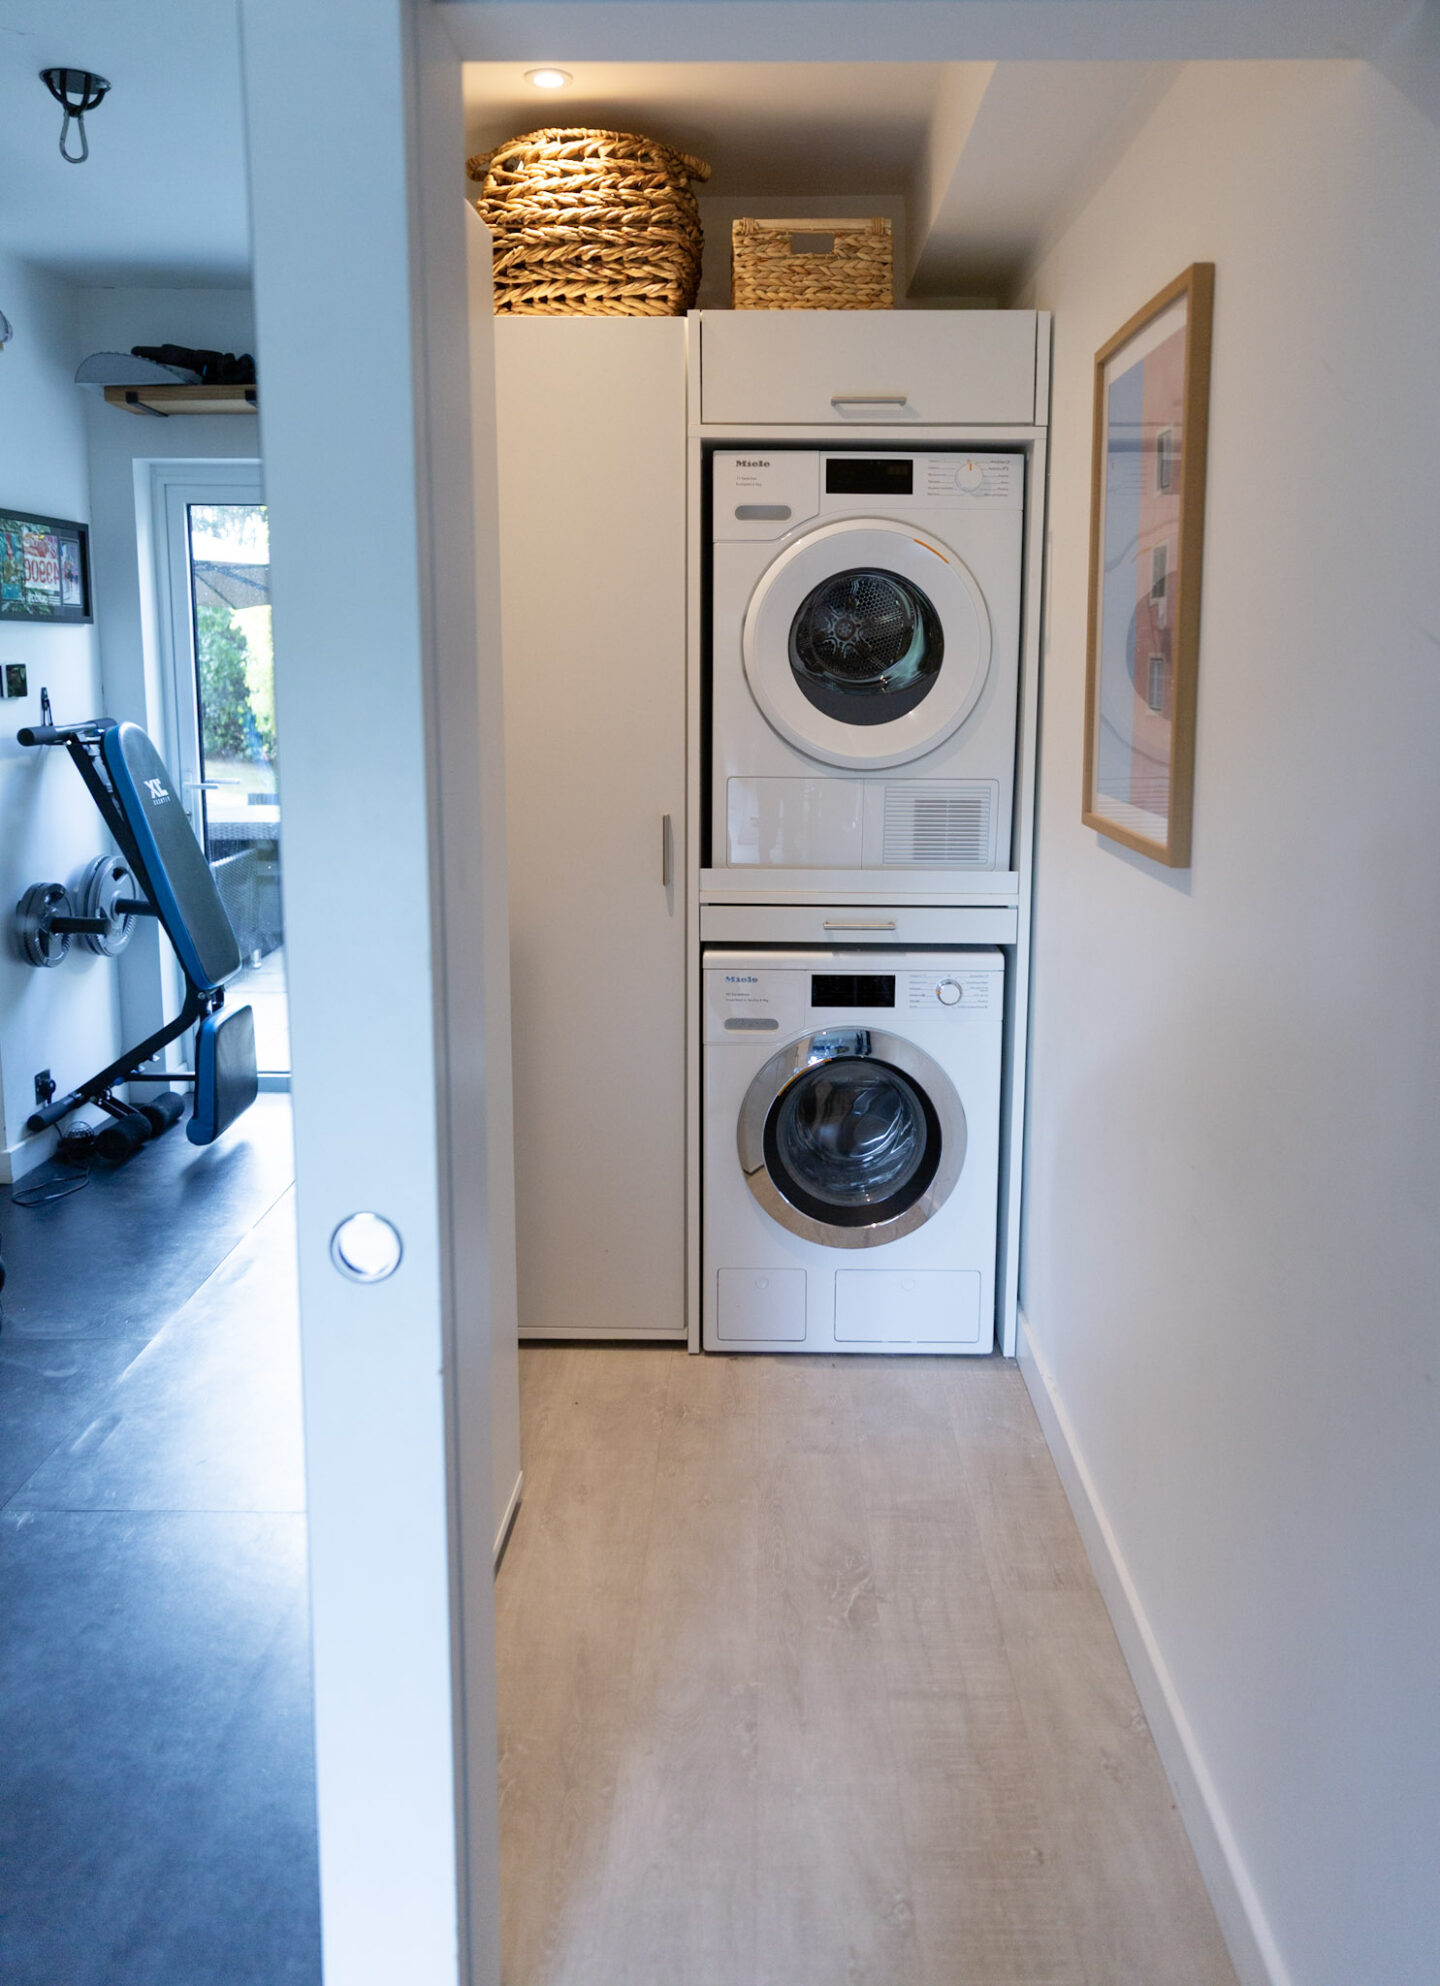
Laundry rooms are such a luxury, but also kind of a necessity. I’ve always just had a small space (or even just a cupboard) to stash the cleaning supplies, washing machine, and everything else. It’s always been cramped and cluttered (anything but nice to look at). When we moved into our current home, we inherited yet another tiny room. But this time, we wanted to make something out of it. It still had to fit all the laundry essentials, but we also wanted it to be organised and aesthetically pleasing. We ordered new washing machine cabinets and storage, and they made a huge difference straight away. I also added a pretty wooden art print to bring in some personality and fun to the space. But we still had one big problem. This space is actually a garage conversion, and the walls are made of plasterboard. That meant no nails, no screws, nothing heavy — not ideal for a room that’s meant to store stuff. Not being able to hang anything was driving me nuts, so I had to start thinking outside the box.
That’s when I thought of wooden slatted walls, which have become such a huge trend. I even wrote about them in my previous blogpost! Not only do they look great, but they’re also super functional thanks to their acoustic properties and versatility. We’d already made good progress on the room, but the slatted wall idea felt like the missing piece — a way to hang what we needed without damaging the walls. Plus, I’ve always loved the way they look. So this felt like the perfect opportunity to give it a try.
WHAT WE BOUGHT
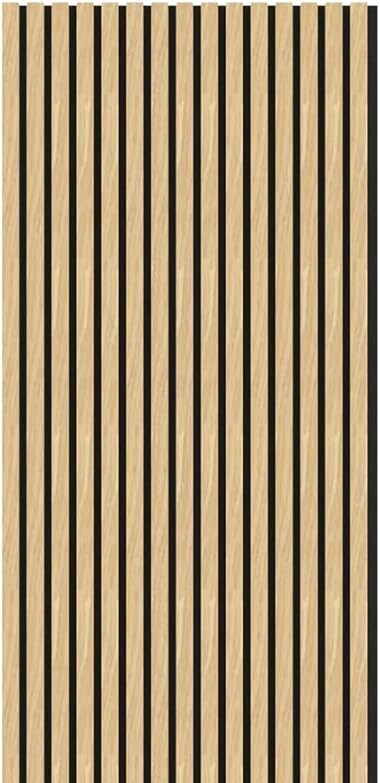
Since we were putting ours in the laundry room (tucked away and low-traffic), we didn’t feel the need to spend a fortune. We ordered our acoustic wooden panel from Amazon, and it does the job perfectly. It’s not solid wood, but MDF slats with a real wood veneer and felt backing, which makes it ideal for spaces like laundry rooms or hallways. You could definitely use it in a living room too, although I wouldn’t recommend hanging anything too heavy on it (like a TV). It looks great, but it’s not the strongest material, so you’ll want to be a bit careful during installation to avoid damaging the panels.
CUTTING INTO SIZE AND STAINING
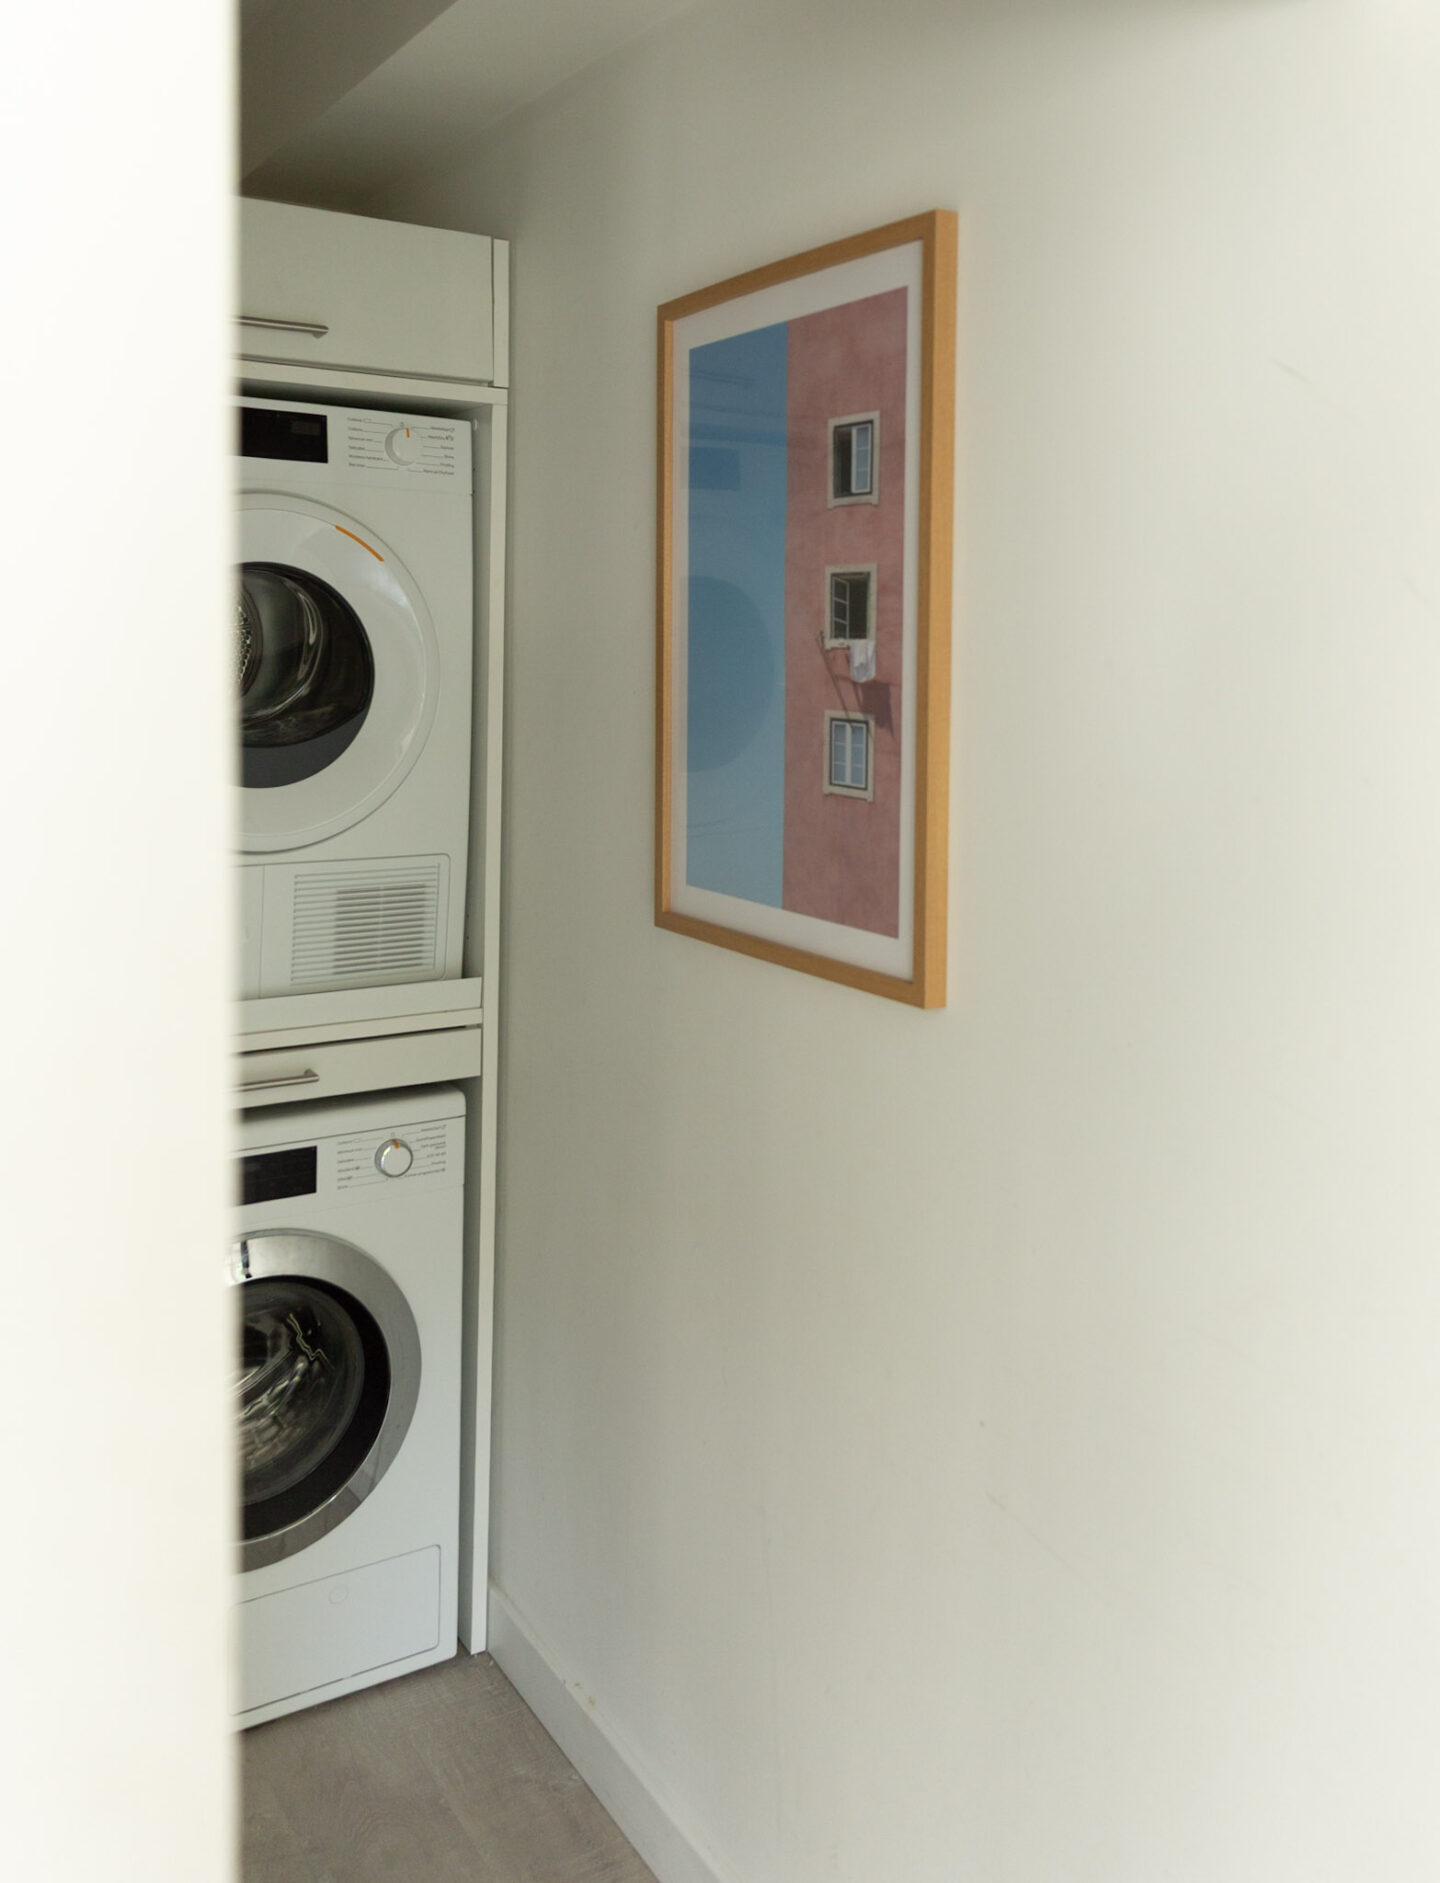
My husband cut the panel to size using a circular saw, which was a quick (but very messy!) job. I wanted the panel to run from the skirting board all the way up to the ceiling, so we didn’t need to trim it too much. Annoyingly, the colour looked lighter than in the picture. I wouldn’t call it “natural oak” — it was more of a light oak or ash tone. So I ended up staining it to match the same colour as our art frame. (see above!) The panel took the wood stain beautifully, and I only needed two coats to achieve the desired shade. The only thing I regret is not staining it before we installed it. Doing it outside would have been much less messy! I had to be super careful not to get the stain on the cabinets or walls. So, if you’re planning something similar, I definitely recommend staining the panels before putting them up — it’ll save you a lot of hassle.
INSTALLATION
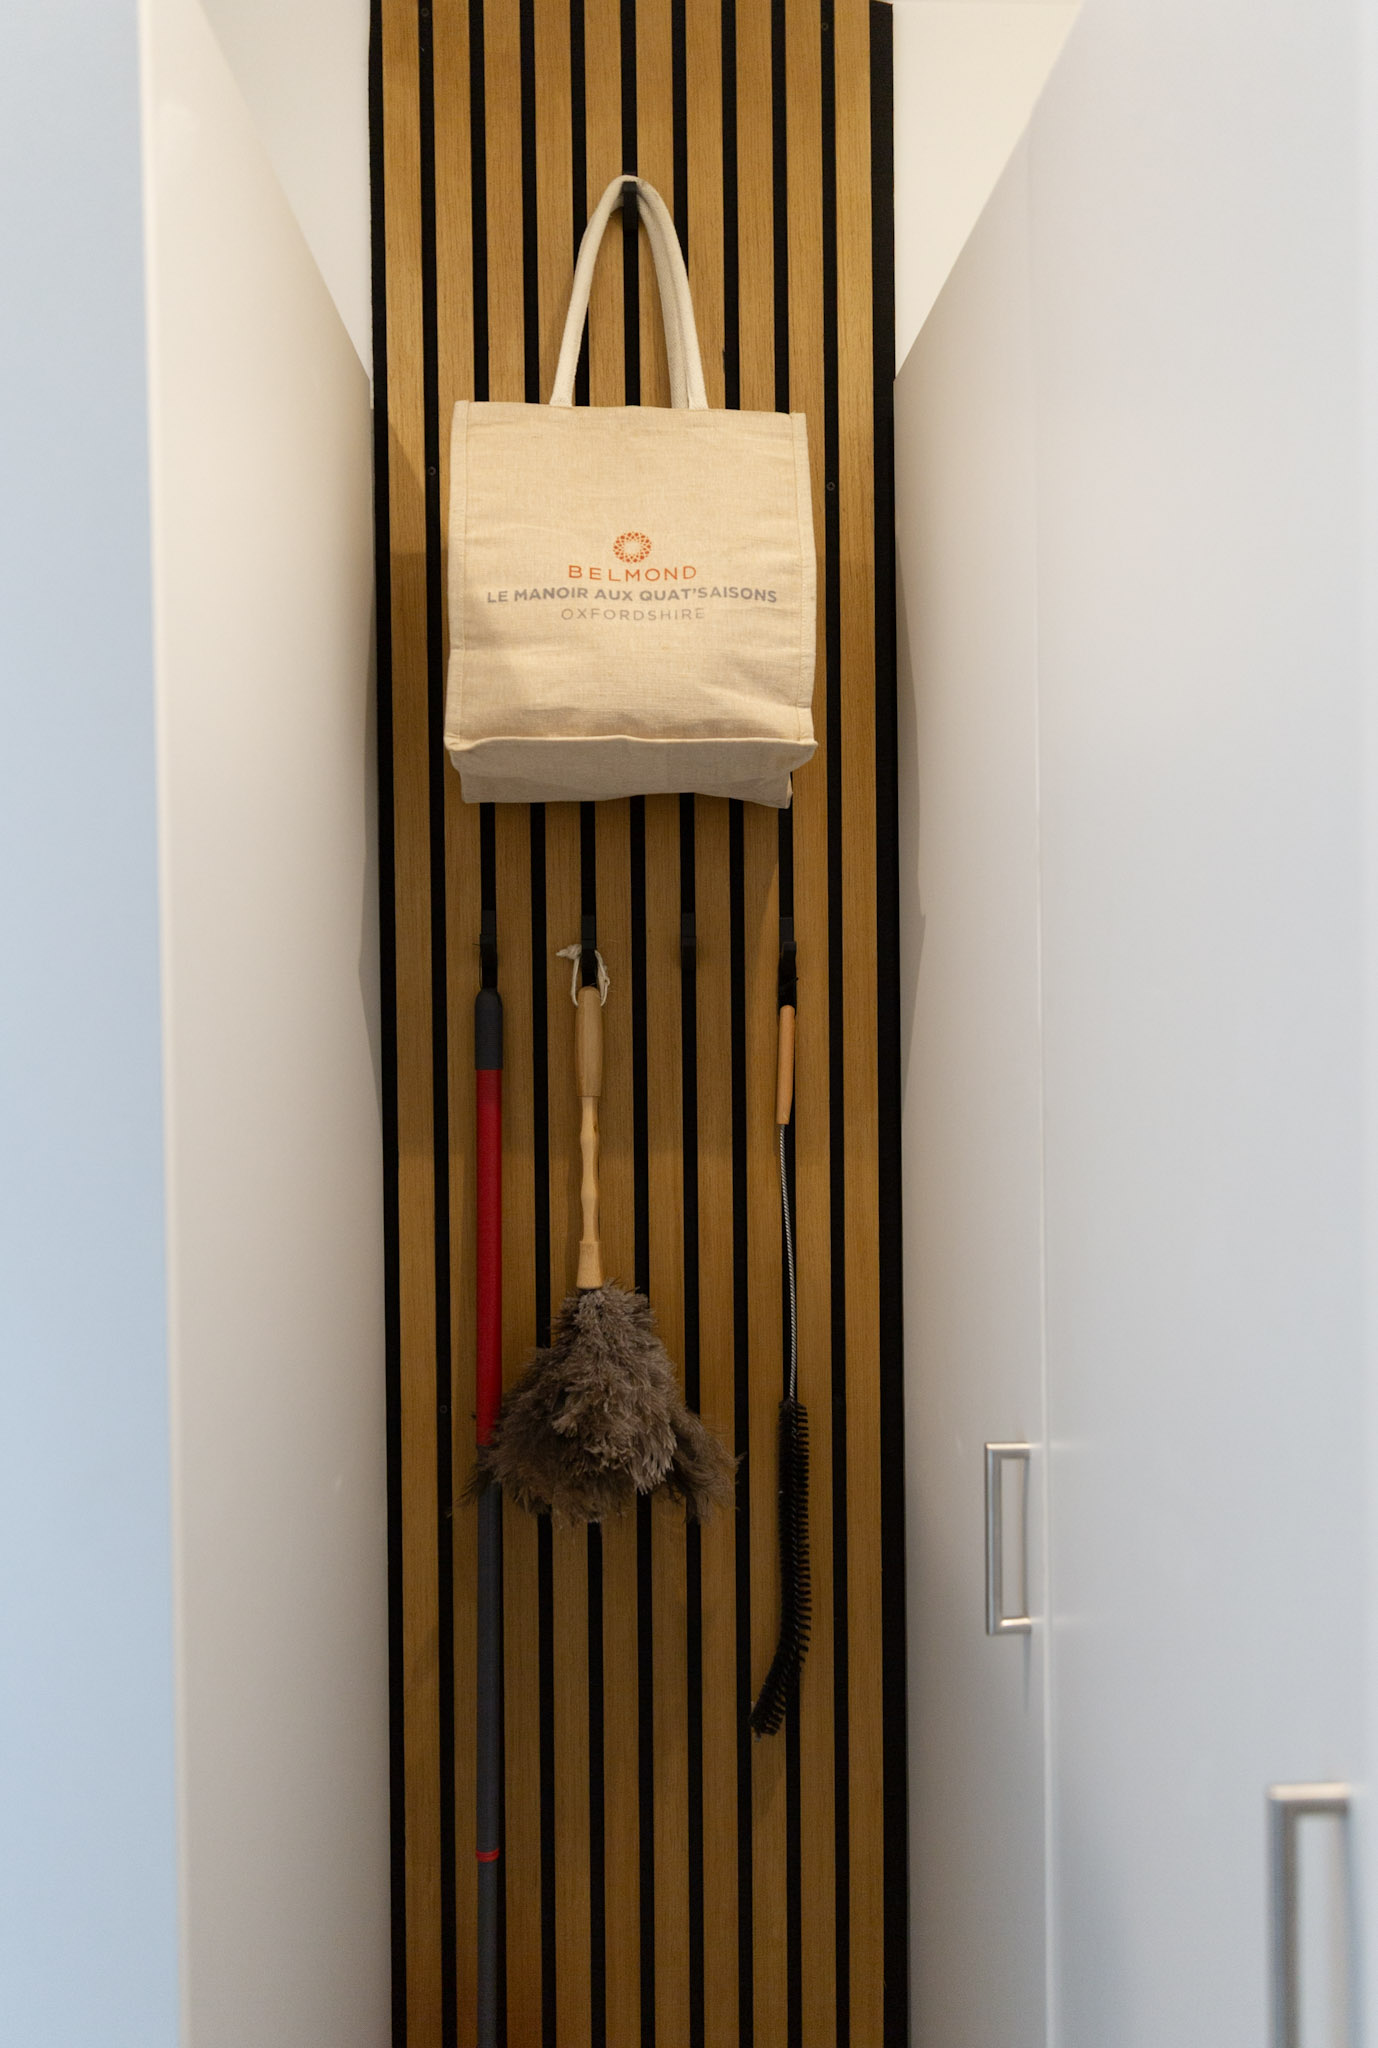
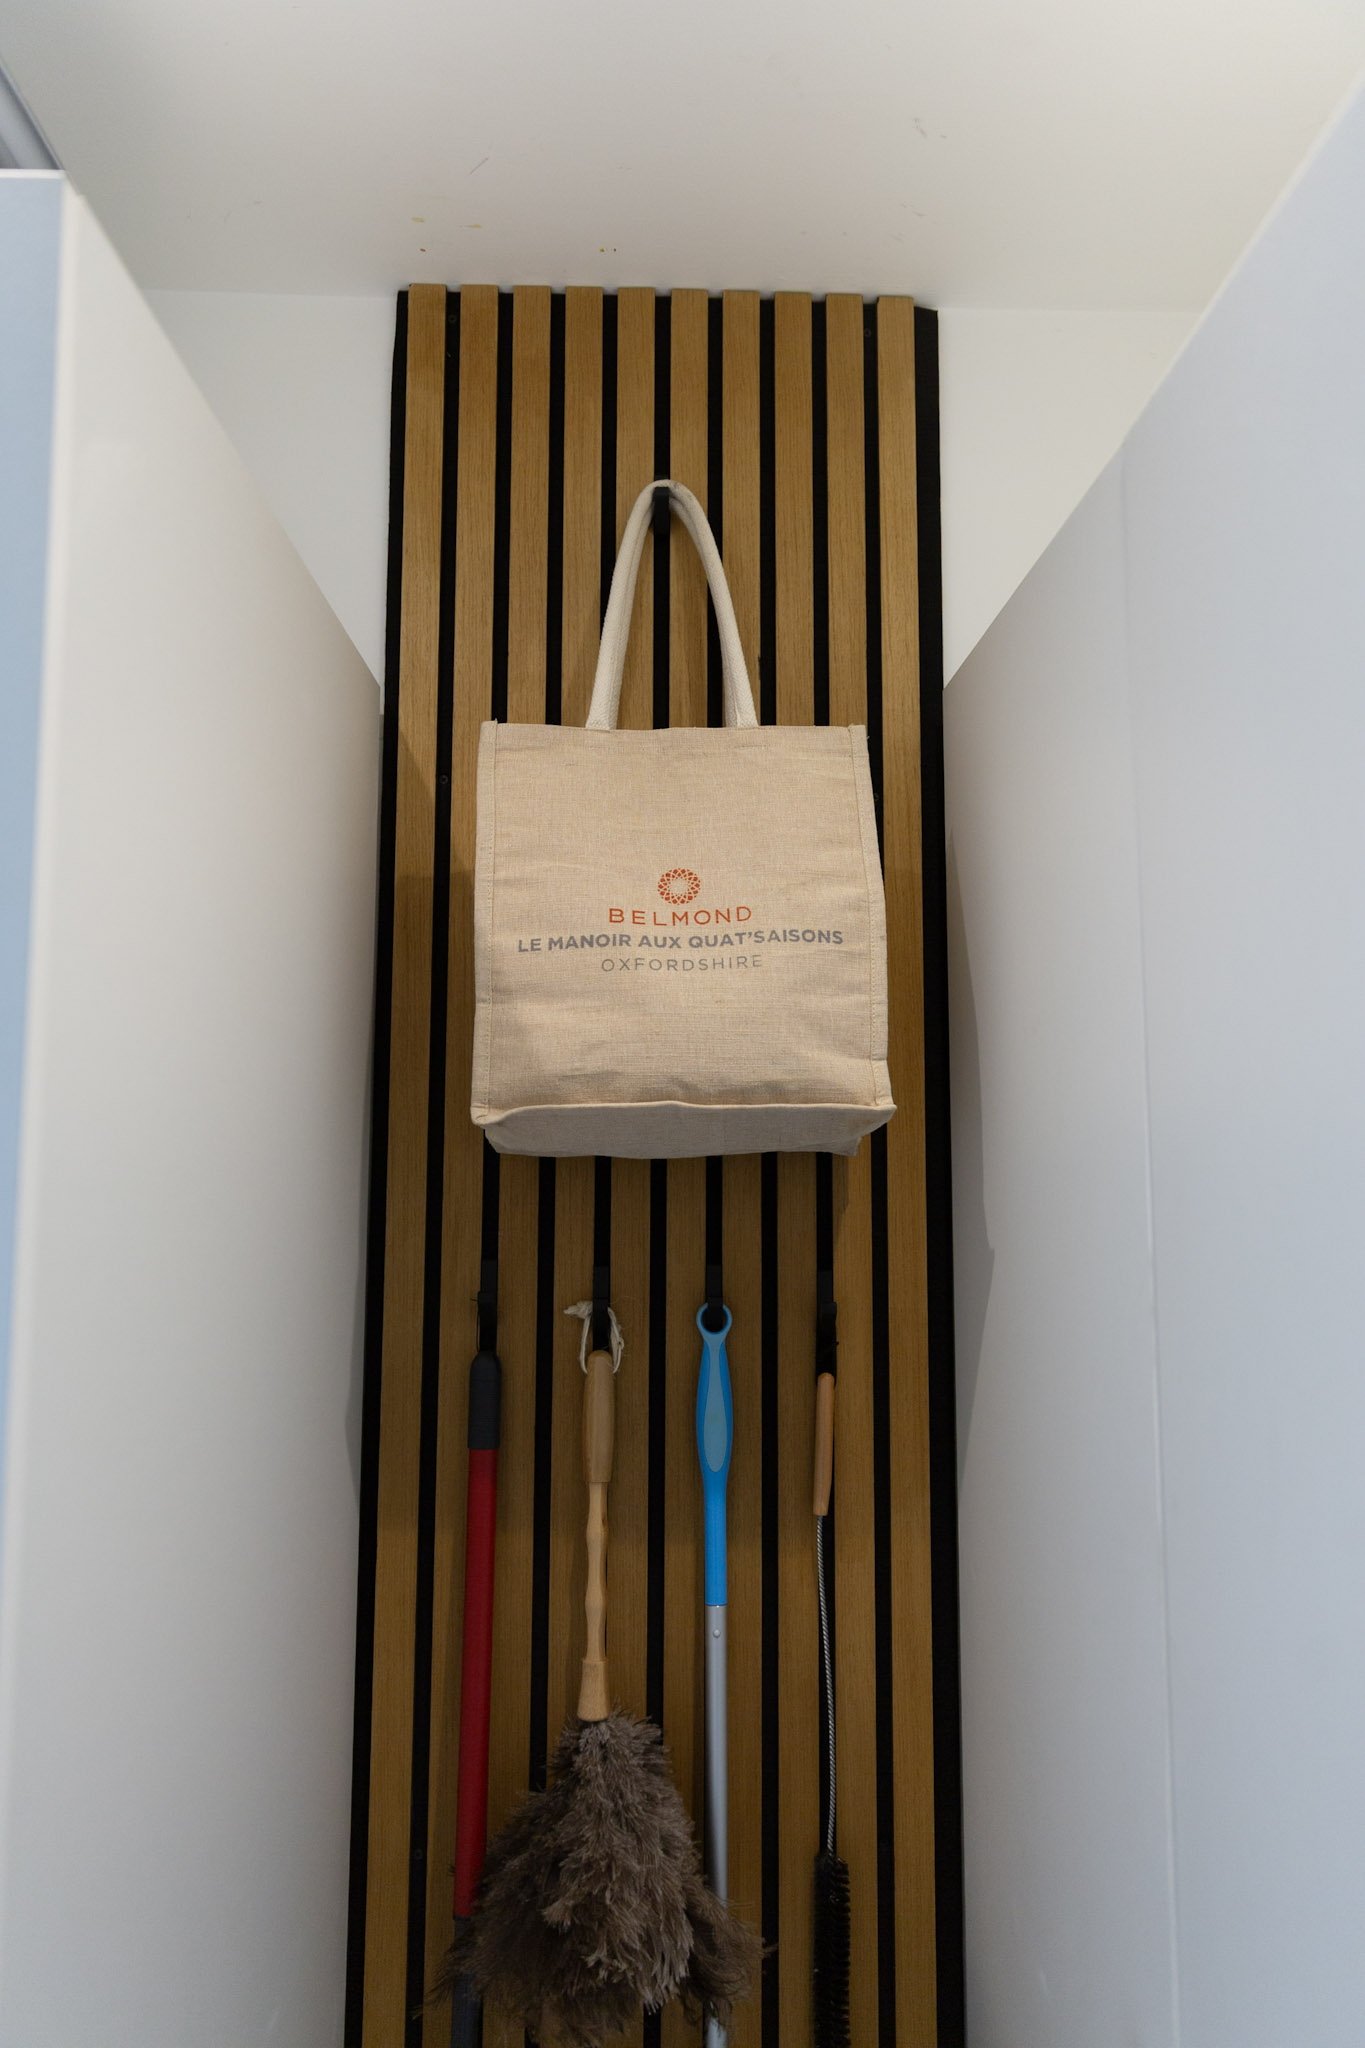
Once the panel was cut to size and stained, it was time to install it. I wanted it to run from the skirting board all the way to the ceiling to make the most of the space. Some panels come with a self-adhesive, but we opted to screw the panel directly into the wall instead. If you go this route, make sure to use black screws so they blend in with the felt backing. The panels are super lightweight and easy to install, plus you can definitely do it on your own. Just be extra careful when drilling, as the material can chip quite easily.
ACOUSTIC PANEL HOOKS
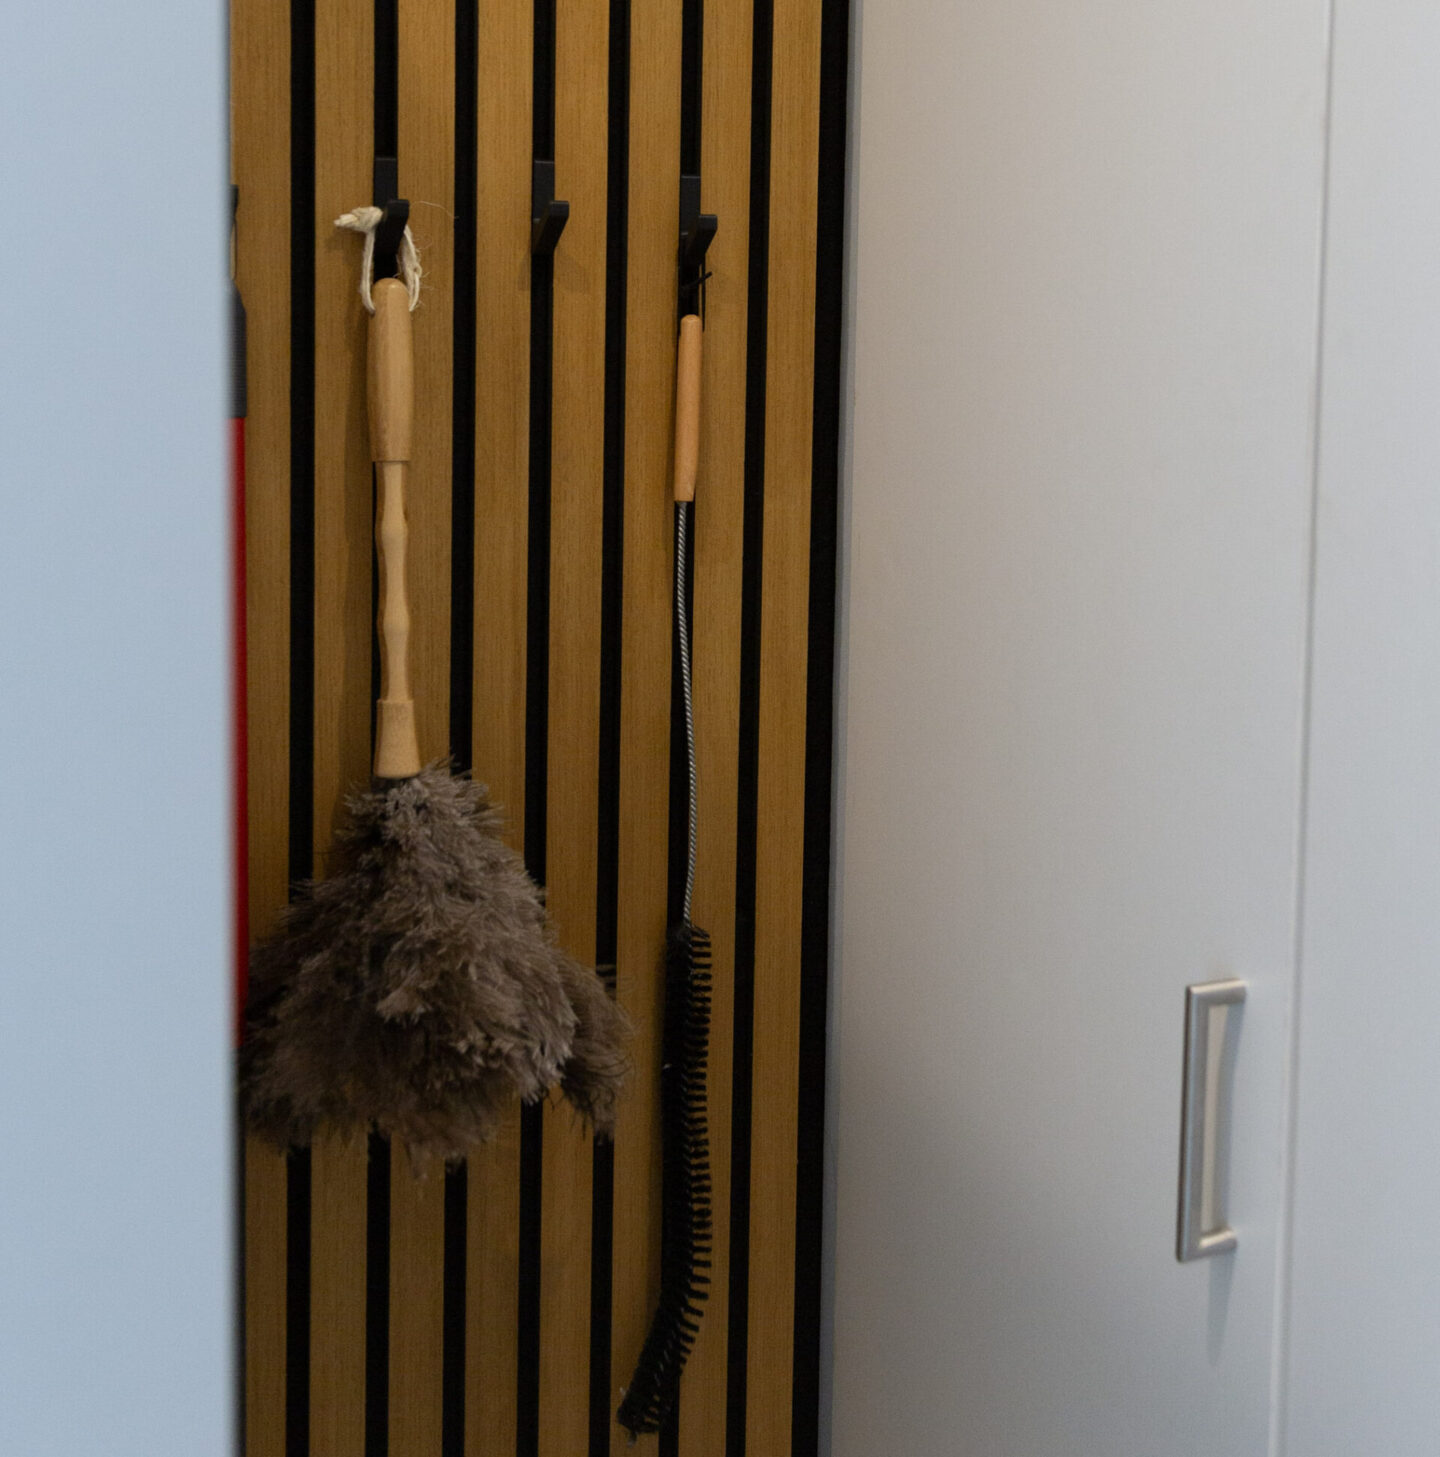
I really wanted black hooks that would blend in. Even though the slatted panel adds a fun touch, the goal was for it to be functional and a nice design feature. I found the perfect acoustic panel hooks on Etsy (where else?!), and honestly, I can’t fault them. They’re designed specifically for this type of wood panel — just make sure you measure the slat gap width before ordering. I ordered a 13mm width, which fits the panel perfectly. They are quite easy to install thanks to the ‘click and go’ function, but I haven’t tried to remove one yet. They could damage the wood if you pull them out too hard, so I prefer not to move them once they’re on. I love how minimal and discreet they look. You could definitely go for more playful shapes to make it a bit funkier, but I wanted something simple that could hold a few cleaning brushes and essentials. And I’ve got to say — I love how they turned out. The whole setup looks even better than I imagined. Not bad for a random Sunday evening idea, right?
TOTAL COST
Overall, the entire DIY wood slat wall project cost us just £86, which I think is pretty good. Honestly, it looks far more expensive and professional than you’d expect for that price. We already had the wood stain, drill, and a few other tools on hand, so of course the total could be a bit higher if you’re starting from scratch. Even so, I think it’s totally worth doing, and since it’s a fairly simple project, there’s not much to lose if you happen to mess things up.
So there you have it! Our very first wood panel feature wall and the final touch in our little laundry room renovation.
Let me know what you think in the comments below!

